
Basement Ceiling Height Requirements: Your Essential Guide
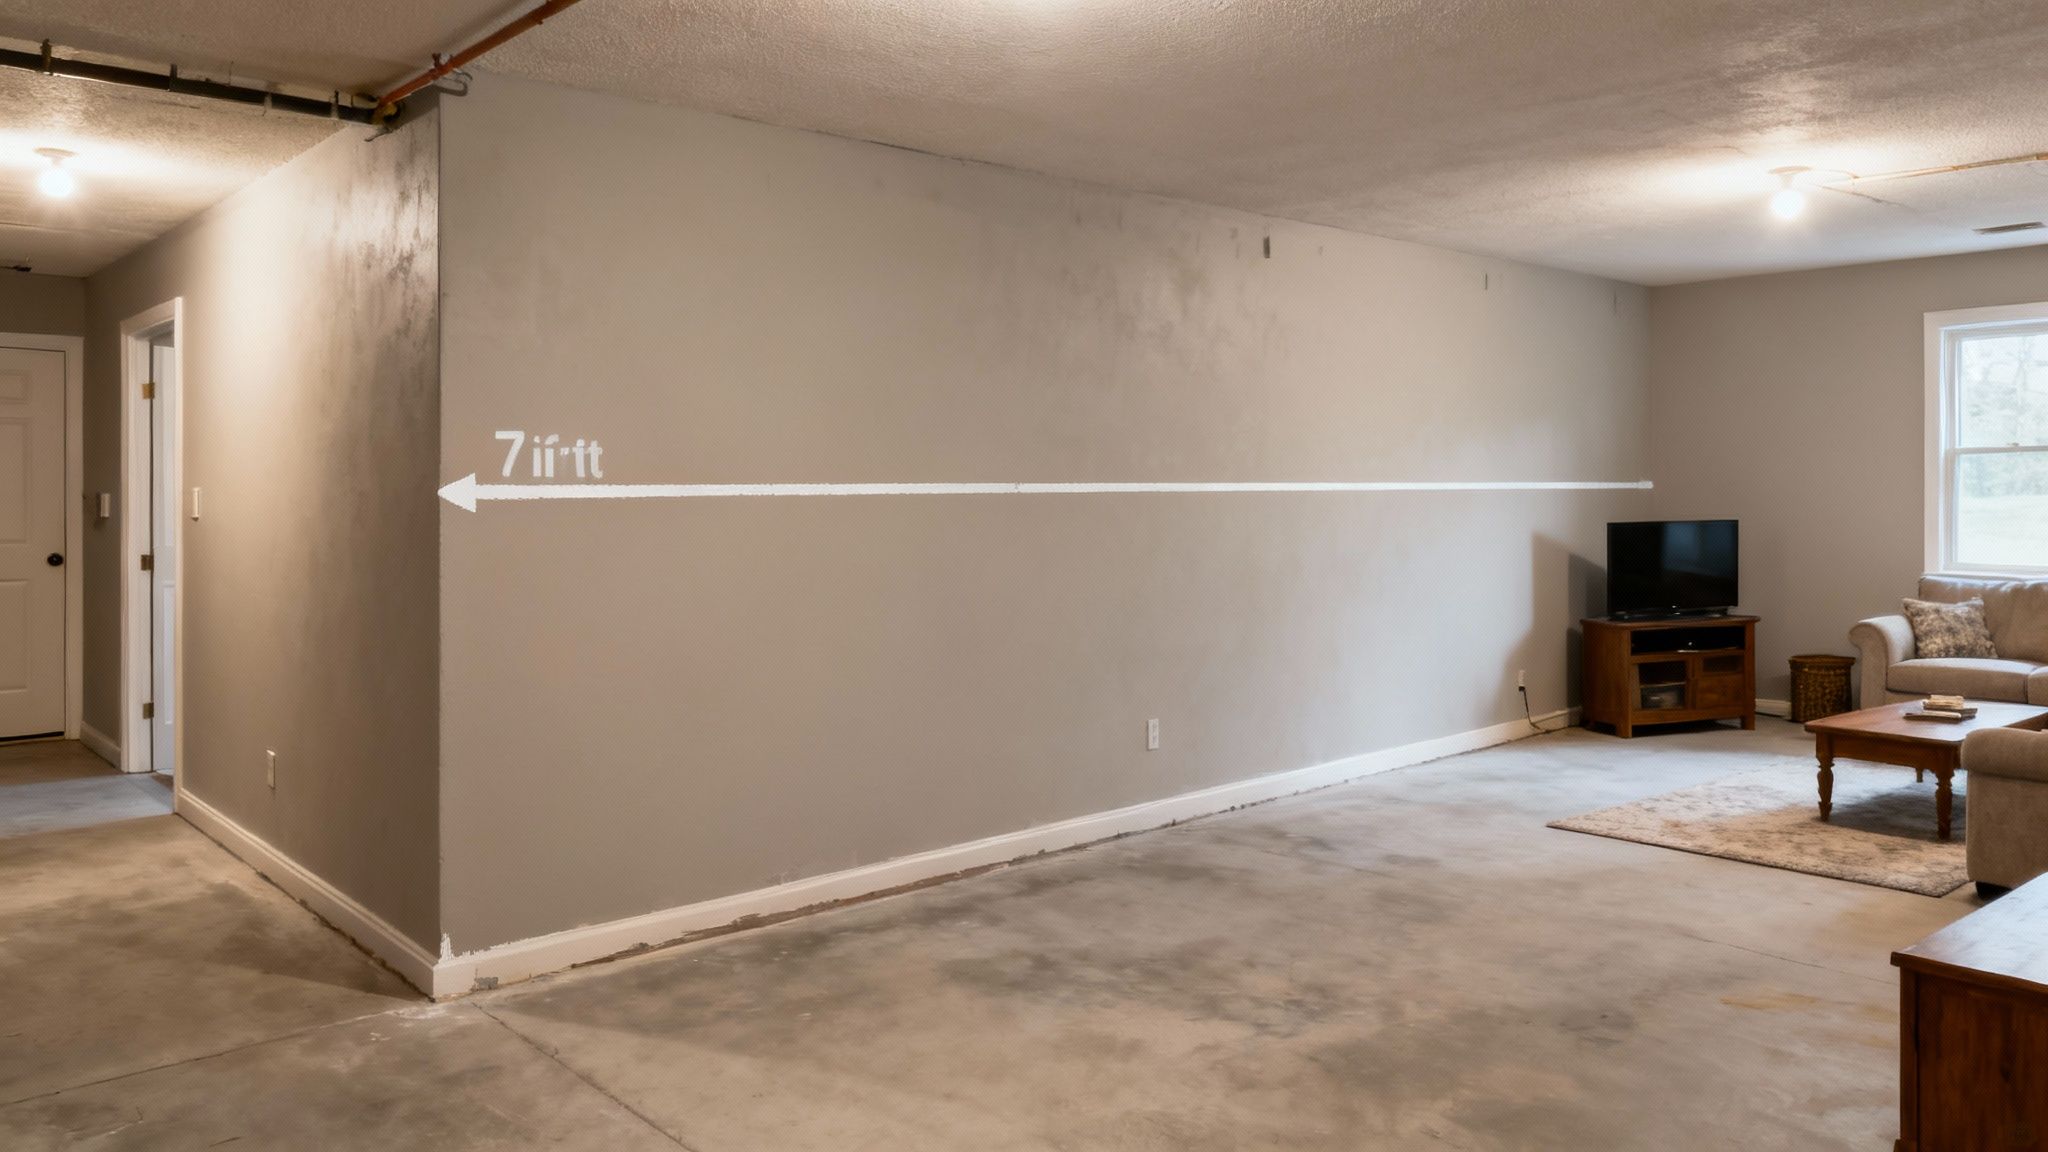
If you're dreaming of turning your basement into a livable space, there's one magic number you absolutely need to know: 7 feet. This is the gold standard set by the International Residential Code (IRC) for a basement to be legally considered a "habitable" area, like a bedroom or a family room.
This isn't just a number pulled out of thin air. It's the minimum height needed to make sure the space is safe, comfortable, and truly functional for you and your family to enjoy every day.
Cracking the Code on Habitable Basement Ceilings
Think of the 7-foot rule as the official green light for your basement renovation. It's what separates a true living area from a glorified storage space. This requirement is all about creating a room that feels open and is easy to move around in, not cramped or claustrophobic.
It also ensures you have enough clearance for light fixtures, furniture, and just walking around without ducking. Understanding the difference between a finished vs. an unfinished basement is crucial here, because this code specifically targets spaces you plan to live in.
Why The 7-Foot Standard Matters
The International Residential Code (IRC) is the rulebook most local building departments across the United States use to ensure homes are built safely. The IRC clearly states that habitable spaces—like your new basement bedroom or den—must have a ceiling height of at least 7 feet (or 2134 mm).
This rule also applies to hallways and corridors connecting these rooms. So, if you want that new room to legally count as a bedroom when you sell your home, it has to meet this height requirement over the majority of its floor area.
Getting this right has a huge impact on your home's resale value and the legality of your project. A basement that doesn't meet code can't be marketed as extra living space, which could be a major turn-off for potential buyers down the line.
Quick Guide to Minimum Basement Ceiling Heights
Not every corner of your basement needs to be a towering 7 feet. The code is a bit more nuanced and changes based on what you plan to do with the space.
Here’s a quick summary of the most common requirements you'll encounter, straight from the IRC playbook.
| Habitable Spaces (Bedrooms, Living Rooms) | 7 feet | 2134 mm |
| Bathrooms and Laundry Rooms | 6 feet 8 inches | 2032 mm |
| Hallways and Corridors | 7 feet | 2134 mm |
| Kitchens | 7 feet | 2134 mm |
As you can see, bathrooms and laundry areas get a little bit of a break, only needing to be 6 feet 8 inches high.
But remember, building a great basement isn't just about the structure. You also need to create a healthy environment. A huge part of this is ensuring healthy indoor air quality, which is especially important in spaces that are below ground level.
What About Non-Habitable Spaces?
While the 7-foot rule is the gold standard for living areas, let's be realistic—not every corner of your basement is going to be a home theater. Building codes get this. They make a practical distinction for spaces you don't actually live in.
This is where the idea of non-habitable spaces saves the day. We're talking about your laundry room, the utility closet housing the furnace, or that nook where you store holiday decorations. You pop in, do a task, and leave. Because you're not settling in for a movie marathon, the rules are a bit more forgiving.
Why the Height Requirements Are Lower
For these purely functional, non-habitable spots, most codes, including the IRC, set the minimum ceiling height at 6 feet 8 inches (2032 mm). That’s a full four inches lower than what's required for a bedroom or family room.
This common-sense adjustment is all about function over comfort. The goal is to ensure you have enough safe clearance to service your HVAC unit or sort laundry, not to create an open, airy living environment. If you want to dig deeper into the official language, these resources on building code standards are a great place to start.
For homeowners, this is a huge win. It means you can properly finish these utility zones without having to consider costly, complex projects like digging out the foundation just to gain a few inches of headspace. It’s a practical path to a fully finished, code-compliant basement.
Dealing with Beams, Ducts, and Other Obstructions
Basements are notorious for having stuff hanging from the ceiling. You’ve got chunky support beams, HVAC ducts snaking across the room, and plumbing pipes that seem to be in the worst possible spot. The good news? The code anticipates this reality.
The Key Exception: The area directly under beams, girders, ducts, and other permanent obstructions can dip as low as 6 feet 4 inches (1931 mm) from the finished floor.
This rule is a lifesaver, especially in older homes where moving a structural beam or re-routing entire duct systems is a non-starter. It means one low-hanging obstacle doesn't automatically disqualify the entire space. As long as these intrusions don't make up the bulk of the ceiling area, you're in the clear.
This exception allows you to work with your home's bones instead of fighting against them. You can frame a soffit around ductwork or paint a support beam to turn it into an industrial-chic design feature—all while staying perfectly within code. It's this kind of built-in flexibility that helps keep your renovation on track and on budget.
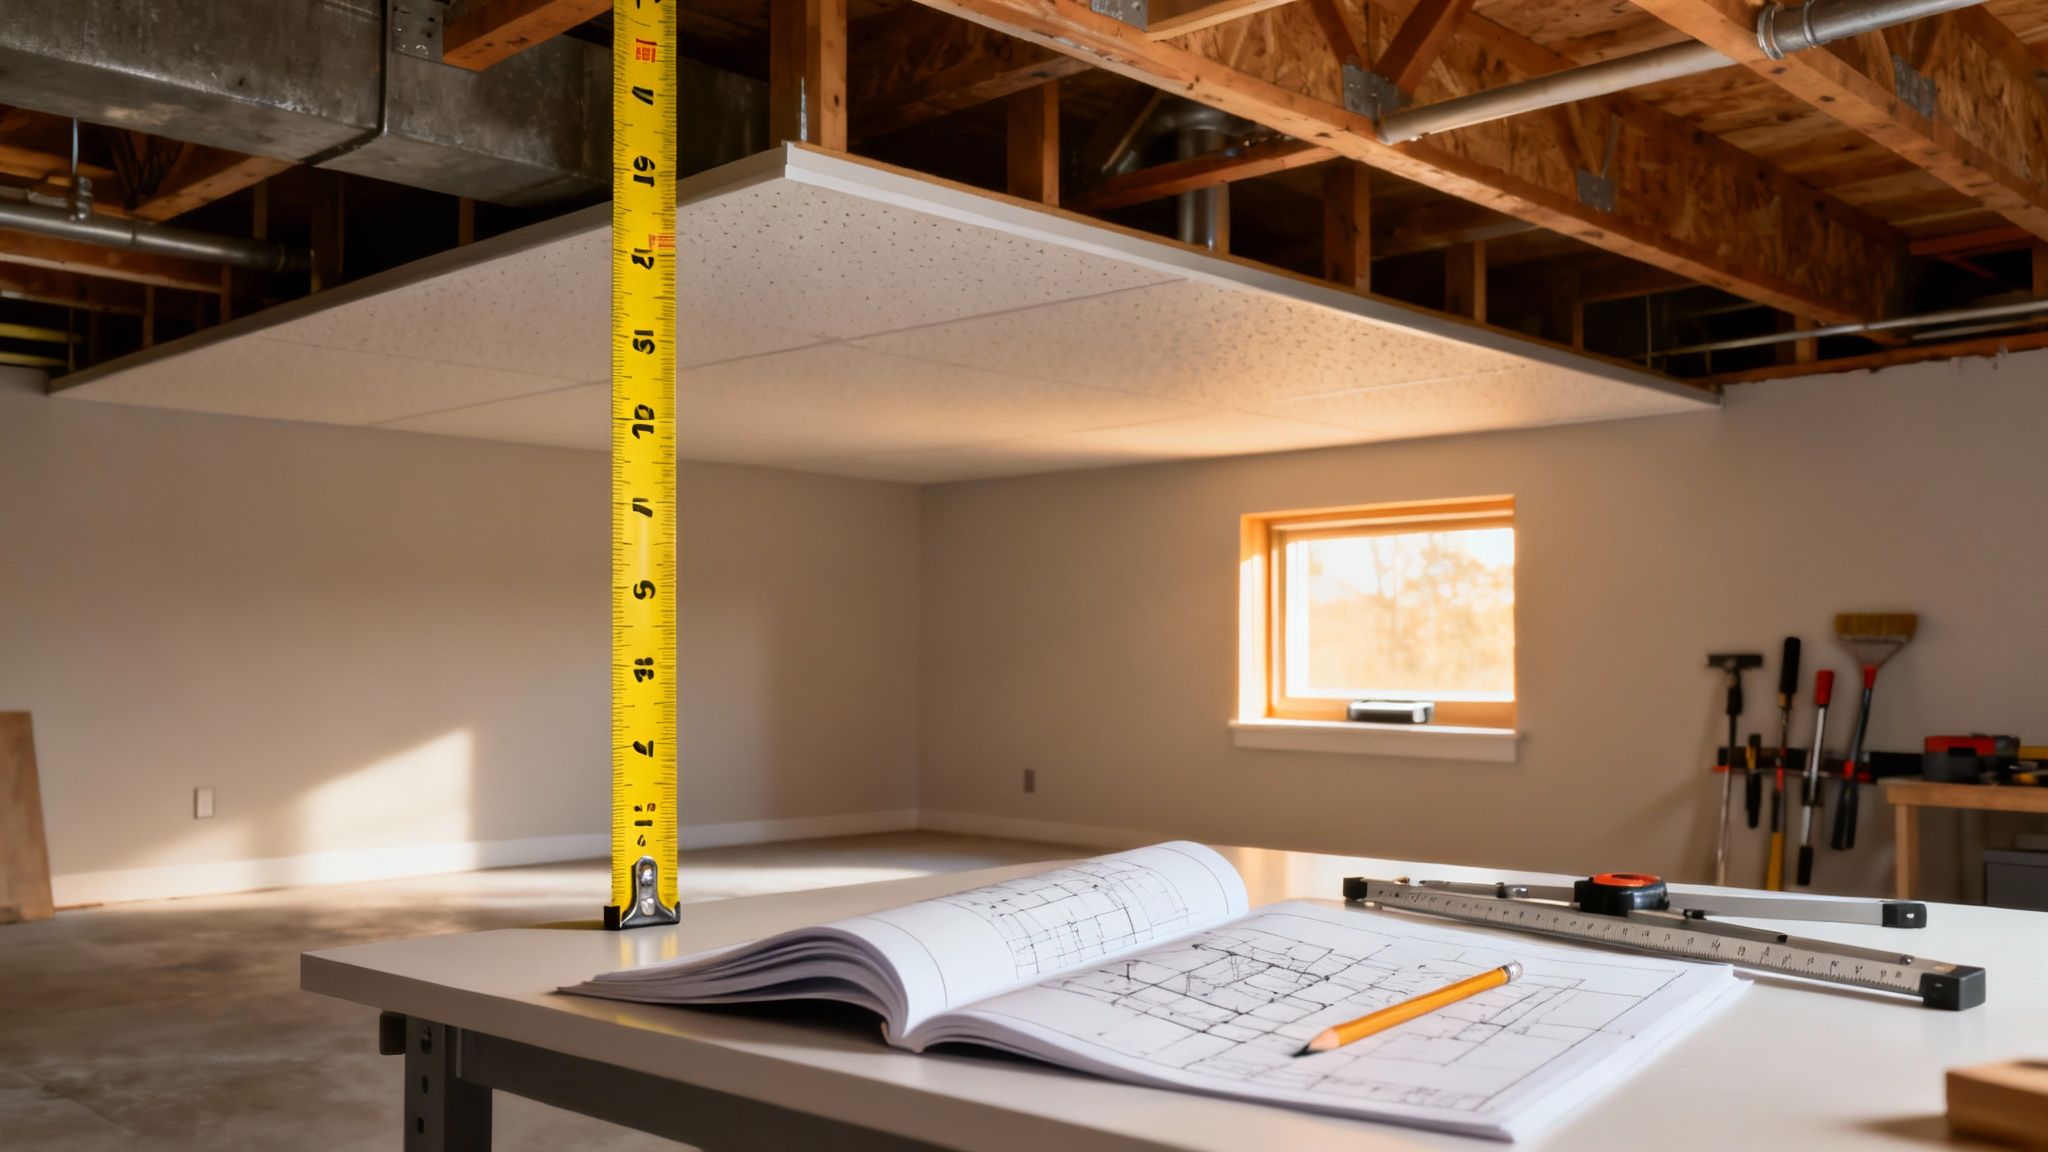
How to Measure Your Ceiling Height Correctly
Getting an accurate measurement is the first—and most critical—step in any basement project. Before you even think about framing walls or picking out paint, you need to measure your ceiling height the same way a building inspector will. It’s all about understanding the crucial difference between the space you have now and the space you’ll have after everything is finished.
It's a classic rookie mistake: measuring from the bare concrete floor to the bottom of the exposed joists and calling it a day. But building codes don't care about that number. They only care about the finished height, which is the final, usable space from the top of your new floor to the face of your new ceiling.
This infographic breaks down exactly what that means and shows you how to get it right.
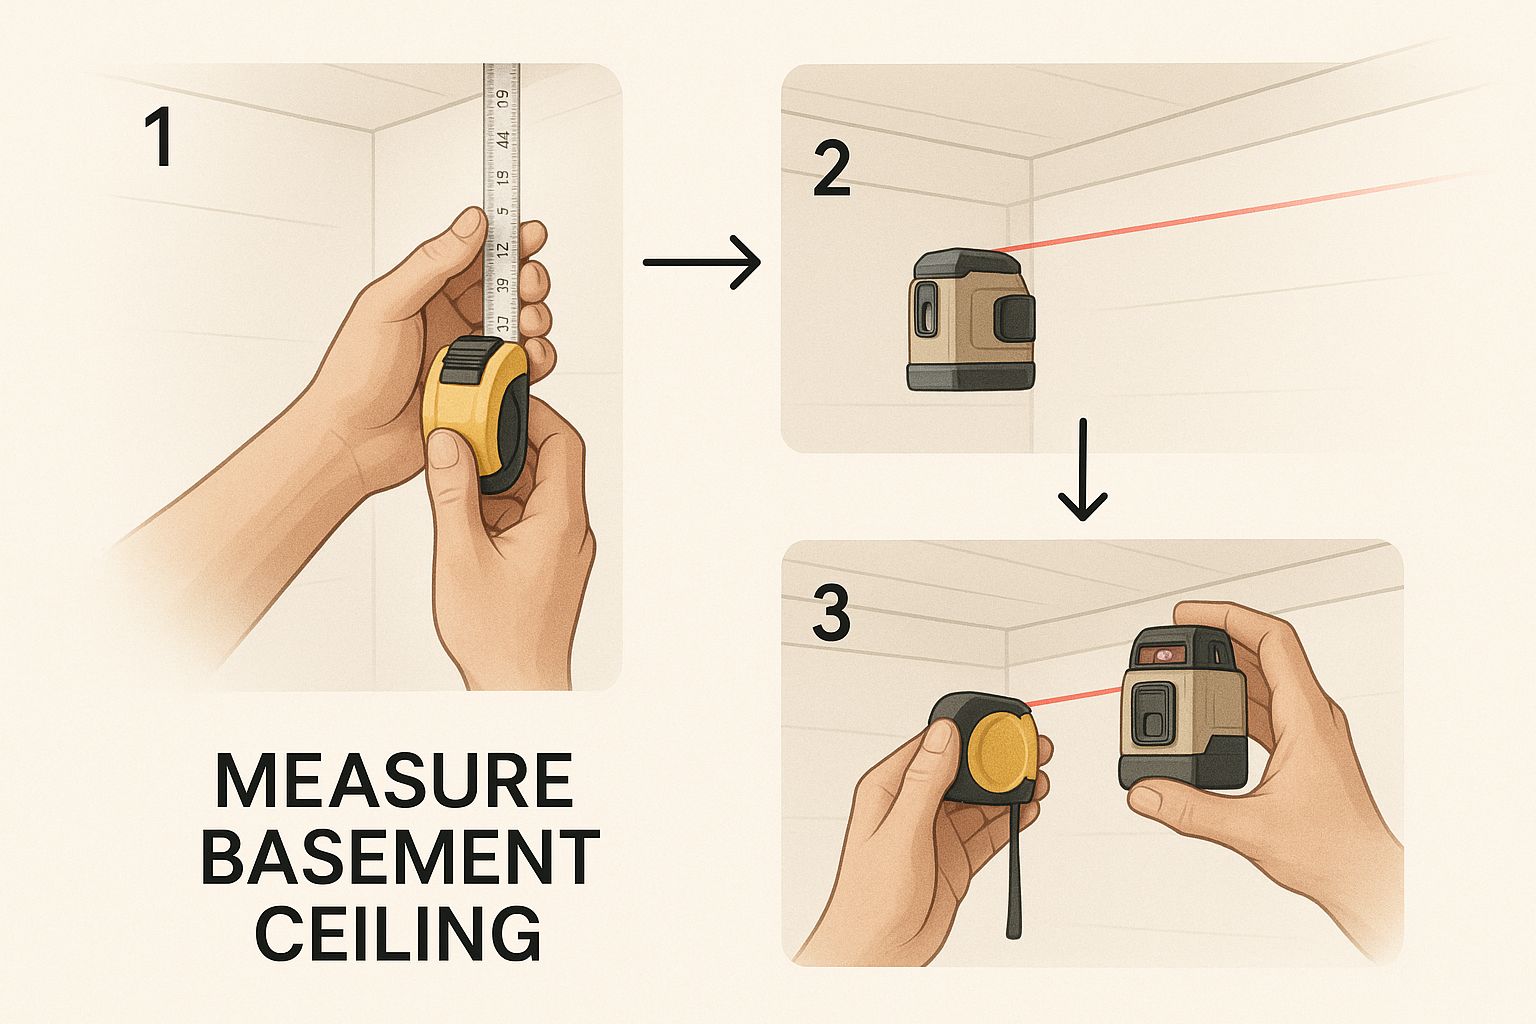
As you can see, you have to account for every layer you plan to add to the floor and ceiling. It’s those finishing materials that determine your final, code-compliant headroom.
Calculating Your True Finished Height
So, how do you figure out what your final height will be? You’ll have to do a little math. It’s a simple process of subtraction, but you have to be thorough.
Start by getting a baseline measurement from the concrete slab up to the underside of the ceiling joists. From there, you'll subtract the thickness of every material you plan to install.
- Flooring Assembly: Don't just think about the floor itself. Are you putting down a subfloor first? A product like DRIcore is a popular choice, and it’s typically ¾-inch thick. On top of that, you might have luxury vinyl plank (8mm or so) or carpet with a pad (around ½-inch). Add it all up.
- Ceiling Assembly: A standard drywall ceiling will eat up at least ½ inch of headroom. If you opt for a drop ceiling, that number can jump significantly—you could easily lose anywhere from 3 to 6 inches, depending on the system and how much space you need to hide ductwork or plumbing.
Here's a real-world example: Let’s say your joist-to-slab measurement is 7 feet 6 inches. You plan to add a ¾-inch subfloor, ½-inch LVP, and a ½-inch drywall ceiling. Your new finished height will be 7 feet 4.25 inches—comfortably over that 7-foot minimum.
How to Handle Sloped Ceilings
What if your basement ceiling isn't flat? This is pretty common, especially in walk-out basements or homes built on a hill. The building code has a specific guideline for this, which most builders call the "50% rule."
It’s actually quite straightforward. The rule says that at least 50% of the required floor area of the room must have the full 7-foot minimum ceiling height.
Any part of the ceiling that drops below 5 feet can’t be counted toward that required floor area at all. This is a practical rule designed to make sure the main part of the room feels open and functional, preventing anyone from claiming a tiny, cramped crawlspace as "habitable."
What to Do When Older Homes Have Low Ceilings
If you've ever ducked your head walking through the basement of an older home, you know the feeling. It's a common trait in houses built when basements were strictly utilitarian—a place for the furnace, laundry, and forgotten storage, not for living.
Back then, builders weren't planning for a future family room or guest suite downstairs. That's why so many of these homes have basement ceilings that top out at just 6 to 6.5 feet. While that was fine for storing boxes, it creates a real problem for homeowners today who want to turn that space into something more.
A Modern Problem Rooted in History
The way we live has changed, and our basements are now expected to pull double duty as valuable living areas. This puts older homes in a tight spot, where historical construction standards clash directly with modern safety codes. What was perfectly normal in the 1950s is now a code violation if you want to add a legal bedroom.
This isn't a rare issue. In cities full of pre-1970s housing, it's almost expected to find ceilings well below the current 7-foot minimum. This means a huge number of basement finishing projects—some estimates suggest 30–50% in established neighborhoods—can't legally proceed without major structural work. You can dive deeper into the specific rules in our guide on basement bedroom regulations and their impact.
This isn't just a minor headache. It's a core challenge that can define the entire scope, timeline, and budget of your renovation. Facing this reality head-on is the key to planning a successful project.
Turning a Roadblock Into an Opportunity
Staring up at a low ceiling can feel like your project is over before it even starts. But it's better to think of it as the first puzzle to solve. Your home wasn't built wrong; it was just built for a different time.
Once you shift your perspective, you can start looking for solutions. Instead of abandoning the idea of a finished basement, you can explore the creative and practical ways to gain those precious inches. That low ceiling isn't an impassable barrier—it's the starting line for a smart renovation that will unlock your basement's hidden potential and add real value to your home.
Proven Solutions for Increasing Ceiling Height
Realizing your basement ceiling is too low can feel like a major roadblock to your renovation plans. Don't worry, it's a common hurdle, and there are well-established ways to fix it. You have options ranging from serious structural work to clever design tricks, all geared toward gaining those crucial inches for a legal and comfortable living space.
The best path forward really depends on your house, your budget, and what you want to do with the finished basement. Let’s walk through the most common solutions.
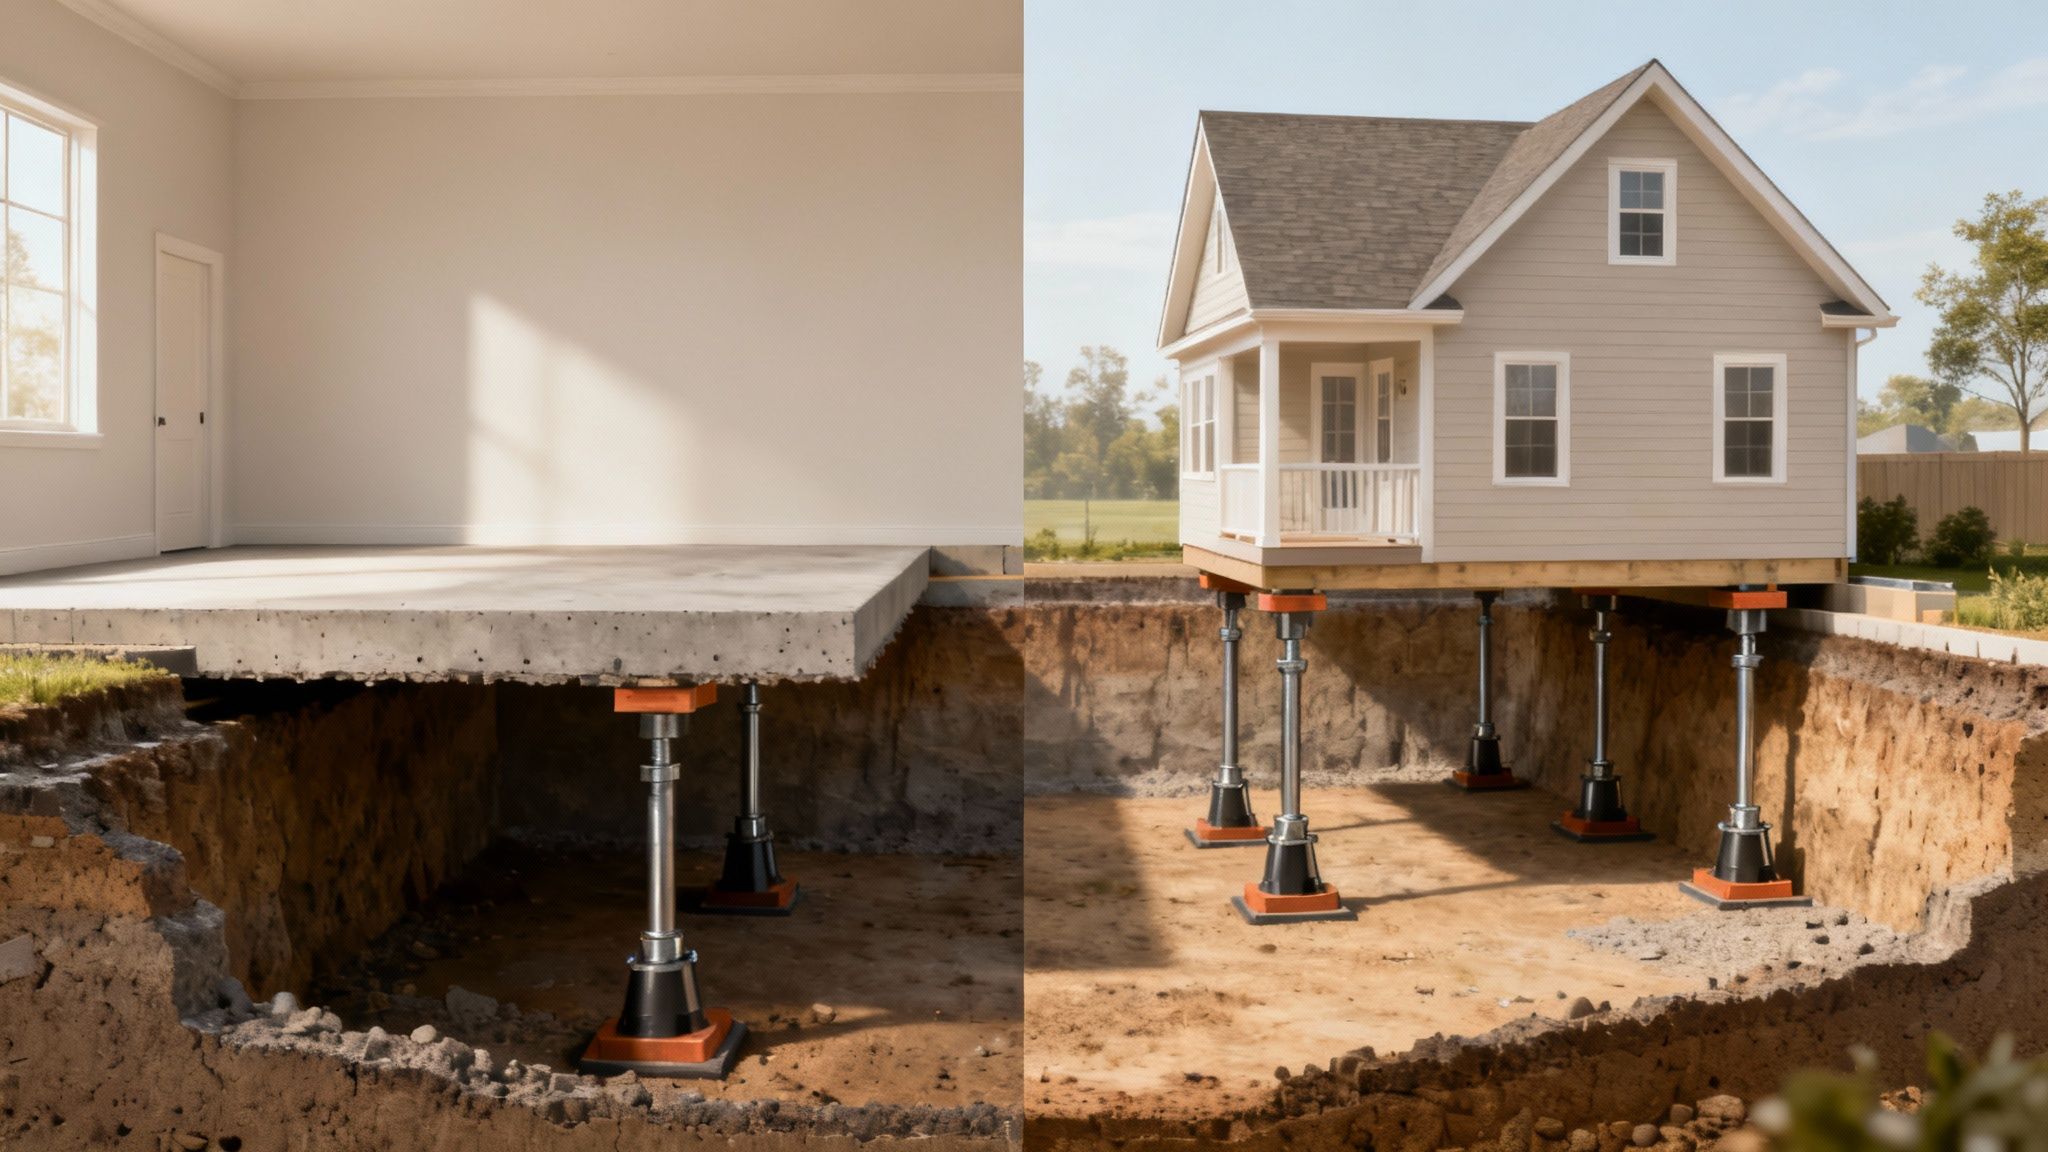
Digging Down: The Underpinning Method
By far, the most common structural fix is to lower the basement floor. This process, known in the industry as underpinning, involves carefully digging out the floor and extending the foundation deeper into the ground.
Think of it as giving your home a brand-new, deeper footing, built one small section at a time. It’s an intense job that directly affects your home's structural integrity, but it's the gold standard for gaining a foot or more of headroom.
Underpinning is not a DIY project. This is a major construction job that requires engineers, permits, and an experienced crew to keep your house stable. It's the most expensive option, but it delivers the best possible result: a true, high-ceilinged living area.
Raising the Roof: Lifting the Entire House
Another, less common, structural approach is to physically lift the entire house off its foundation. Using powerful hydraulic jacks, a specialized crew raises the home just enough to add new layers of concrete blocks or pour a taller foundation wall underneath.
This route is usually only considered when underpinning isn't an option—maybe because of poor soil or a high water table. Like digging down, it’s a complex and expensive job for seasoned pros. If you're considering major work like this, financing options like FHA 203(k) renovation loans are designed to help fund these kinds of extensive renovations.
Creative Solutions to Create the Illusion of Height
If digging or lifting isn't in the cards, you can still use design to your advantage. These cosmetic "cheats" won't magically make your basement meet code for a bedroom, but they can make a cramped space feel dramatically more open and comfortable.
- Expose the Joists: Go for an industrial-chic or rustic vibe and leave the ceiling joists exposed. Painting the joists, pipes, and ducts a single color—like a clean white or a dramatic black—can give you an extra 4-6 inches of headroom between the beams.
- Use Low-Profile Finishes: When ceilings are low, every inch matters. Choose thin flooring like luxury vinyl plank (LVP) instead of thick carpet with a cushy pad. For the ceiling itself, screwing drywall directly to the joists saves more vertical space than a suspended drop-ceiling system. To get a better handle on this, you can explore guides on the cost of drywalling a basement.
- Play with Light and Paint: Simple visual tricks go a long way. Paint the ceiling a lighter color than the walls to make it feel higher. Use recessed lighting (can lights) instead of hanging fixtures, which eat up precious clearance. Vertical stripes or tall, slender furniture can also help draw the eye upward, creating a sense of spaciousness.
Why You Must Check Local Codes Before Starting
It's easy to think of the International Residential Code (IRC) as the final word on building standards, but that's a common misconception. Think of the IRC as the foundational rulebook—your local building code is the version with specific, legally-binding edits for your exact town or city.
Ignoring this step is one of the most costly blunders you can make. Local municipalities often tweak the IRC to address regional challenges. A city in a rainy climate might demand more robust waterproofing, while a historic district could have unique rules for foundation work. These local variations aren't just suggestions; they're the law.
The Permit and Inspection Process
Before you swing a single sledgehammer, your first move should be a call or visit to your local building department. Seriously, this one action can save you from the nightmare of a stop-work order, which can freeze your project for weeks and come with some hefty fines.
An inspector isn't there to make your life difficult; their job is to confirm your project is safe for your family. They're looking at the whole picture, not just how tall your ceiling is.
During a typical basement inspection, they'll be checking a few key things:
- Proper Egress: Is there a window or door large enough for someone to escape during a fire?
- Ventilation and Airflow: Does the space have a way to circulate fresh air and prevent mold growth?
- Structural Integrity: If you moved a support post or altered the framing, did you do it correctly so the house remains stable?
- Electrical and Plumbing: Is all the new wiring and plumbing up to snuff and installed safely?
Bypassing the permit process isn't just about dodging a fine. It's about protecting your family's safety and the future value of your home. Discovering unpermitted work can throw a major wrench in the works when it's time to sell.
Getting familiar with your local codes ensures the job gets done right the first time. For a better sense of how permitting and inspections fit into the bigger picture, check out our guide on how much a basement remodel costs to help you budget accordingly.
Got Questions? We've Got Answers.
When you get down to the brass tacks of a basement renovation, a few common questions always seem to pop up about ceiling heights. Let's clear up some of the most frequent ones we hear from homeowners.
How Do Drop Ceilings Factor In?
They absolutely do, and this is a detail that trips a lot of people up. Code officials don't measure to your floor joists; they measure from the finished floor to the finished ceiling.
When you install a drop ceiling, those tiles become your new finished ceiling. Since a typical drop ceiling eats up anywhere from 3 to 6 inches of headroom, a basement that was just tall enough can suddenly fail inspection. Always account for that lost space in your plans.
Are Bathrooms a Special Case?
Yes and no. For the most part, a basement bathroom needs to meet that same 7-foot rule for habitable space. But, the code does offer a little bit of wiggle room right over the fixtures.
The IRC makes a small exception, allowing the ceiling to dip as low as 6 feet 8 inches directly above a sink or toilet. Keep in mind, this is just for that small footprint. The main, open area of the bathroom still needs to clear that 7-foot mark to feel right and stay compliant.
It's easy to think, "I'll just worry about this if I ever sell the house." But that's a risky gamble. If unpermitted work is found to be the cause of a fire or flood, your insurance company could have grounds to deny your claim, leaving you with a massive financial loss.
At Northpoint Construction, we navigate these complex codes every day to create beautiful, functional, and safe living spaces. If you're ready to get your basement project done right, get in touch with us for a consultation.