
Basement Home Offices That Boost Productivity and Style
Turning your basement into a home office is more than just a way to find extra room—it's a smart investment in your productivity, focus, and work-life balance. By creating a dedicated, quiet workspace, you're not just adding square footage; you're building a professional environment that's completely separate from the hustle and bustle of daily life upstairs.
Why a Basement Home Office is Such a Smart Move
The idea of commuting downstairs instead of across town has completely changed how we think about our homes. That underutilized basement, once just a spot for holiday decorations and forgotten furniture, is now some of the most valuable real estate in your house. It’s the perfect place to create a functional and inspiring workspace.
This isn't just a fleeting trend. The demand for basement home offices has exploded as remote and hybrid work have become a permanent part of our professional lives. Right now, about 24.4% of employees globally work from home at least some of the time, a figure that's held steady since 2022.
Meanwhile, commercial office occupancy in major US cities often hovers between 40-55%, showing that a huge chunk of the workforce is sticking with their home setups. You can dig into more of these global office occupancy trends to see just how much things have shifted.
The Strategic Advantages of Going Subterranean
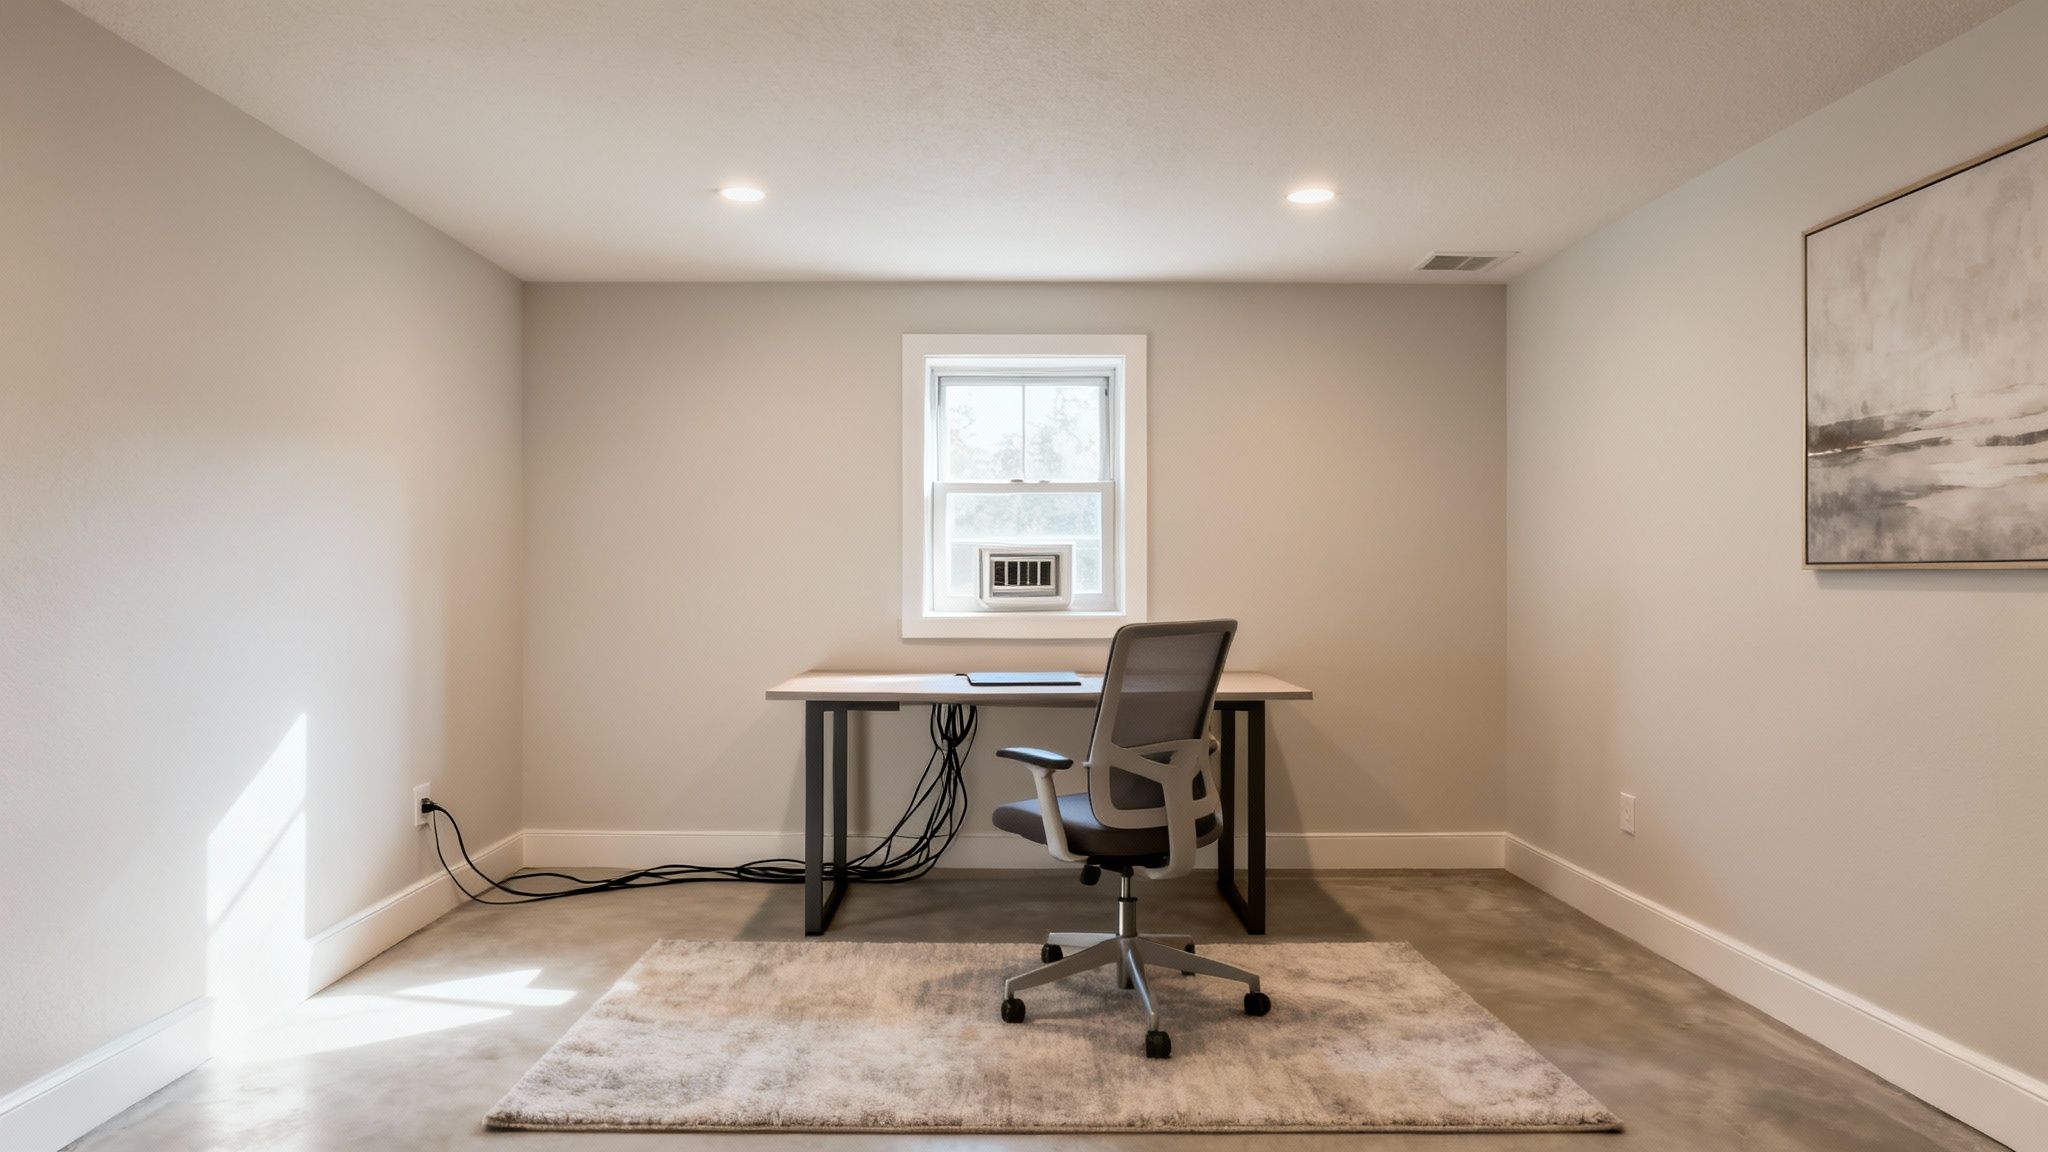
Setting up shop below ground level has some unique perks that you just can't get in a spare bedroom or a corner of the living room. The biggest win is the natural separation. Having that physical boundary between your work and home life makes it so much easier to mentally "clock out" at the end of the day.
But the benefits don't stop there.
- Superior Sound Insulation: Basements are naturally quieter. Being surrounded by earth dampens noise from the street, the neighbors, and even the chaos happening upstairs.
- Increased Property Value: A finished basement that includes a dedicated home office is a massive selling point for homebuyers, adding real, tangible value to your property.
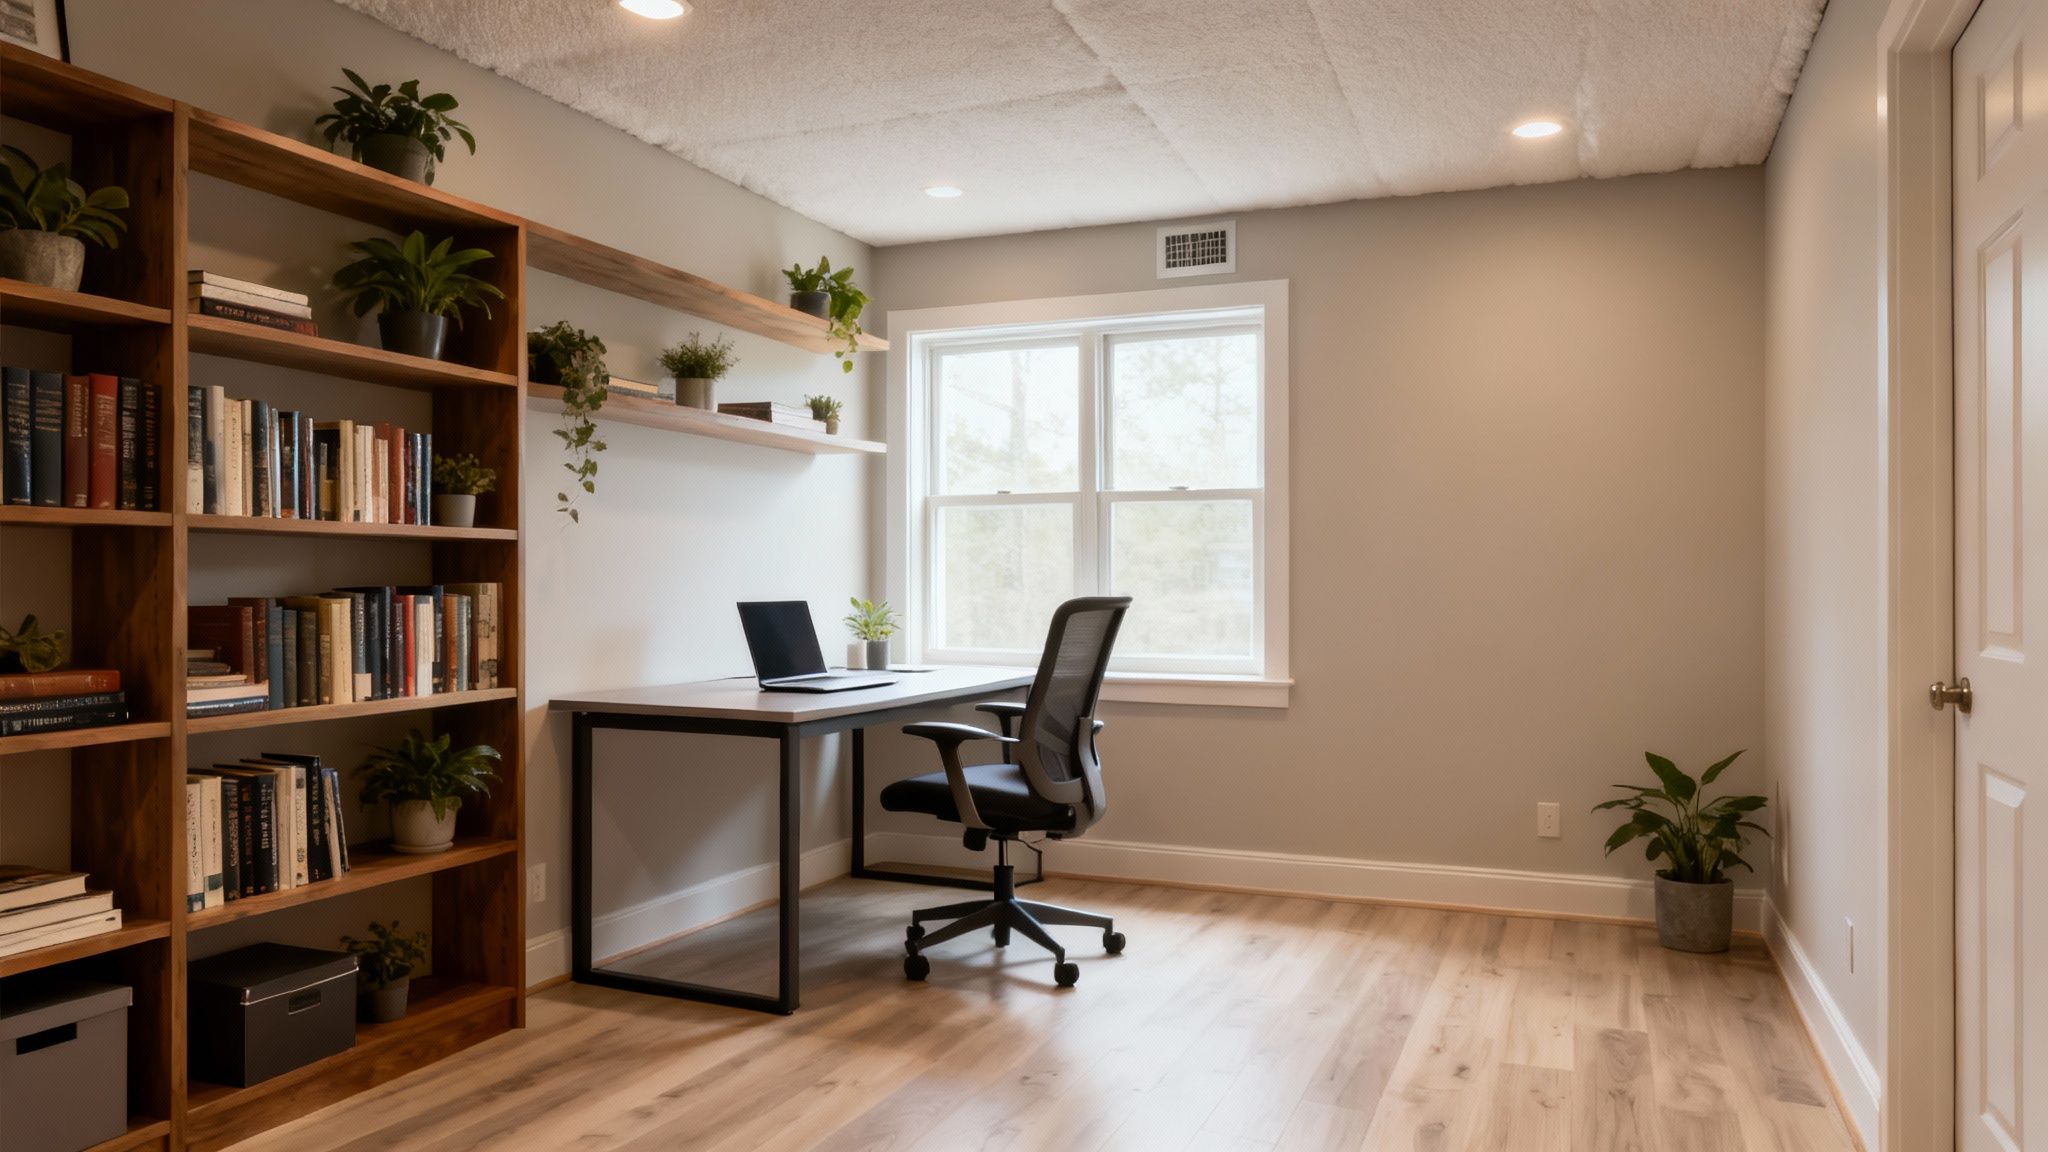
- A Truly Custom Space: Unlike trying to fit a desk into an existing room, a basement is a blank canvas. You can design a workspace from the ground up that fits your exact needs, whether that means custom built-in shelving, a dedicated meeting nook, or specialized lighting.
A basement home office isn't just about adding square footage; it's a direct upgrade to your professional life. It gives you the quiet, dedicated space you need for deep focus, professional video calls, and a clear line between work time and personal time.
Ultimately, this project pays for itself, both in your day-to-day productivity and in your home's future resale value. By transforming this often-neglected area, you’re creating a purpose-built environment designed for success.
So, you're thinking about turning that underused basement into a productive home office. Great idea! But before you start picking out paint colors and ergonomic chairs, we need to talk about what's happening below ground level. This initial assessment is, without a doubt, the most important part of the entire project. Get this wrong, and you're setting yourself up for some serious headaches and expensive repairs down the road.
First things first: you have to become a moisture detective. Basements are, by their very nature, susceptible to dampness, and water is the ultimate enemy of any finished space.
Hunting Down Moisture Problems
Your investigation starts with your senses. Walk into the basement and take a deep breath. Does it have that classic musty, damp smell? That’s your first red flag for mold or mildew, even if you can't see it yet.
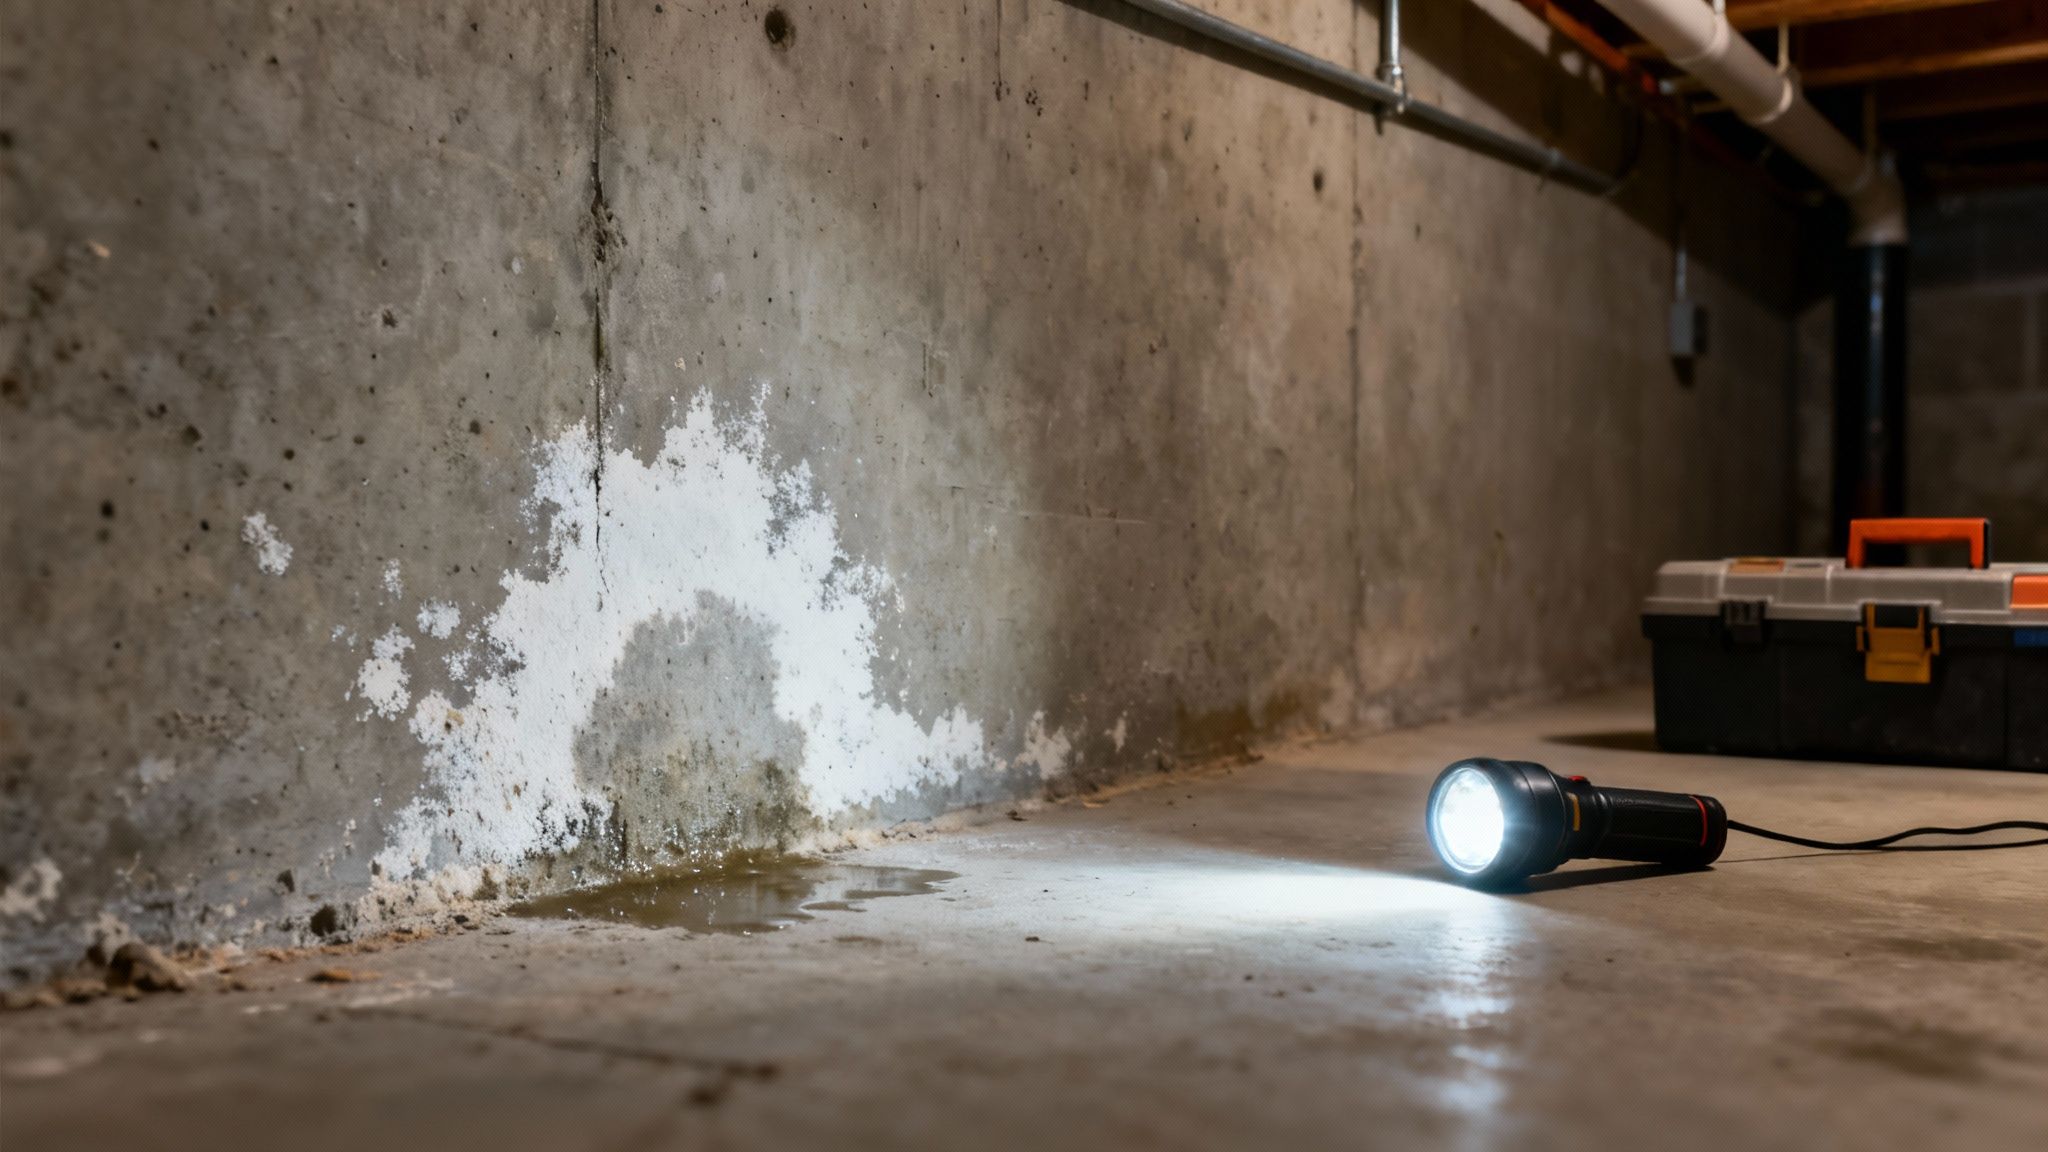
Next, get a good flashlight and methodically inspect every inch of the foundation walls and floor. You're looking for tell-tale signs:
- Dark, damp patches on the concrete.
- Active water trickles, especially after heavy rain.
- Puddles or persistent dampness on the floor.
- A chalky, white powder on the walls called efflorescence. This is a dead giveaway that water has been seeping through the concrete and evaporating, leaving mineral deposits behind.
Don't just trust your eyes—run your hands along the walls. If they feel cold or clammy, that's a sign of moisture. Ignoring even a small leak is a massive mistake. Slapping up drywall over a damp wall is like putting a band-aid on a broken leg; the problem will fester behind the scenes, destroying your new finishes and creating a perfect environment for mold.
Trust me, you have to resolve every single water issue before you even think about framing. If you're seeing signs, it's worth reading up on how to properly waterproof basement walls to make sure your new office stays dry for the long haul.
My Two Cents: Don't ever let a contractor convince you to just "paint over it" with a waterproofing paint and call it a day. That's a temporary fix at best. You need to find the source of the water—whether it’s from poor grading outside, clogged gutters, or foundation cracks—and fix it permanently.
Checking the Foundation and Calling the Town
Once you're confident the space is dry, it's time to look at the structure itself. Small, hairline cracks in a concrete floor or wall are usually just from the house settling over time. But you need to be on the lookout for more serious problems, like large horizontal cracks or "stair-step" cracks in concrete block walls. These can point to significant structural pressure, and you’ll want a structural engineer to take a look before you proceed.
At the same time, you need to get familiar with your local building codes. This isn't optional. Building a finished space without the right permits or inspections can get you into hot water, forcing you to tear everything out or face fines when you eventually sell the house.
Every town is a little different, but most will have strict rules for finished basements, including:
- Egress: You absolutely must have a direct way out in case of a fire. This is usually an egress window of a specific size or a door leading directly outside. This is a life-safety requirement and is non-negotiable.
- Ceiling Height: Most jurisdictions require a minimum finished ceiling height, often around 7 feet, for a space to be legally considered habitable. Measure from the slab to the bottom of the joists to see if you have enough room.
- Ventilation: A stuffy basement office is no one's idea of a good time. Codes will dictate requirements for air circulation to ensure a healthy environment.
Your best move is to call or visit your local building department's website. They’ll have all the specifics you need. Doing this homework upfront saves you from a world of pain and ensures your project is safe, legal, and built to last.
Initial Basement Assessment Checklist
To help you get started, here’s a quick checklist to walk you through the most critical inspection points. This isn't a substitute for a professional inspection, but it will give you a solid understanding of what you're working with.
| Moisture | Musty odors, damp spots, efflorescence (white powder), puddles, high humidity. | Prevents mold, protects building materials, and ensures a healthy workspace. This is the #1 deal-breaker for any basement project. |
| Foundation | Large horizontal or stair-step cracks, bowing walls, significant unevenness in the floor. | Identifies structural issues that could compromise the safety and integrity of your home. |
| Ceiling Height | Measure from the concrete slab to the lowest point (joists, pipes, ducts). | Ensures the finished space will meet the minimum 7-foot height requirement for a legal, habitable room. |
| Egress | Existing windows large enough for escape, or a walk-out door. | A non-negotiable safety requirement for fire escape. You will need to add an egress window if one doesn't exist. |
| Pests | Droppings, nests, chewed wires, insects (termites, carpenter ants). | Uncovering and eliminating pest issues now prevents them from being sealed inside your new walls. |
| Radon | Use a home test kit to check for this invisible, odorless gas. | Radon is a health hazard common in basements. Mitigation systems are much easier to install before finishing the space. |
| Plumbing & HVAC | Location of pipes, ducts, sump pump, and water heater. | These elements will impact your layout and may need to be moved or boxed in, affecting your final design and budget. |
Taking the time to go through this list carefully gives you a realistic picture of the scope and potential challenges of your project before you invest a single dollar.
Designing a Productive and Comfortable Workspace
Now that you've handled the structural essentials, it's time for the fun part: designing an office you'll actually want to spend time in. This is where you transform a functional space into a productive sanctuary. It’s about more than just a desk and a chair; it's about crafting an environment that genuinely supports your work.
Your first big decision is the layout, which will define the entire flow and feel of your office. Think about your personal work style. Are you someone who needs to shut the door for deep focus, or do you prefer a more open, integrated space?
An enclosed office is fantastic for privacy. It gives you true sound and visual separation, perfect for confidential calls or when you absolutely can't be disturbed. But if your basement is on the smaller side, an open-concept design can make the area feel much larger and more connected to the rest of your finished basement.
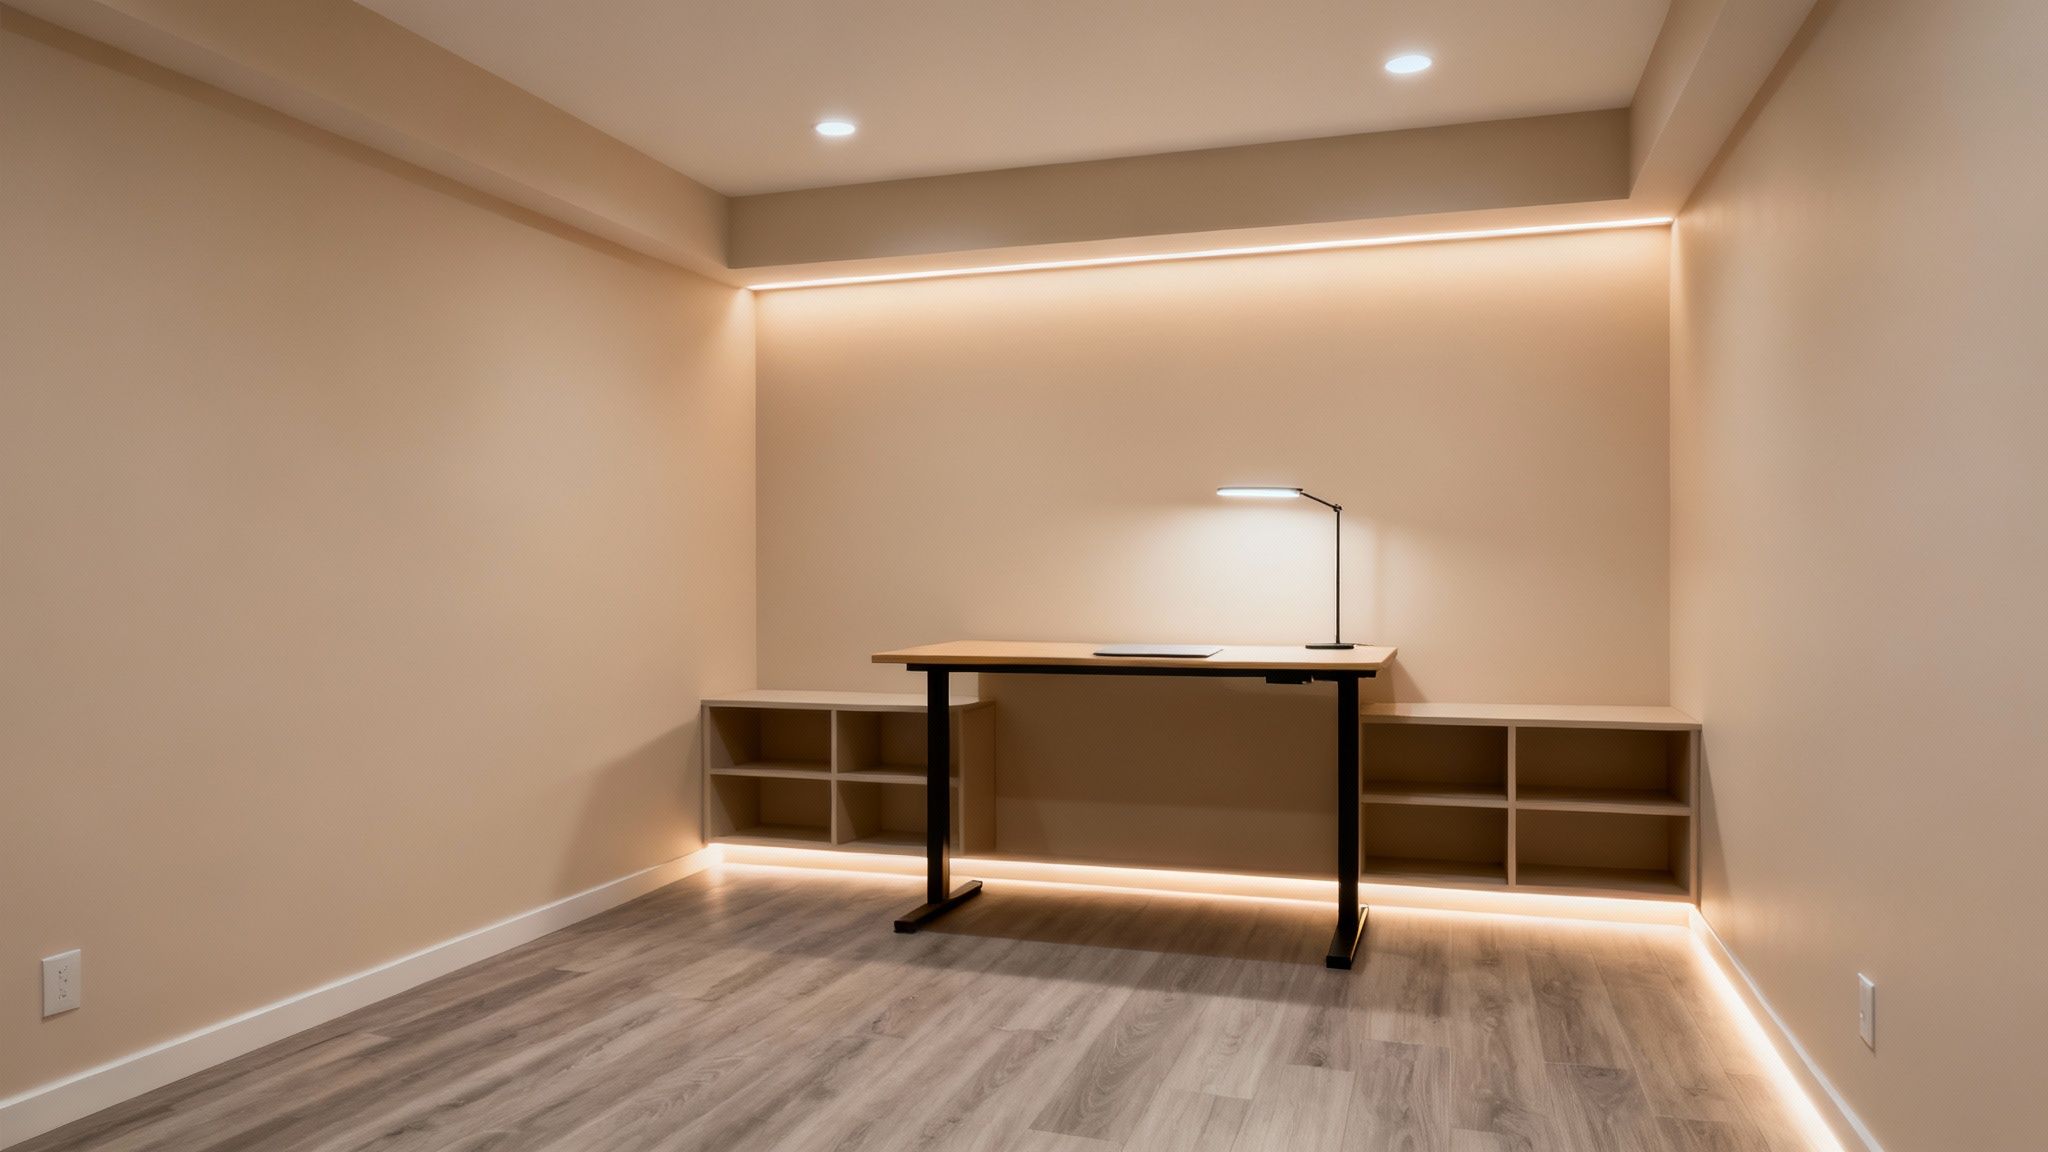
Mastering Basement Lighting
If there's one thing that screams "basement," it's bad lighting. A single, sad-looking overhead bulb is a recipe for eye strain and a gloomy mood. To avoid this, you need a layered lighting strategy, which is just a fancy way of saying you should use a mix of different light sources.
- Ambient Lighting: This is your main, all-over light. Recessed can lights are my go-to recommendation for basements because they spread light evenly without eating into your precious ceiling height.
- Task Lighting: This is your focused, "get stuff done" light. A quality LED desk lamp is non-negotiable for cutting screen glare and making paperwork easier to read.
- Accent Lighting: This is what brings personality to the room. A cool floor lamp in the corner or some track lighting aimed at your bookshelf can add a lot of warmth and visual interest.
Good lighting is about more than just visibility—it completely sets the mood. I always suggest using LED bulbs with a color temperature between 3000K and 4000K. This range beautifully mimics natural daylight, which is proven to help keep you alert and focused.
Choosing Finishes That Work Hard
The materials you choose for your walls, floors, and ceiling are workhorses in a basement office. They need to look good, stand up to the unique basement environment, and, most importantly, help make the space feel brighter.
Walls and Ceiling
My advice? Stick with light, neutral paint colors. An off-white, a light gray, or a soft beige will reflect every bit of available light, making the room feel bigger and less subterranean. For the ceiling, you can't go wrong with a flat white paint to create a sense of height. There are also some really clever options for finishing a basement ceiling that can hide ugly ductwork while still looking sleek and modern.
Flooring
Basement flooring has to be tough and moisture-resistant, period. Luxury Vinyl Plank (LVP) is almost always the best choice here. It's 100% waterproof, incredibly durable, and comes in tons of realistic wood-look finishes. Plus, it’s a lot warmer and more comfortable to walk on than cold, hard tile.
Storage and Organization
Finally, don't forget storage. A cluttered desk leads to a cluttered mind. Built-in cabinetry is a great way to hide bulky printers and office supplies for a clean, professional look. Floating shelves are another excellent option for keeping books and personal items organized without chewing up floor space.
Getting Your Office Systems Dialed In
A great home office is more than just a desk and a chair. It’s the invisible infrastructure—the climate control, power, and connectivity—that truly makes the space work for you. Getting these systems right from the start is the key to creating a comfortable, productive workspace instead of a basement that’s just a source of headaches.
First, let's tackle climate control. Basements have a reputation for being cold and damp for a reason. You can't just hope the air from upstairs will keep you comfortable.
One option is to extend your home's existing HVAC ductwork. If your current system can handle the extra load, a professional can tap into it and run new vents to your office. A more flexible, and often more efficient, choice is a ductless mini-split system. These give you a dedicated thermostat for your office, so you can set the perfect temperature without a single complaint from anyone else in the house.
Planning for Power and Data
Next up: electrical and connectivity. This is where people almost always underestimate their needs. You're not just plugging in a computer and a monitor. Think about everything else: a printer, desk lamp, phone charger, speakers, a second monitor, maybe even a small fridge.
As a rule of thumb, I always recommend at least one quad outlet box right at the desk area. It’s also smart to sprinkle a few other outlets around the room for things you might add later, like a cozy armchair with a reading lamp.
While you're running wires, don't forget about your internet. Understanding the nuances of different Wi-Fi standards is crucial, as it can significantly affect your daily workflow. Taking a moment for choosing the right Wi-Fi technology for your home office will pay dividends. But for truly bulletproof reliability—especially if your work involves video calls or transferring massive files—nothing beats a hardwired Ethernet cable run directly to your desk.
Building a Quiet, Efficient Workspace
Finally, let's talk about what's going on inside the walls. For a basement office, proper insulation and soundproofing are non-negotiable. They're absolute game-changers for both comfort and focus.
Because basements are below-grade, they don't need the same level of thermal insulation as the rest of the house, but it’s still critical for managing temperature and moisture. A great combination is rigid foam board insulation installed directly against the concrete walls, followed by traditional batt insulation tucked into the stud cavities. This creates a solid thermal barrier that keeps the space warmer in the winter, cooler in the summer, and your energy bills down.
Soundproofing is just as vital. You need to create a quiet zone, free from the thuds of footsteps or the chaos of family life upstairs. Here’s how:
- Insulate the Ceiling: Stuff high-density batt insulation, like mineral wool, between the ceiling joists. It’s excellent at absorbing airborne sound.
- Use Resilient Channels: Before hanging the drywall, install these thin metal strips on the joists. They create a small gap that decouples the ceiling from the floor above, which does wonders for stopping impact noise.
- Install a Solid Core Door: Don't skimp here. A flimsy, hollow-core door might as well be a curtain. A heavy, solid-core door is one of the best investments you can make for true peace and quiet.
This focus on creating high-quality home workspaces isn't just a niche trend. With remote work becoming a permanent fixture for so many, homeowners are seriously investing in these conversions. In fact, the global home office furniture market is expected to reach an incredible USD 51.3 billion by 2029, a clear sign of how valuable these dedicated spaces have become.
Managing the Build from Start to Finish
This is where the rubber meets the road. All your planning and dreaming about a basement home office are about to become a reality. A solid construction plan and the right team are what separate a stressful, over-budget ordeal from an exciting transformation. The key is to know what’s coming and how to steer the ship.
Your single most important decision is choosing the right contractor. A great builder is more than just a pair of hands; they're your partner in the project. They need to be a clear communicator, respect your budget, and be a proactive problem-solver. Never, ever settle for the first bid you get. Aim for at least three. You're not just shopping for the lowest price—you're looking for the best overall value.
When you're interviewing potential builders, go beyond the quote. Ask to see a portfolio of their finished basements. Verify their license and insurance—no exceptions. And most importantly, call their references. A quick chat with a few past clients will tell you more about their process, reliability, and the quality of their work than any sales pitch.
Getting a Feel for the Project Timeline
While no two jobs are exactly alike, most basement finishing projects follow a pretty standard order of operations. Understanding this sequence helps you know what to expect, track progress, and see that things are moving along as they should. A well-run site flows smoothly from one trade to the next without a lot of dead time.
- Framing and the "Rough-In" Phase: Once any demo work is done, the carpenters come in to frame the new walls. This is when the space really starts to take shape. Right on their heels, the electricians, plumbers, and HVAC crews will run all the wires, pipes, and ducts through the open wall cavities.
- Insulation and Drywall: After the mechanical rough-ins pass inspection, it's time to insulate. This goes into the wall cavities and ceiling joists. Then, the drywall goes up, and suddenly, you have actual rooms.
- The Finishing Stretch: This is the phase where all the details come together. It covers everything from taping and mudding the drywall seams to painting, laying the floor, hanging doors, and installing all the final fixtures like lights, switches, and outlets.
To get a handle on the entire process before you even talk to a contractor, it’s worth looking over a comprehensive guide to basement renovations. Knowing what's involved from start to finish will make you much more prepared for those initial conversations and help you set a more accurate budget.
A detailed contract is your best friend. It should spell out the exact scope of work, a payment schedule tied to specific milestones, a list of materials, and an estimated completion date. Never, ever start a project this big on a handshake.
Budgeting for the Real World
Building a realistic budget is non-negotiable. Your contractor’s quote covers the construction, but don't forget to account for all the things that make the office yours. This means everything from the paint and flooring to the desk, a good chair, and any shelving or storage you'll need.
I always tell clients to build a contingency fund into their budget—plan for an extra 10-15% of the total project cost. This isn't for splurging; it's a safety net for the unknowns. You might discover a pipe that has to be rerouted or decide you really want those upgraded recessed lights after all. That buffer keeps small surprises from turning into major budget crises.
This flowchart breaks down the three core systems you need to get right for the space to be truly functional.
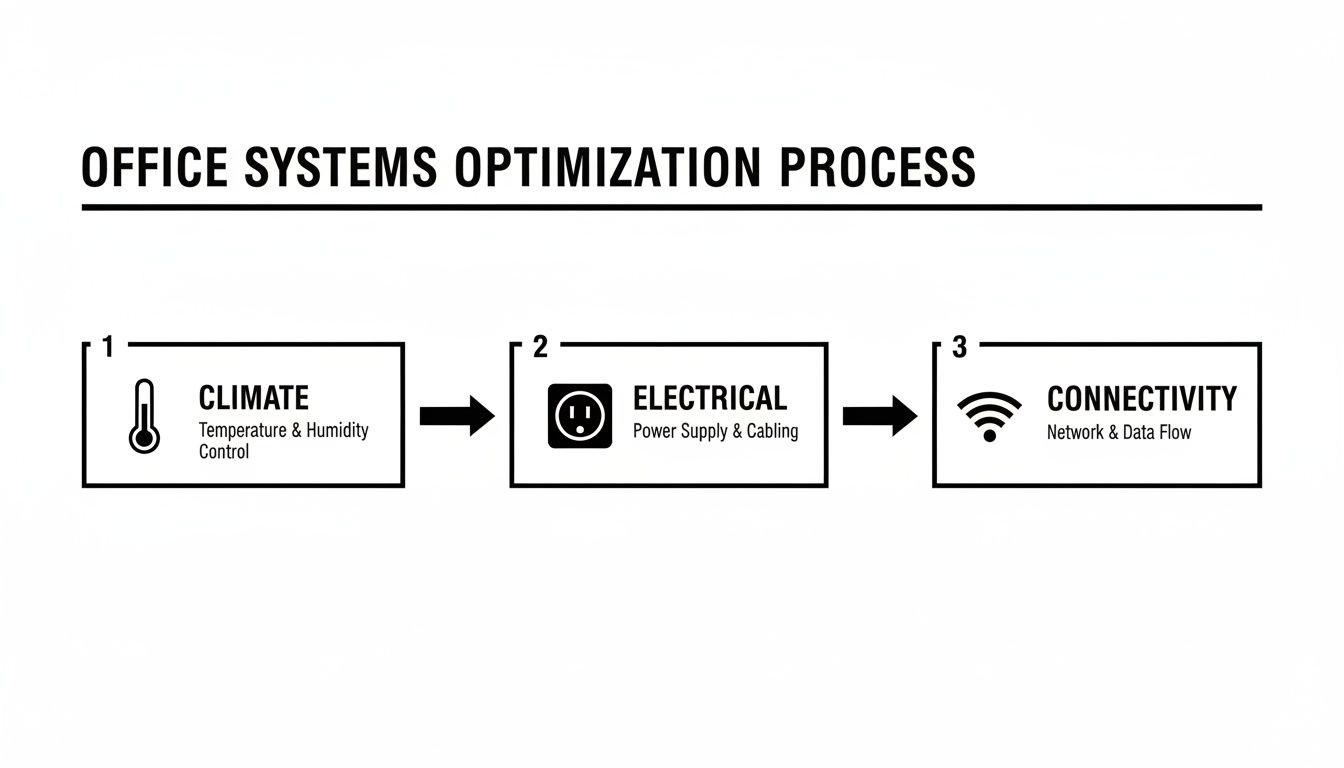
It’s the thoughtful integration of climate control, smart electrical planning, and solid connectivity that really elevates a finished basement into a legitimate, high-performance workspace.
Common Questions About Basement Office Conversions
Even the most well-thought-out plan can leave you with a few lingering questions. Let's tackle some of the most common things homeowners ask before they break ground on their new basement office. Getting these answers sorted out now will save you headaches down the road.
What's the Real Cost of a Basement Office?
This is always the first question, and the honest-to-goodness answer is: it really depends. There's a huge range.
For a simple, straightforward project in a basement that's already in good shape, you might be looking at a budget of $7,000 to $10,000. But if you're talking about a more involved renovation—maybe you need to add a proper egress window, do some serious waterproofing, or you want high-end finishes—that number can easily jump to $30,000, $50,000, or even more.
The final price tag really comes down to a few big variables:
- The Starting Point: Is your basement already dry and clean, or are we dealing with moisture problems and a cracked foundation? Addressing existing issues is a non-negotiable first step, and it adds to the cost.
- The Wish List: Are we just creating an open office space? Or does the plan include a new bathroom, custom shelving, and moving around plumbing and ductwork? The more complex the job, the higher the budget.
- The Finishes: Your choice of materials makes a massive difference. You can opt for practical, budget-friendly options or go for premium upgrades like luxury vinyl plank flooring, custom cabinetry, and sophisticated lighting fixtures.
Can I Just DIY My Basement Office?
Taking on parts of the project yourself is a great way to save some money, especially if you're comfortable with the work. Things like painting the walls, laying down a floating floor, or building flat-pack furniture are definitely within reach for a skilled DIYer.
However, some jobs are simply not for amateurs. Leave anything involving electrical wiring, plumbing lines, or structural changes (like cutting into your foundation for a window) to licensed professionals. The risk of getting it wrong is just too high—you could be looking at failed inspections, safety hazards, or costly repairs.
A Pro's Two Cents: The single biggest mistake I see with DIY basement projects is cutting corners on moisture control. A professional will know exactly how to diagnose and fix water issues for good. Without a completely dry foundation, everything else you build on top of it is at risk.
How Can I Make My Office Not Feel Like a Basement?
Ah, the classic "dungeon" problem. It's a real concern, but totally solvable with smart design. The goal is to trick the senses and create a space that feels bright, warm, and inviting.
To really nail the transformation, focus your energy and budget on these three game-changers:
Lighting, Lighting, Lighting: You can't overdo it here. A layered lighting strategy is your best friend. Use recessed can lights for overall ambient brightness, a focused task lamp on your desk, and maybe some wall sconces or accent lighting to add a warm, cozy glow.
Color Psychology: Stick with light, airy paint colors. Think soft whites, pale grays, or even a light greige. These shades do a fantastic job of reflecting light and making the space feel bigger and more open than it actually is.
Warm Finishes: The materials you choose underfoot and on the walls matter. A quality LVP flooring with a wood grain look feels much warmer and more comfortable than bare concrete or cold ceramic tile. An area rug is another easy win for adding texture and warmth.
Here at Northpoint Construction, turning dark, forgotten basements into incredible, light-filled home offices is what we do best. If you're in Orem, Provo, or anywhere nearby and are tired of working from the kitchen table, let's talk. Contact us today to get the conversation started on your perfect workspace.