
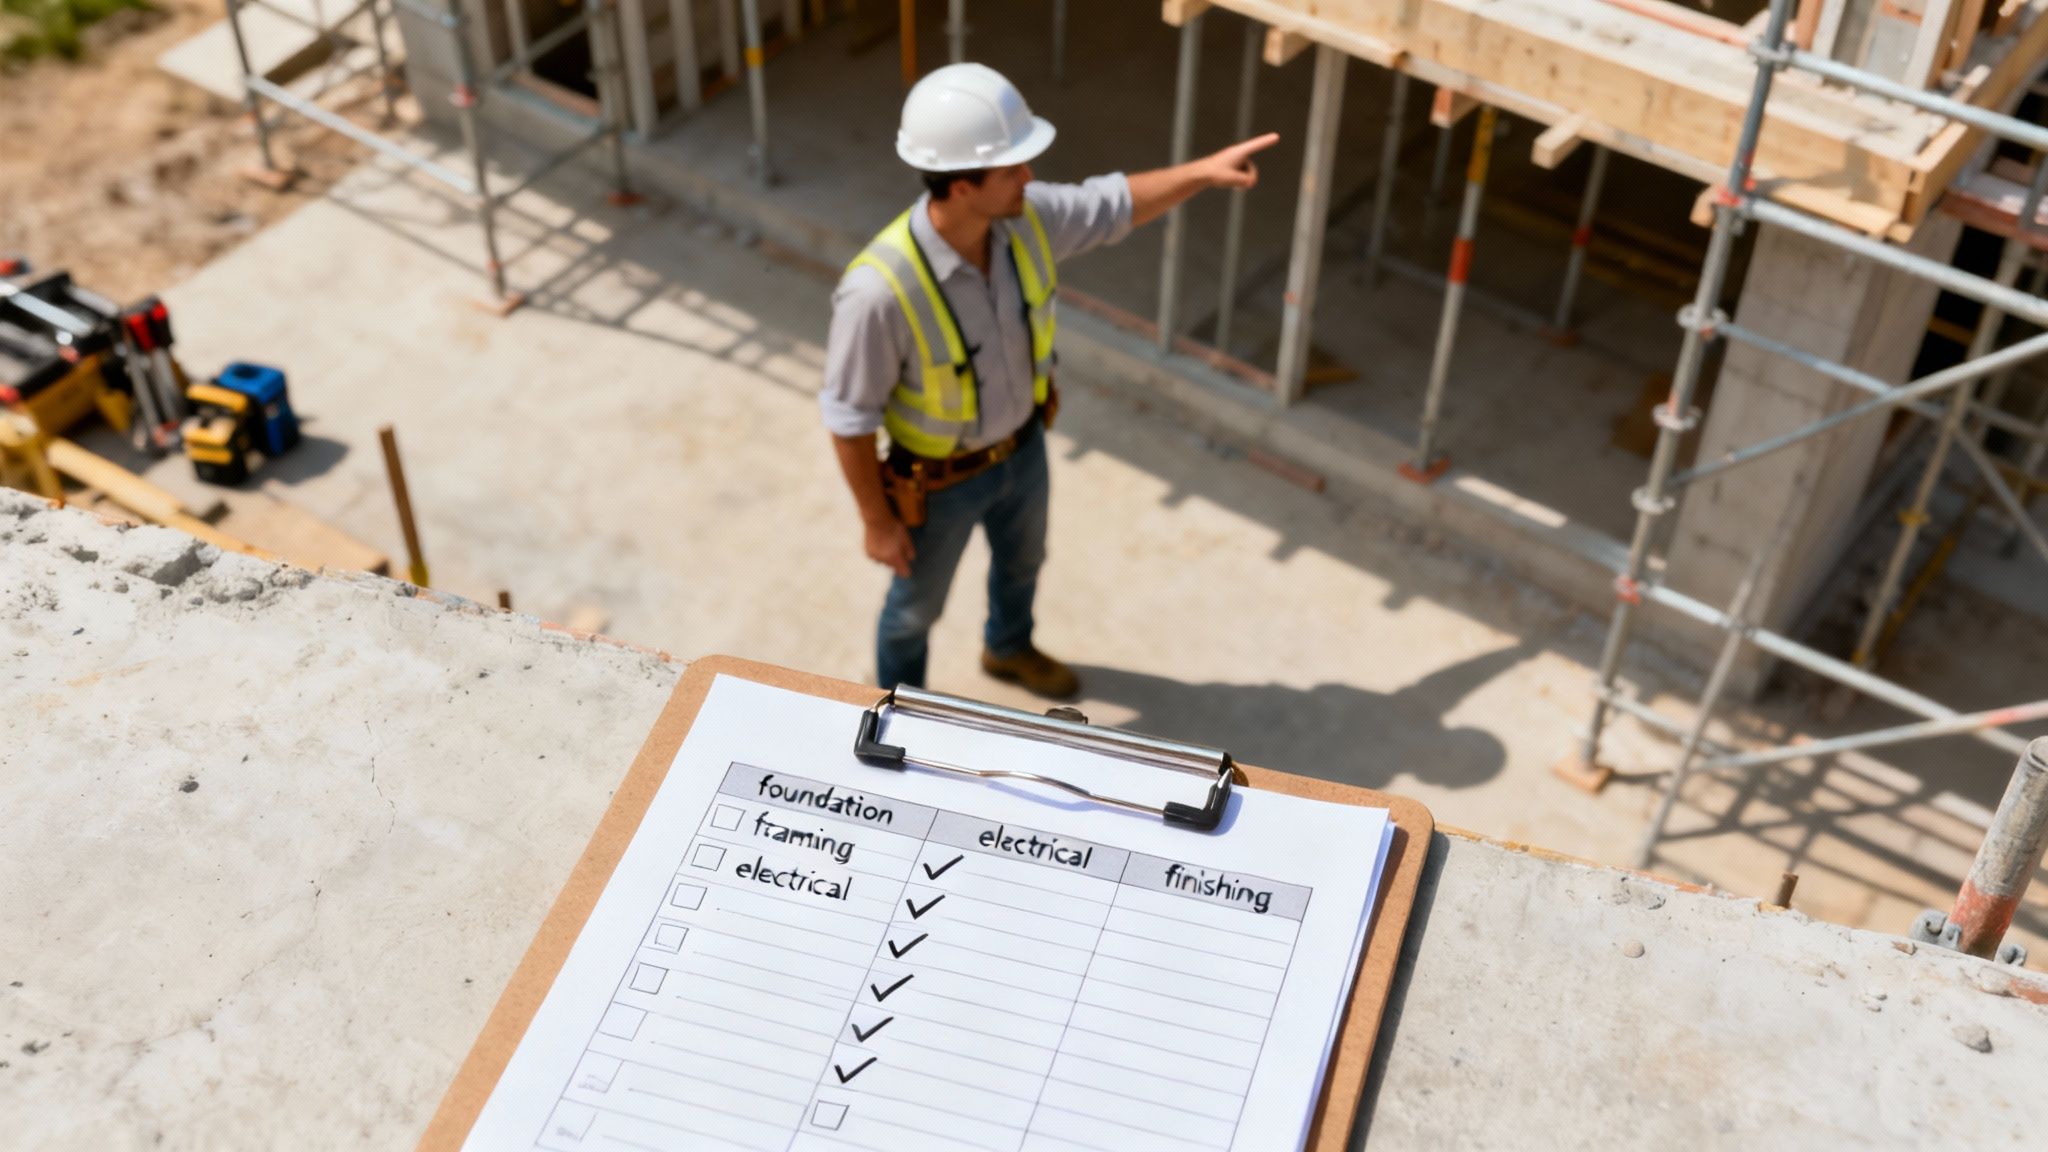
Top Construction Quality Control Checklists for Projects
In the complex world of construction, success is built on precision, not chance. From the initial pour to the final punch list, every detail matters. Overlooking a single step can lead to costly rework, dangerous safety hazards, and significant project delays. This is where the power of comprehensive construction quality control checklists comes into play. They are not just administrative paperwork; they are the foundational framework for quality assurance, ensuring that every phase of construction meets exacting standards.
This guide will walk you through eight indispensable checklists that serve as the blueprint for excellence on any job site. We will explore how these tools transform abstract quality goals into tangible, verifiable actions, safeguarding your project's integrity, budget, and timeline. The systematic approach of a checklist minimizes human error and guarantees consistency, a principle vital in any high-stakes environment. Across various high-stakes operations, the undeniable importance of using checklists for safety and efficiency is consistently highlighted, proving their universal value.
By implementing these structured guides, teams can systematically prevent errors, maintain compliance, and deliver a final product that stands the test of time. Whether you are a homeowner overseeing a remodel or a commercial property manager, these checklists provide the structure needed to verify quality at every critical milestone.
1. Pre-Pour Concrete Checklist
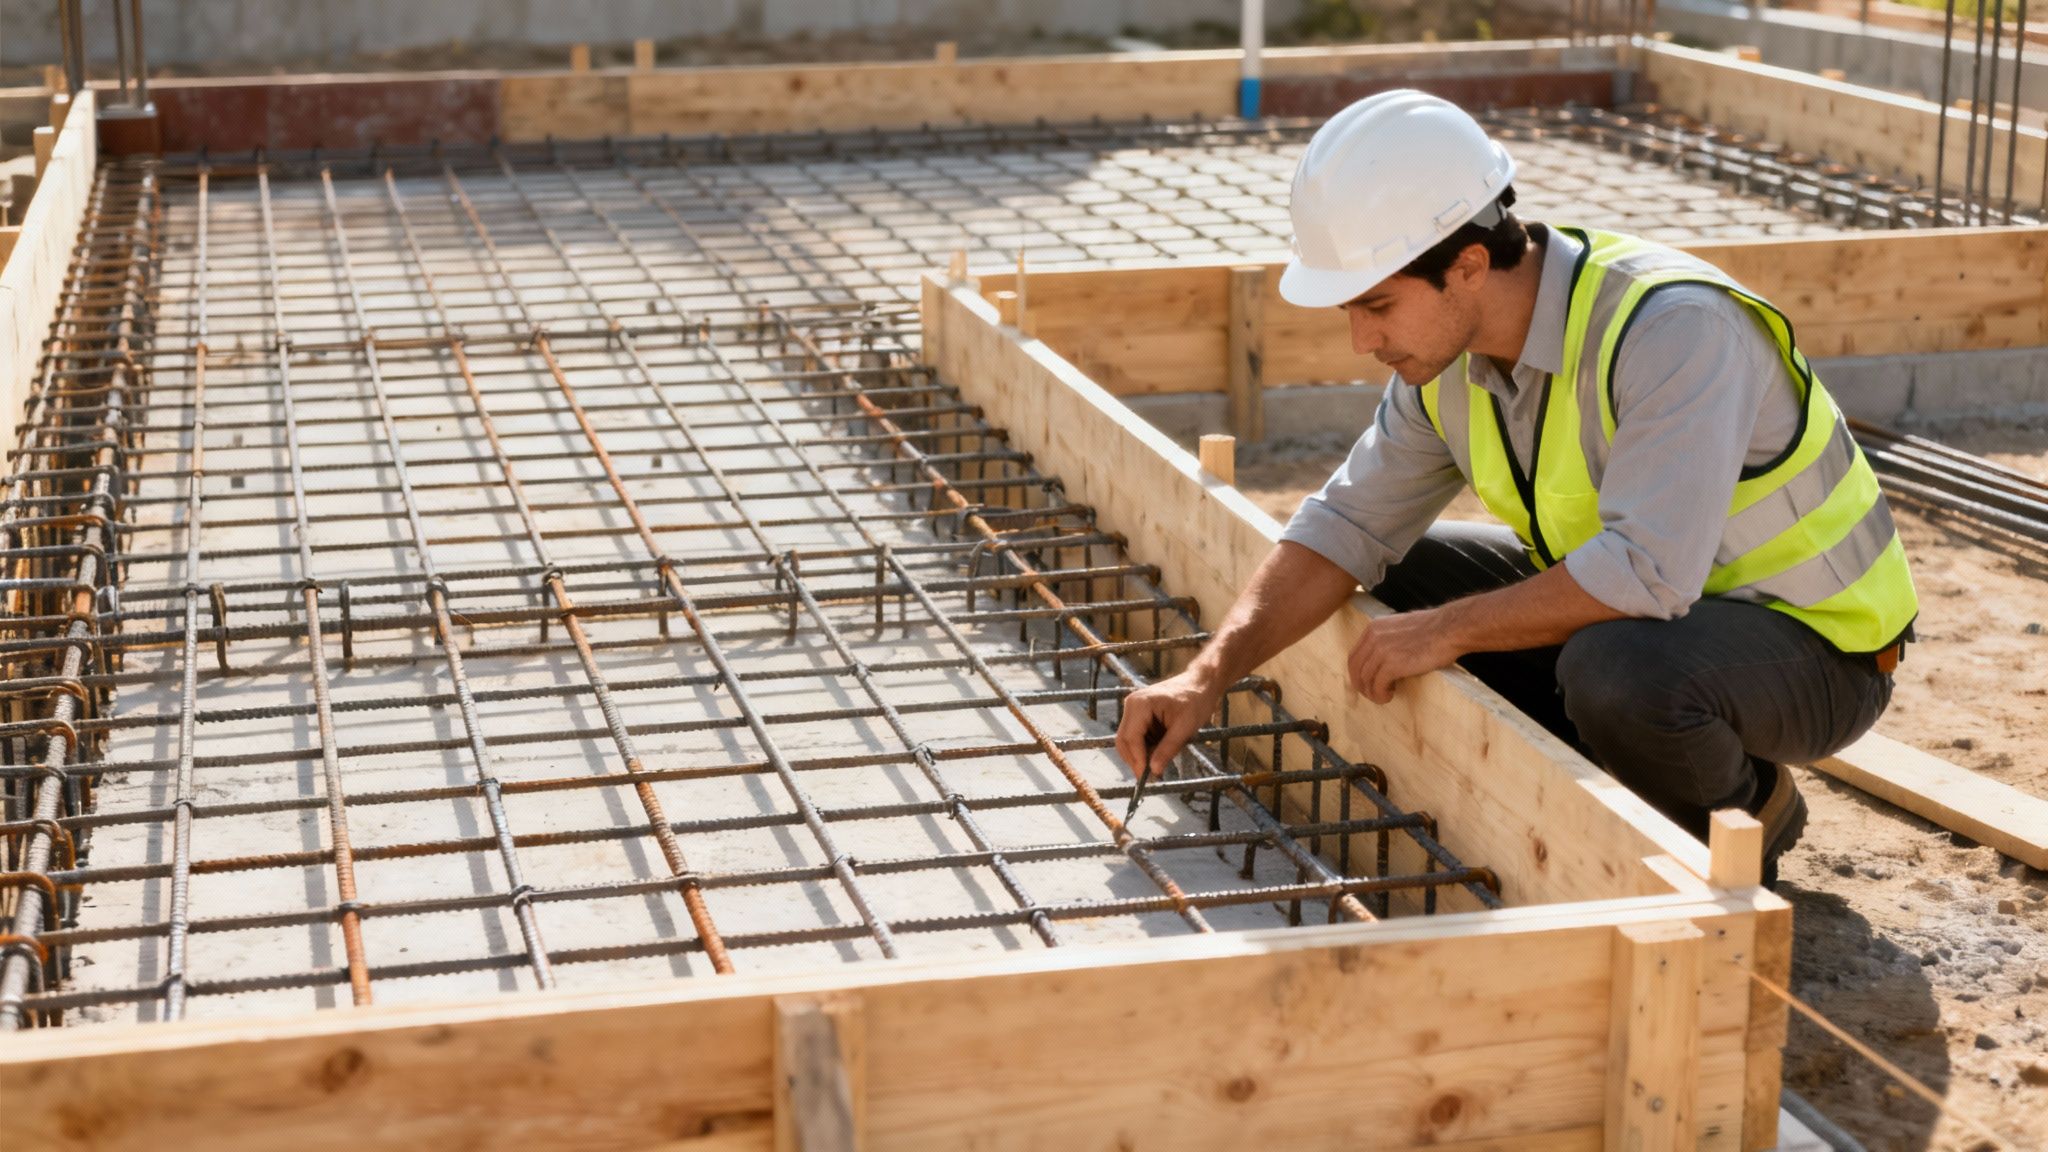
The Pre-Pour Concrete Checklist is one of the most critical documents in structural construction, acting as the final gatekeeper before liquid concrete is placed. This comprehensive quality control checklist verifies that all preceding work, from groundwork to reinforcement, is completed correctly. It prevents catastrophic and costly defects by ensuring formwork, rebar, embedments, and site conditions meet stringent project specifications and safety standards.
A typical checklist guides an inspector through a methodical review of the area designated for the pour. It confirms that the subgrade is properly compacted and graded, formwork is clean, braced, and sealed, and all steel reinforcement is the correct size, spacing, and has adequate concrete cover. This foundational step is a non-negotiable part of any serious construction quality control plan.
Why It's Essential
Using a pre-pour checklist is fundamental for ensuring structural integrity, durability, and safety. For custom home builders, it guarantees the foundation is sound. For commercial property managers, it verifies that slabs and structural elements will perform as designed, preventing future maintenance nightmares and liability issues.
The Hoover Dam Bypass project, for instance, implemented digital pre-pour checklists that were instrumental in reducing concrete defects by a staggering 40%, showcasing the checklist's power in large-scale, complex projects.
Key Insight: The pre-pour check isn't just about finding mistakes; it's about creating a final, documented record of compliance before an irreversible action (placing concrete) occurs.
How to Implement It Effectively
To maximize the impact of your pre-pour concrete checklist, follow these best practices:
- Timing is Everything: Conduct the full checklist review 24-48 hours before the scheduled pour. This buffer provides a crucial window to correct any identified deficiencies without causing costly delays to the concrete supplier and placement crew.
- Embrace Digital Tools: Use a digital checklist app (like those offered by Procore) that allows for photo documentation. Attaching a photo to each sign-off item creates an indisputable visual record of compliance.
- Assign Clear Responsibility: Break the checklist into sections (e.g., Formwork, Reinforcement, Embedments) and assign a specific, qualified individual to be responsible for signing off on each part. This eliminates oversight gaps.
- Plan for Weather: Integrate weather contingency triggers into the checklist. Define specific temperature, wind, or precipitation thresholds that would require the pour to be postponed or additional measures (like heaters or coverings) to be implemented.
2. Site Safety Inspection Checklist
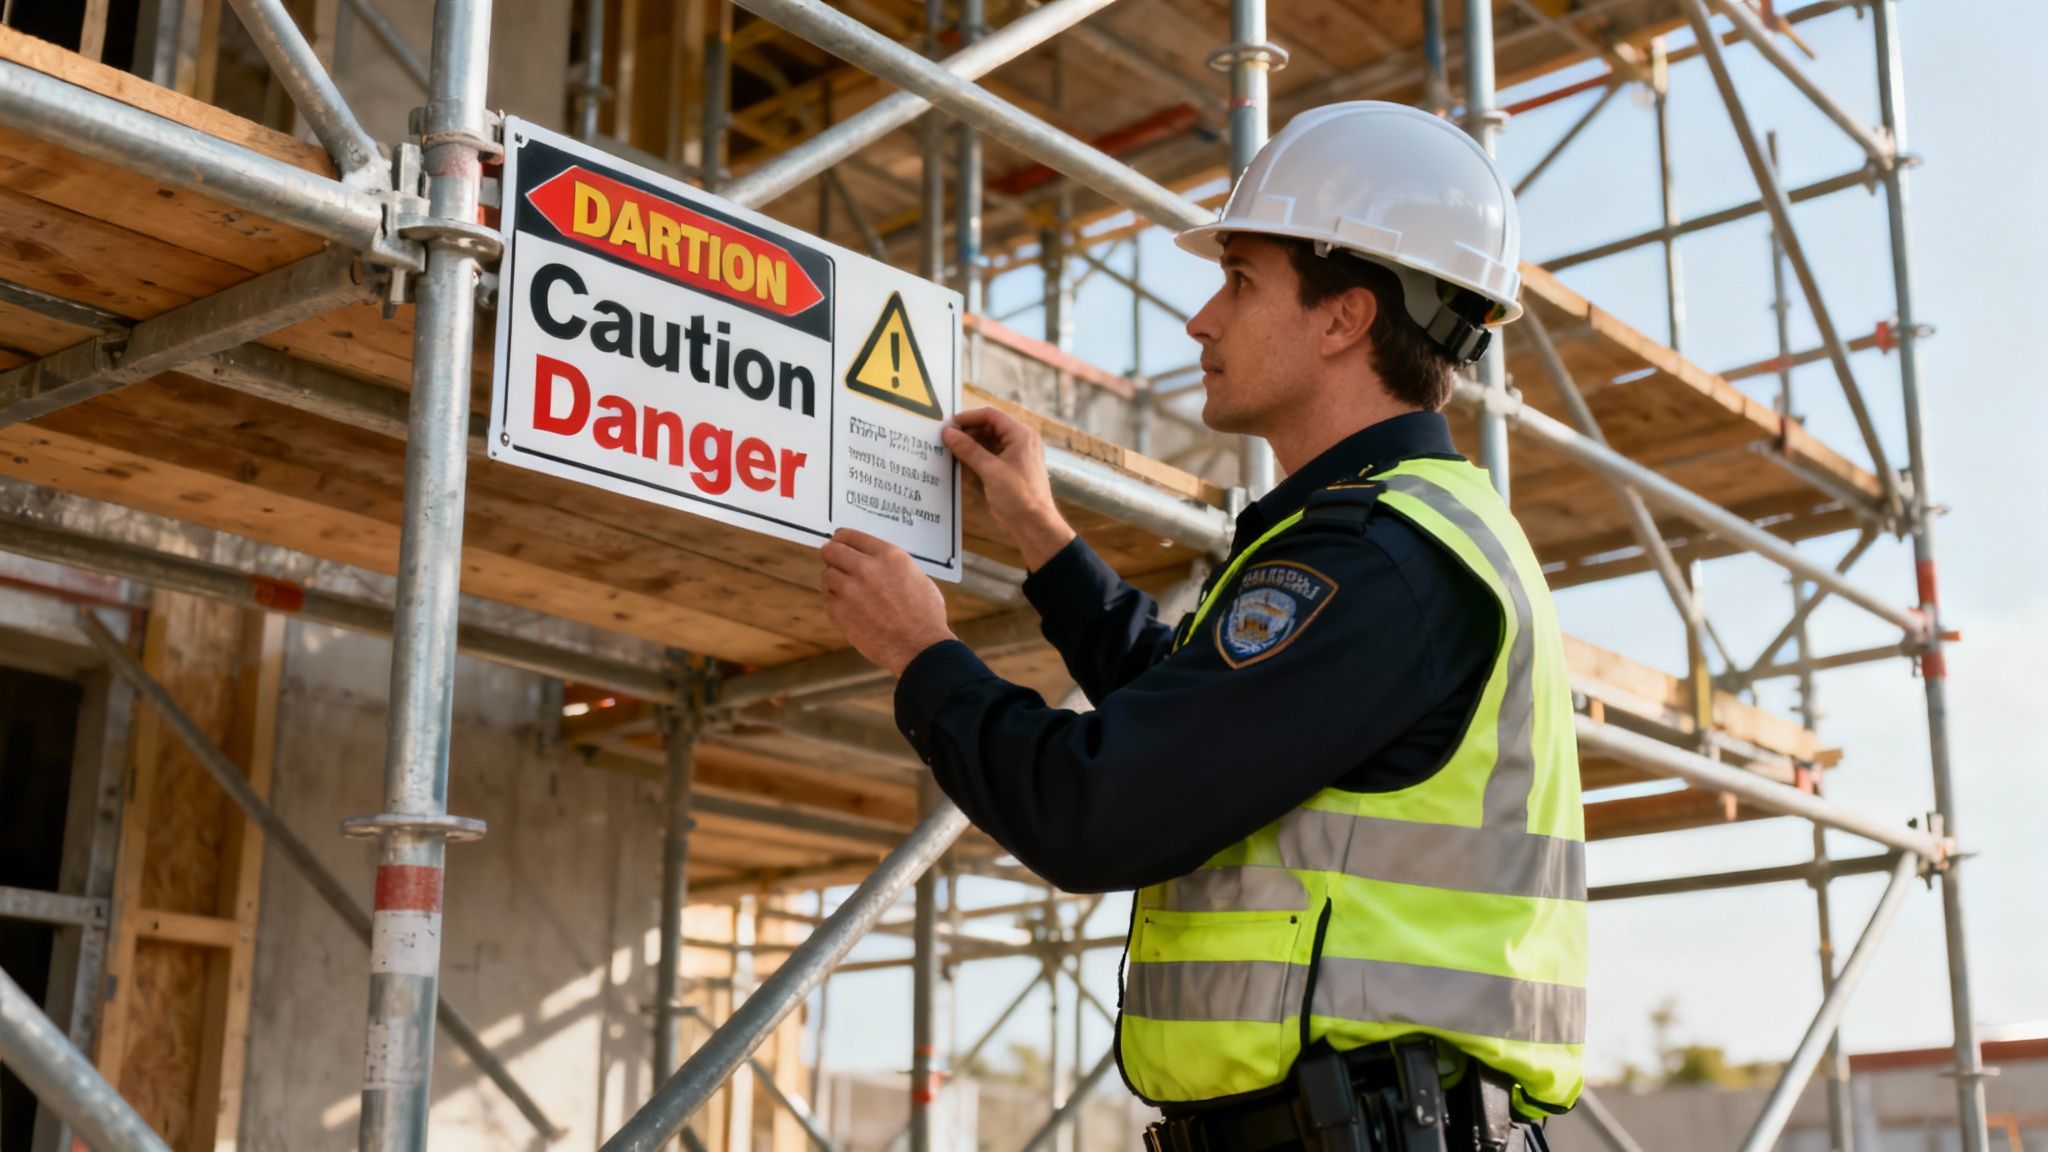
The Site Safety Inspection Checklist is a fundamental quality control tool used daily or weekly to systematically evaluate workplace safety, identify hazards, and ensure risk mitigation measures are in place. This proactive checklist confirms adherence to OSHA regulations and company safety policies, fostering a culture where safety is a shared responsibility. It covers critical areas like personal protective equipment (PPE), fall protection, excavation safety, equipment operation, and emergency preparedness.
This document guides a safety officer or site supervisor through a methodical review of the entire worksite. It serves as a preventative measure, identifying potential dangers before they can lead to incidents, injuries, or costly work stoppages. A robust safety inspection process is an indispensable component of any effective construction quality control plan, protecting both workers and the project's bottom line.
Why It's Essential
Using a site safety checklist is critical for creating a secure working environment and maintaining regulatory compliance. For custom home builders, it ensures the well-being of every subcontractor on site. For commercial property managers and landlords, it mitigates liability and demonstrates a commitment to operational excellence. This process is just as crucial for safety as a detailed property inspection is for maintenance, ensuring all aspects of the property are up to standard.
Turner Construction, for instance, implemented digital safety checklists across its projects and successfully reduced recordable incidents by 35% over two years. This showcases how systematic safety checks directly translate to a safer, more productive job site.
Key Insight: A safety checklist is not just about compliance; it's a dynamic tool for hazard identification and a documented commitment to sending every worker home safely at the end of the day.
How to Implement It Effectively
To maximize the impact of your site safety inspection checklist, follow these best practices:
- Vary Inspection Times: Conduct safety inspections at different times of the day and week. This approach helps capture varying site conditions and work activities that might otherwise be missed during a routine check.
- Involve the Team: Rotate the responsibility for inspections among different qualified team members. Involving various people, from foremen to crew members, brings fresh perspectives and increases overall safety awareness and buy-in.
- Use Visual Hazard Codes: Implement a simple, color-coded system (e.g., Red for immediate danger, Yellow for caution, Green for compliant) to quickly communicate the severity of identified hazards across the entire site.
- Link Findings to Training: Directly connect issues found during inspections to your daily toolbox talks. For a deeper dive into ensuring workplace safety, refer to this essential construction site safety checklist. This creates a direct feedback loop, providing immediate education and reinforcement for the entire crew.
3. MEP (Mechanical, Electrical, Plumbing) Rough-In Inspection Checklist
The MEP Rough-In Inspection Checklist is a vital quality control tool used after initial system installation but before walls are insulated and closed. This comprehensive document verifies that all mechanical ductwork, electrical wiring, and plumbing pipes are installed correctly, safely, and in coordination with each other. It’s the last chance to catch costly installation errors, code violations, or system conflicts while they are still easily and inexpensively accessible.
An inspector methodically uses the checklist to confirm that all systems adhere to design specifications and building codes. This includes verifying proper pipe sloping, correct wire gauging, secure duct connections, and adequate clearance between different systems. This critical step in a construction quality control plan prevents major rework, system failures, and hazardous conditions hidden behind finished walls.
Why It's Essential
Employing a detailed MEP rough-in checklist is crucial for functionality, safety, and long-term building performance. For custom home builders, it ensures the home's vital systems operate reliably. For commercial property managers, it prevents future operational disruptions and expensive repairs that would otherwise require demolishing finished spaces to access the source of a problem.
The Hudson Yards development in New York successfully used digital MEP checklists, which were instrumental in reducing post-completion punch list items by 60%. This showcases the checklist's power to ensure complex, multi-trade installations are done right the first time.
Key Insight: The MEP rough-in inspection isn't just a pass/fail check; it's a proactive coordination tool that prevents systemic clashes and ensures the building's "central nervous system" is sound before it's concealed.
How to Implement It Effectively
To maximize the value of your MEP rough-in inspection checklist, follow these best practices:
- Strategic Scheduling: Conduct the inspection after all MEP systems are installed but before insulation is placed. This provides clear, unobstructed visual access to every pipe, wire, and duct.
- Leverage BIM for Focus: Use Building Information Modeling (BIM) clash detection reports to identify high-risk areas where mechanical, electrical, and plumbing systems intersect. Prioritize these zones during the physical inspection.
- Document with Photos: Photograph all concealed work, especially at connection points and junctions. Include a tape measure in the photos for scale to create a permanent visual record for future maintenance or troubleshooting.
- Require Test Results: Integrate mandatory testing results directly into the checklist. This includes signed-off pressure tests for plumbing lines, continuity tests for electrical circuits, and duct leakage tests for HVAC systems.
4. Structural Steel Erection Quality Checklist
The Structural Steel Erection Quality Checklist is an indispensable tool for ensuring the skeleton of a building is safe, stable, and built to exact engineering specifications. It serves as a methodical guide for verifying that steel components, from massive beams to the smallest bolts, are fabricated, delivered, and assembled correctly. This checklist bridges the critical gap between precise shop fabrication and the complex realities of field erection, preventing structural misalignments and connection failures.
This quality control checklist guides inspectors through a series of crucial checks, including member identification against erection drawings, verification of anchor bolt placement, and confirmation of plumbness, level, and alignment of columns and beams. It also covers detailed connection protocols, such as bolting procedures, torque verification, and welding quality, which are foundational to the building's overall integrity. This detailed process is a core component of any rigorous commercial building inspection.

Why It's Essential
Proper steel erection is non-negotiable for the safety and long-term performance of any structure. For those building a custom home with steel elements or managing a large commercial project, this checklist guarantees that the structural frame can withstand design loads and environmental stresses. It provides the documented proof that every connection and member is correctly installed according to standards set by bodies like the American Institute of Steel Construction (AISC).
The erection of One World Trade Center, for example, utilized real-time digital checklists integrated with laser measurement systems. This meticulous approach ensured erection tolerances were maintained within a fraction of an inch over the building's immense height, showcasing the checklist's power in achieving unprecedented accuracy. More information about this process is available; learn more about commercial building inspection checklists.
Key Insight: A steel erection checklist is not just about ticking boxes; it’s about creating a chain of custody for quality, from the fabrication shop to the final tightened bolt, ensuring every step is validated.
How to Implement It Effectively
To maximize the impact of your structural steel erection checklist, follow these best practices:
- Inspect on Arrival: Perform a thorough inspection of steel members upon delivery and before they are unloaded. This allows you to identify and document any damage that occurred during shipping, preventing compromised materials from being erected.
- Stage Your Inspections: Do not wait until the end to inspect. Perform inspections at multiple key stages: initial fit-up, after partial tightening (snug-tight condition), and during final torquing or tensioning of bolts.
- Verify Welder Credentials First: Always check and document welder qualifications and certifications before they begin any work on-site. Verifying credentials after the fact is too late and can lead to costly rework if they are found to be invalid.
- Document All Field Modifications: Any cutting, drilling, or welding performed on-site that deviates from the approved drawings must be documented. Ensure these modifications are reviewed and formally approved by the structural engineer of record before proceeding.
5. Exterior Building Envelope Inspection Checklist
The Exterior Building Envelope Inspection Checklist is a vital quality control tool dedicated to the systems that protect a structure from the elements. This detailed checklist ensures that all components forming the building's outer skin, including roofing, waterproofing, cladding, windows, and sealants, are installed correctly to prevent water, air, and thermal infiltration. It is foundational for creating a durable, energy-efficient, and comfortable building.
This checklist guides inspectors through a critical sequence, verifying the continuity of protective layers at every stage. It focuses on the interfaces between different materials, such as where a wall meets a window or a roof meets a wall, as these are the most common points of failure. For anyone from a custom home builder to a commercial property manager, this checklist is the primary defense against moisture damage, mold growth, and excessive energy costs.
Why It's Essential
A meticulously executed building envelope is non-negotiable for long-term asset protection. Following the "leaky condo crisis" in the 1990s, Vancouver's construction industry adopted enhanced envelope checklists, leading to an 85% reduction in water infiltration claims. Similarly, Passive House projects rely on these checklists to achieve the stringent airtightness levels required for certification.
For building owners, this translates directly to lower utility bills, reduced maintenance, and a healthier indoor environment. For builders, it minimizes warranty claims and protects their reputation, making it an indispensable part of modern construction quality control checklists.
Key Insight: The building envelope functions as a single, integrated system. The checklist's primary purpose is to verify the continuity of the water, air, thermal, and vapor control layers across every joint, penetration, and transition.
How to Implement It Effectively
To ensure your building envelope performs as designed, apply these best practices:
- Require Mock-Ups: For complex or critical assemblies, such as a window installation or a curtain wall transition, mandate the construction of a physical mock-up. This allows the team to identify and resolve potential issues before full-scale installation.
- Photograph Concealed Components: Instruct installers to photograph all concealed flashing, waterproofing membranes, and air barrier details before they are covered. This creates a permanent visual record of compliance for quality assurance and warranty purposes.
- Use Performance Testing: Integrate performance testing directly into the checklist process. Conduct a blower door test at the rough-in stage to identify air leaks and perform water spray testing on window installations to confirm they are watertight before interior finishes are installed.
- Focus on Transitions: Pay special attention to the transitions between different envelope systems (e.g., wall-to-roof, wall-to-foundation). These junctions are high-risk areas and require diligent inspection to ensure all layers are properly lapped and sealed.
6. Excavation and Earthwork Quality Control Checklist
The Excavation and Earthwork Quality Control Checklist is a foundational document that governs the very first physical steps of a project. It provides a systematic framework for verifying all site preparation activities, from clearing and grubbing to final grading and compaction. This essential checklist ensures that the ground beneath a structure has the required bearing capacity, proper drainage, and long-term stability, preventing costly issues like foundation settlement or slope failure.
This checklist guides quality managers through verifying excavation depths and dimensions, soil classification, compaction testing, shoring systems, and erosion control. By formalizing these checks, it transforms a seemingly simple task like moving dirt into a precise engineering process. For anyone building a custom home or developing commercial property, it is the first line of defense against structural problems originating from inadequate groundwork.
This process flow infographic outlines the core sequence of earthwork quality verification.
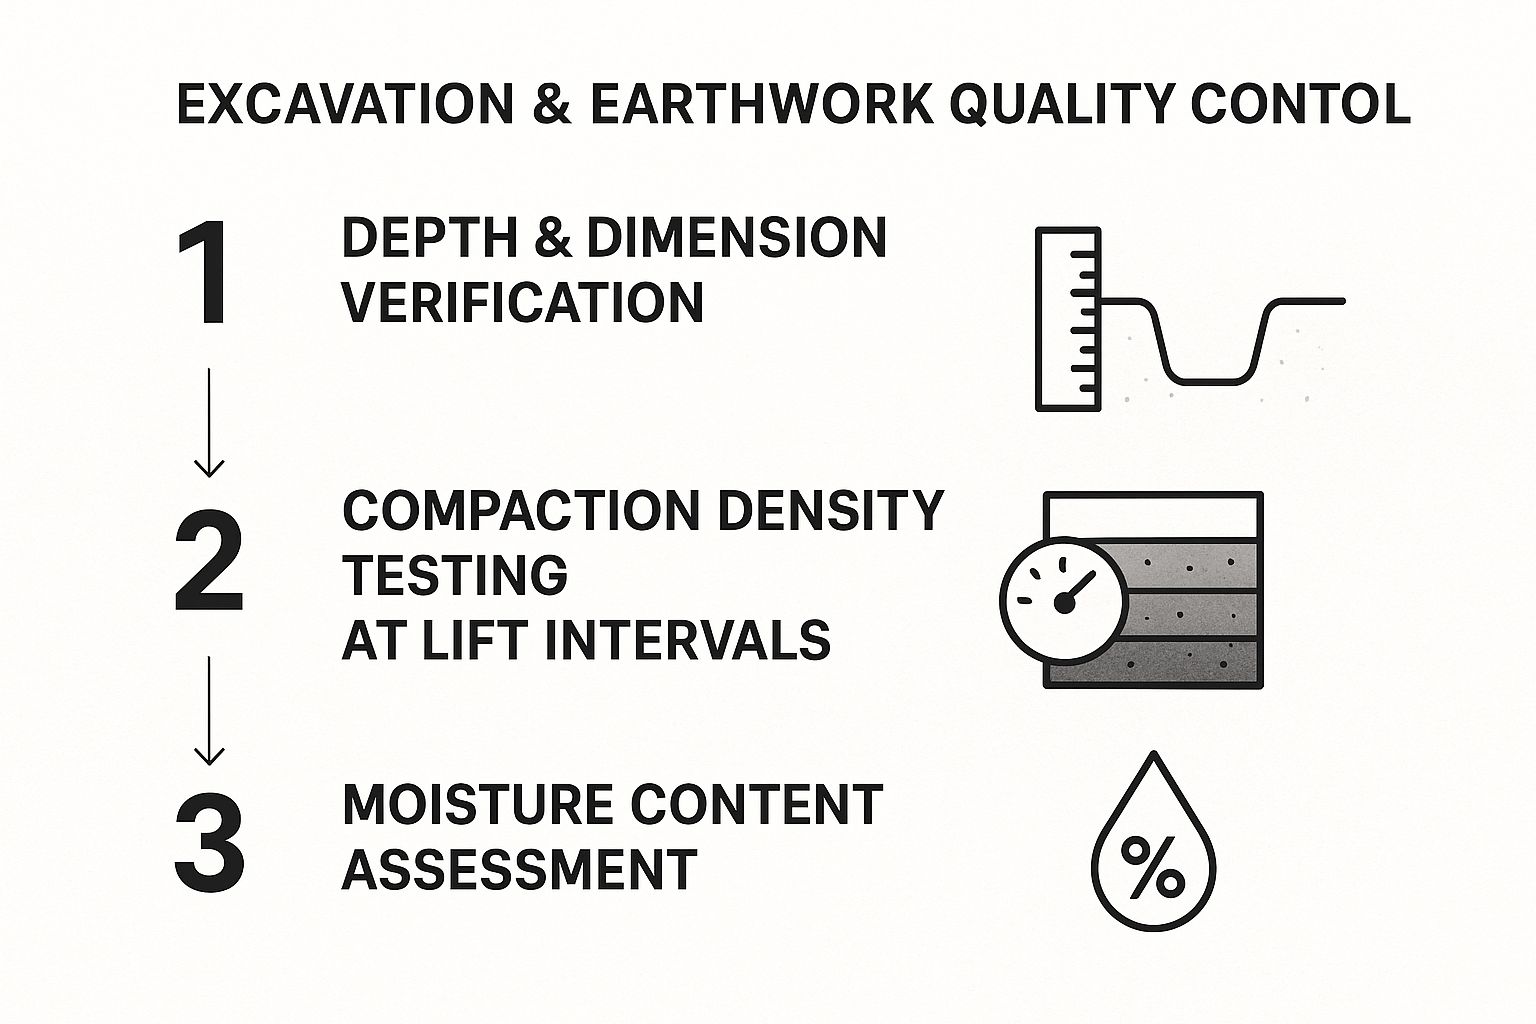
This visual underscores that proper earthwork is not a single action but a layered, sequential validation process where each step builds upon the last.
Why It's Essential
Using an earthwork checklist is critical for preventing catastrophic foundation failures and ensuring long-term asset stability. The infamous settlement issues of San Francisco's Millennium Tower serve as a stark reminder of what happens when subsurface investigation and soil verification are not rigorously controlled. In contrast, Denver International Airport's construction across 53 square miles relied on meticulous compaction testing, successfully preventing differential settlement across its massive expanse.
This checklist provides documented proof that the ground conditions assumed in the structural design have been achieved on-site, a crucial link in the chain of liability and quality assurance.
Key Insight: Earthwork quality control isn't just about compaction; it's about creating a permanent record that validates the suitability of the ground itself, turning an unknown variable into a known, engineered constant.
How to Implement It Effectively
To ensure your earthwork checklist provides maximum value, integrate these best practices:
- Test Every Lift: Perform compaction testing (e.g., with a nuclear density gauge) on every lift of fill, typically defined as 8 to 12-inch intervals. Do not rely on visual inspection alone, as a surface may appear stable while the layer beneath is weak.
- Document Environmental Conditions: Always record the weather conditions, especially precipitation and temperature, during compaction and testing. Soil moisture content is a critical factor in achieving specified density, and this data is vital for troubleshooting any failed tests.
- Mark Approved Areas: Once an area passes its compaction test, physically mark it with spray paint or stakes. This provides a clear visual indicator to equipment operators that the area is complete and prevents unnecessary and potentially damaging recompaction.
- Keep a Geotechnical Engineer on Standby: Have a direct line to the project's geotechnical engineer. If unexpected soil conditions are encountered (e.g., soft spots, undocumented fill, high water table), work should stop until the engineer can assess the situation and provide direction.
7. Final Punch List and Closeout Quality Checklist
The Final Punch List and Closeout Quality Checklist is the definitive document that bridges the gap between substantial completion and final project turnover. It is a comprehensive deficiency identification and verification template used in the last stages of construction. This checklist systematically reviews all building systems, finishes, and details to identify any incomplete, incorrect, or damaged work against the contract requirements.
This process serves as the final quality gate, ensuring all contractor obligations are met and the owner receives a product that meets their expectations. The checklist coordinates input from architects, engineers, contractors, and owners, creating a single source of truth for all remaining items requiring correction before the final payment is released and the project is officially closed out.
Why It's Essential
A meticulously executed punch list is crucial for achieving owner satisfaction and mitigating post-handover disputes. For landlords and commercial property managers, it ensures a new space is ready for tenants without immediate repair needs. For custom home builders, it’s the final step to delivering a dream home free of frustrating defects, solidifying their reputation for quality.
The closeout process for the Salesforce Tower in San Francisco utilized digital punch list management, which successfully reduced the project closeout time from six months to just three. This demonstrates the immense efficiency gains and quality assurance provided by a structured final checklist.
Key Insight: The punch list isn't just a list of mistakes; it's a formal, contractual process that documents the final acceptance of the work, protecting both the owner and the contractor.
How to Implement It Effectively
To ensure a smooth and effective project closeout, implement your punch list process with these best practices:
- Conduct a Preliminary Walk: Perform a preliminary punch list walk 4-6 weeks before substantial completion. This gives trades ample time to address items without the pressure of a final deadline, reducing the size of the final list.
- Categorize Deficiencies: Classify items by urgency, such as Priority 1 (must be fixed before occupancy for safety or usability) and Priority 2 (minor cosmetic issues that can be addressed post-move-in). This helps focus resources effectively.
- Use Unique IDs and Visuals: Assign a unique tracking number and attach a clear photo to every punch list item. This eliminates ambiguity about the location and nature of the deficiency, making it easier for trades to locate and correct.
- Establish Acceptance Criteria First: Define what "complete" means for various finishes and systems before the inspection begins. This pre-alignment between the contractor and owner minimizes disputes and subjective disagreements during the walk-through. A well-defined closeout is also the first step toward a proactive maintenance plan; learn more about developing a commercial building maintenance checklist.
8. Fire and Life Safety Systems Testing and Inspection Checklist
The Fire and Life Safety Systems Testing and Inspection Checklist is a non-negotiable quality control tool used during the commissioning and closeout phases of a project. It provides a methodical framework for verifying that all active and passive fire protection systems are installed, integrated, and functioning according to design specifications and stringent fire codes. This checklist ensures that systems like fire alarms, sprinklers, smoke control, and emergency lighting will perform reliably when needed most.
This critical checklist guides technicians and inspectors through sequential testing protocols, from individual device checks to full-scale integrated system responses. It documents that every sprinkler head, smoke detector, fire door, and exit sign has been verified, tested, and approved. For building owners and managers, this checklist is the ultimate proof of due diligence, essential for obtaining a certificate of occupancy and ensuring the safety of all occupants.
Why It's Essential
Using a comprehensive fire and life safety checklist is fundamental to protecting lives and property. Tragedies like the Grenfell Tower fire tragically highlighted the fatal consequences of inadequate inspection of fire safety components. In contrast, lessons from the MGM Grand fire prompted Las Vegas resorts to implement fire system inspection protocols that exceed minimum code requirements, drastically improving guest safety.
This checklist provides an auditable trail of compliance, which is invaluable for both regulatory approval and long-term facility management. It moves fire safety from a theoretical design concept to a proven, operational reality, ensuring every component works in concert during an emergency.
Key Insight: This checklist isn't just about passing an inspection; it's about creating a verifiable record that proves every life-saving device and system was tested and confirmed to function as designed before the building is occupied.
How to Implement It Effectively
To ensure your fire and life safety systems are robust and compliant, follow these best practices:
- Schedule with the Authority Having Jurisdiction (AHJ): Schedule the final, witnessed tests with the fire marshal or building inspector well in advance. Their availability can be a significant bottleneck in the project closeout schedule.
- Conduct Pre-Testing: Before the official witnessed test, have your contractors perform a complete pre-test of all systems. This internal quality check identifies and resolves failures beforehand, ensuring a smooth and successful official inspection.
- Document Every Device: Create a detailed log for every testable device (e.g., smoke detector, pull station) that includes its location, test date, result (pass/fail), and the technician's signature. This granular documentation is required by NFPA standards.
- Verify Integrated System Responses: Don't just test components in isolation. Use the checklist to confirm that integrated actions occur correctly, such as a fire alarm signal automatically shutting down HVAC units, releasing magnetic door holders, and recalling elevators.
Construction Quality Control Checklist Comparison
| Pre-Pour Concrete Checklist | Moderate - requires experienced inspectors | Skilled inspectors, weather monitoring | Prevents concrete defects, ensures structural integrity | Before concrete pouring tasks | Reduces rework, improves coordination, liability docs |
| Site Safety Inspection Checklist | Moderate - daily to weekly frequency | Safety officers, ongoing training | Reduces accidents, ensures OSHA compliance | Daily/weekly safety monitoring on construction sites | Lowers insurance, improves morale, regulatory compliance |
| MEP Rough-In Inspection Checklist | High - specialized multidisciplinary knowledge | Multiple trade inspectors, coordination | Early error detection, code compliance | MEP installations before wall closure | Reduces callbacks, aids official approvals |
| Structural Steel Erection Quality Checklist | High - specialized engineering expertise | Surveying tools, expert inspectors | Ensures structural integrity and safety | Steel erection and connection inspection | Prevents collapse, confirms engineering specs |
| Exterior Building Envelope Inspection Checklist | Moderate - requires building science knowledge | Specialized testing equipment | Prevents moisture and air infiltration | Building exteriors, weather barrier systems | Improves energy efficiency, reduces warranty claims |
| Excavation and Earthwork Quality Control Checklist | Moderate to High - geotechnical expertise | Testing equipment, geotechnical engineer | Ensures foundation stability, soil bearing compliance | Site preparation, excavation, compaction testing | Prevents foundation failures, documents compliance |
| Final Punch List and Closeout Quality Checklist | Moderate - comprehensive and time-consuming | Multiple trades, detailed documentation | Complete work verification, owner satisfaction | Final stages of construction closeout | Reduces post-occupancy issues, protects against disputes |
| Fire and Life Safety Systems Testing Checklist | High - requires specialized fire safety knowledge | Coordination with officials, testing tools | Ensures occupant safety, code compliance | Fire protection and life safety system commissioning | Necessary for occupancy permits, reduces liability risk |
Integrating Quality Control Into Your Project's DNA
Navigating the complexities of a construction project without a structured framework is like sailing in a storm without a compass. The eight essential construction quality control checklists detailed in this guide, from the initial Excavation and Earthwork to the Final Punch List, serve as that critical navigational tool. They are not merely administrative hurdles; they represent a fundamental shift in project management philosophy from reactive problem-solving to proactive, integrated quality assurance.
By embracing these checklists, you transform abstract goals like "safety" and "durability" into tangible, verifiable actions. Each checkpoint on the MEP Rough-In list or the Structural Steel Erection checklist becomes a building block of integrity, ensuring that what's hidden behind walls and above ceilings is just as sound as the finishes everyone sees. This systematic approach is the cornerstone of risk mitigation, drastically reducing the likelihood of costly rework, project delays, and long-term liability issues that can plague homeowners and commercial property managers alike.
From Checklist to Culture: Making Quality a Habit
The true power of these tools is unleashed when they evolve from static documents into a dynamic part of your project's culture. This means moving beyond a simple "pass/fail" mentality and using the checklists as a catalyst for communication and continuous improvement.
- Foster Collaboration: Use checklist reviews during team meetings to align subcontractors, architects, and owners. When everyone understands the standards for the Exterior Building Envelope, for example, accountability becomes a shared responsibility.
- Leverage Technology: Digitize your checklists using construction management software. This allows for real-time updates, photo documentation, and instant reporting, creating an accessible and transparent record of quality for every phase.
- Adapt and Evolve: No two projects are identical. Treat these checklists as robust templates, not rigid dogma. Customize them to address the unique challenges of your specific project, whether it's a basement finish with specific waterproofing needs or a commercial tenant improvement with complex fire and life safety system requirements.
The Lasting Impact of Meticulous Oversight
Ultimately, the rigorous application of construction quality control checklists is what separates an adequate outcome from an exceptional one. For a homeowner building their dream custom home, this diligence provides peace of mind, knowing their investment is built to last. For a landlord or commercial property manager, it ensures the safety of tenants and the long-term value of the asset. This commitment to detail safeguards budgets, protects timelines, and, most importantly, builds a reputation for excellence. By embedding this level of meticulous oversight into your project's DNA, you are not just constructing a building; you are crafting a legacy of quality, safety, and enduring value.
Ready to ensure your next project is built on a foundation of uncompromising quality? The team at Northpoint Construction integrates these same rigorous quality control principles into every custom home, remodel, and commercial build in the Orem and Provo areas. Partner with us to bring your vision to life with the precision and excellence it deserves by visiting Northpoint Construction today.