
Figuring out the cost to drywall a basement can feel like you're trying to hit a moving target. But it really boils down to a pretty straightforward range: most homeowners spend between $1.50 and $3.50 per square foot. That price usually wraps up everything—materials, professional installation, and the crucial finishing work of taping and mudding.
So, for a typical basement, you're likely looking at a total cost somewhere in the thousands.
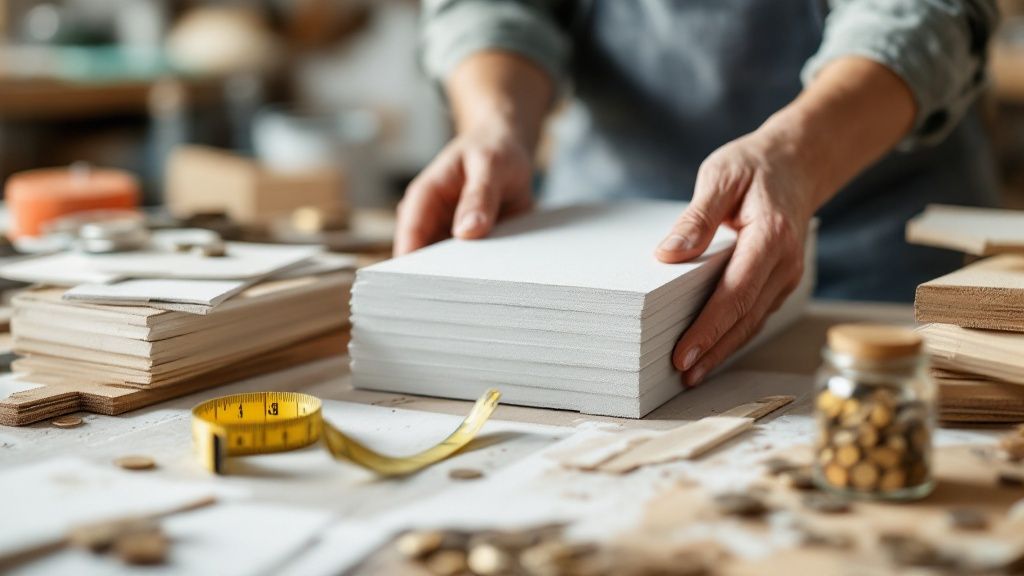
Your Quick Guide to Basement Drywall Costs
Taking a bare, concrete basement and turning it into a truly usable part of your home is a game-changer. The drywall stage is where it all starts to feel real, when that skeleton of wall framing finally becomes smooth, paint-ready walls. Before you can start planning the layout for your new home gym or media room, you need a solid financial roadmap.
Getting a handle on the key cost drivers is the first, and most important, step. It helps you build an accurate budget and keeps those dreaded surprise expenses at bay.
The final number on your invoice is a mix of several key factors. It's a bit like buying a car—the base model has one price, but as you add features like a better sound system or heated seats, the cost goes up. Your drywall project works the same way.
Primary Cost Influencers
Here are the main things that will move the needle on your budget:
- Basement Size: This one’s the biggie. The total square footage of the walls and ceiling you need to cover is the single largest factor driving the cost. More space means more materials and more hours of labor.
- Material Quality: You have choices here. You can go with standard drywall, or you can opt for specialty panels. For a basement, spending a little extra on moisture and mold-resistant drywall is almost always a smart investment, even if it costs more upfront.
- Labor Rates: Where you live matters. A contractor’s hourly rate in a major city is almost always going to be higher than in a small town, simply because of differences in overhead and demand.
- Project Complexity: A simple, wide-open rectangle is the easiest and cheapest to drywall. But start adding in multiple corners, support columns that need to be boxed in, or soffits to hide ductwork, and the job gets more complex. All those extra cuts and detailed finishing work add to the labor time and, consequently, the final bill.
Based on what we see in the industry, if you have an average-sized basement of around 1,000 square feet, you can expect the total drywalling cost to land somewhere between $1,500 and $7,000. You can find more detailed cost breakdowns to see how that range plays out in different situations. It's a wide gap, but it accounts for everything from a budget-friendly, DIY-heavy project to a full-service professional job using top-tier materials.
To give you a clearer picture, here’s a quick look at what you might expect to pay based on the size of your basement.
Estimated Drywall Costs by Basement Size
This table gives a ballpark estimate for the total cost to drywall basements of a few common sizes. It's a great starting point for your initial budget planning.
| 500 | $750 | $3,500 |
| 1,000 | $1,500 | $7,000 |
| 1,500 | $2,250 | $10,500 |
| 2,000 | $3,000 | $14,000 |
Keep in mind these are just estimates. The low end typically represents a simpler job with standard materials, while the high end reflects a more complex layout, premium materials, and higher labor rates in your area.
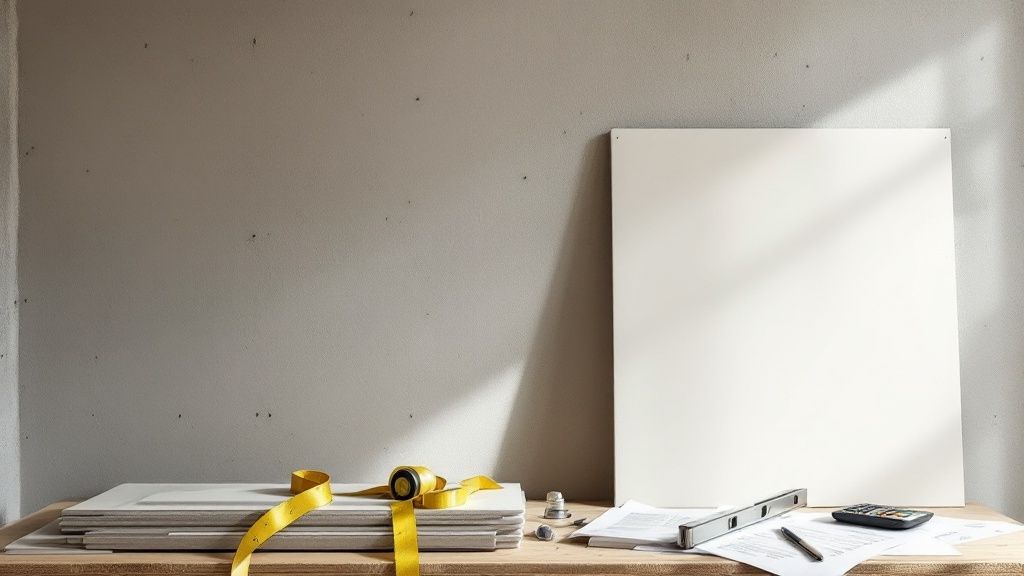
A Look at Your Core Material Costs
When you start adding up the numbers for a basement drywall project, the big sheets of drywall are just the star of the show. There's a whole cast of supporting materials you'll need to get the job done right, and those costs can sneak up on you if you're not prepared.
All in, a full basement drywall installation usually lands somewhere between $1.50 and $3.00 per square foot. The raw materials themselves make up about $0.50 to $0.80 of that total. The rest is labor, but getting a firm handle on your material list is the first step to building an accurate budget. For a deeper dive into these numbers, HomeAdvisor.com offers some great insights.
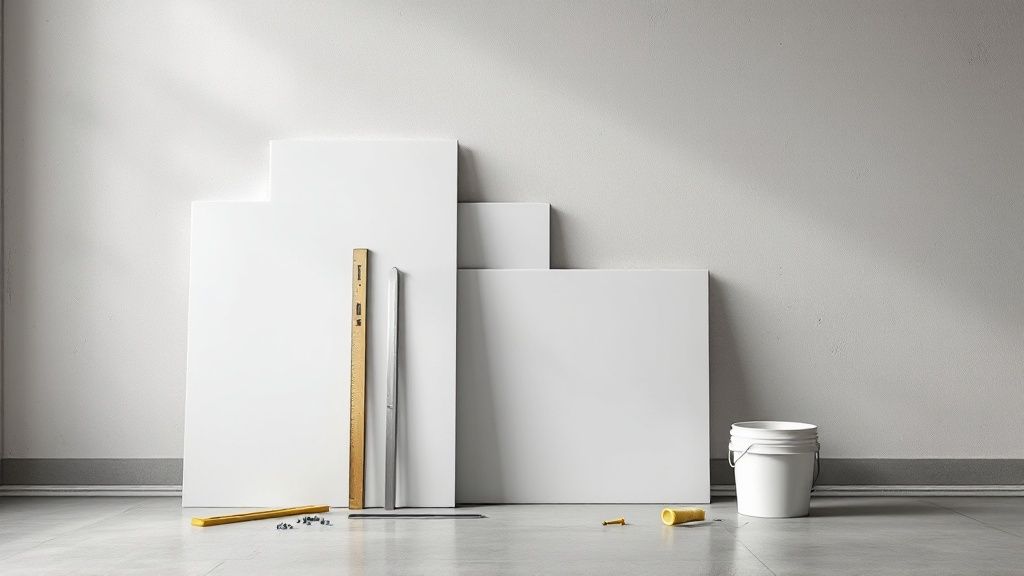
Choosing the Right Drywall Panels
Not all drywall is the same, and this is especially true when you're working in a below-grade space like a basement. The type of panel you choose is easily the biggest material decision you'll make, so it pays to know your options.
- Standard Drywall: This is your basic, most affordable choice, running about $15-$20 for a 4x8 sheet. It works just fine for most interior walls above ground, but it's not the best defense against the humidity that basements are known for.
- Moisture-Resistant Drywall: You’ll often hear this called "green board." It's made with a special paper and core specifically to stand up to moisture. Expect to pay about 20-30% more than standard panels, but it’s a smart upgrade for any basement wall.
- Mold-Resistant Drywall: For the ultimate peace of mind, this is your top-tier option. It takes moisture resistance a step further by including antimicrobial agents in its core to actively stop mold before it starts.
For a basement, spending a little extra on moisture or mold-resistant drywall is one of the wisest moves you can make. The slightly higher upfront cost is nothing compared to the thousands you could spend fixing a mold problem down the road.
The Essential Finishing Supplies
Beyond the big panels, a truly professional-looking job hinges on a handful of smaller, but absolutely critical, supplies. These are the non-negotiable items you need for a seamless, durable finish.
Think of these as the nuts and bolts of the whole operation:
Drywall Screws: You are going to need a lot of these—thousands, most likely. A big box will run you $25-$40, and trust me, it's always better to buy more than you think you need.
Joint Compound (Mud): This is the paste that makes all the seams and screw heads disappear. It's sold in pre-mixed buckets or as a powder you mix with water. Plan on $15-$25 per bucket; a standard basement will easily go through several.
Drywall Tape: This isn't optional. You need either paper or fiberglass mesh tape to reinforce the joints between panels, which is what keeps cracks from showing up later. A roll is cheap, usually $5-$10.
Corner Bead: These vinyl or metal strips are your secret weapon for creating crisp, tough outside corners that can take a few bumps without getting dinged up. They aren't expensive and make a huge difference in the final look.
The Real Cost of a Pro Job: Breaking Down Labor and Installation
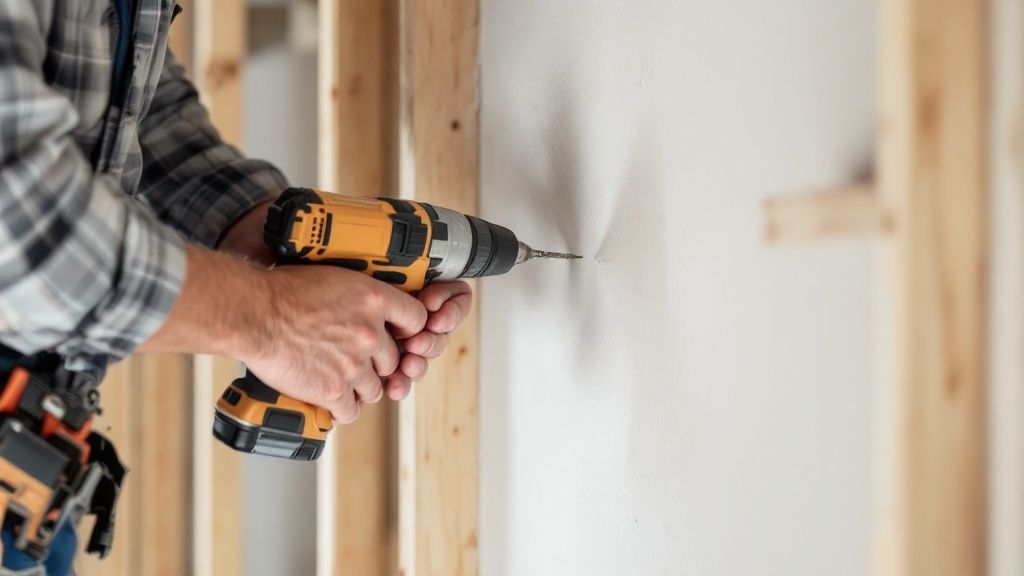
While the cost of materials is a big part of the equation, it’s the labor that really drives the final price of a basement drywall project. In my experience, professional labor typically eats up 65% to 75% of the total bill. This isn't just for screwing panels to the studs; you're paying for skill, speed, and the kind of precision that results in perfectly smooth, ready-to-paint walls.
Knowing how contractors arrive at their numbers is your best tool for comparing bids and keeping your budget in check. You're investing in a multi-stage process that, frankly, is a real art form when done right. A good crew gets the job done efficiently and, more importantly, helps you sidestep those common DIY mistakes that are a nightmare to fix later. If you want to see who's behind the magic, you can get a better sense of the expertise a professional construction team brings to your project.
How Contractors Put a Price on Their Work
When the quotes start rolling in, you’ll notice contractors price things a few different ways. None of them are necessarily better than the others; they’re just different methods to estimate the total effort your specific basement will require.
- By the Square Foot: This is the one you'll see most often. Contractors will quote a single price, usually between $1.00 and $2.70 per square foot, that covers everything from hanging the board to the final sanding. It makes comparing apples to apples pretty simple.
- By the Sheet: Some pros prefer to quote a flat rate for every 4x8 sheet of drywall they install and finish. This number usually lands somewhere between $30 and $70 per sheet. It’s another straightforward way to understand the cost.
- By the Hour: This is less common for an entire basement finish but often comes into play for small repair jobs or tricky, custom work. The hourly rate can be all over the map depending on where you live and the crew's level of experience.
Here's a pro tip: No matter how the bid is structured, always insist on a detailed, written quote. It needs to break down the cost of materials and labor separately and clearly define the scope of work—including the level of finish. This little step can prevent a lot of headaches and misunderstandings later on.
What's Actually Covered in a Labor Quote?
When a contractor gives you a labor price, it's for the whole process, not just hanging the drywall. It's a job that takes time, patience, and a steady hand to get that seamless finish you want.
Here’s what that process looks like on the ground:
Hanging: This is the first step—measuring, cutting, and fastening the drywall panels to your basement's framing.
Taping: Next, every seam where two boards meet gets covered with specialized tape. This is what reinforces the joints and keeps cracks from showing up down the road.
Mudding: This is where the artistry comes in. The crew applies several thin layers of joint compound (or "mud") over all the tape and screw heads. Each coat is applied wider than the last to feather it out smoothly.
Sanding: Once the mud is completely dry, it's time for sanding. This is a meticulous process to smooth everything out, leaving you with a perfectly flat surface that’s ready for primer.
Each of these steps is critical. If you rush the mudding or get sloppy with the sanding, you'll see every seam and imperfection the second you put a coat of paint on the wall. An experienced pro knows how to nail every stage, giving you a flawless finish that will last for years.
The Hidden Costs: What Happens Before the Drywall Goes Up?
Thinking about the cost of drywalling a basement is a bit like planning a road trip. You've budgeted for gas and hotels, but what about the tolls, food stops, and that unexpected tire change? In the same way, the drywall itself is just one line item. A big chunk of your budget gets spent on the crucial work that has to happen before the first sheet is ever hung.
These aren't optional upgrades; they're the foundation for a safe, comfortable, and durable living space. Cutting corners here to save a few bucks upfront is a surefire way to invite much bigger, more expensive problems down the road. Proper prep work is the single best way to protect your overall investment.
Framing: Building the Bones of Your New Space
Before you can have walls, you need something to hang the drywall on. That's where framing comes in. It’s the process of building the wood or metal stud skeleton that creates the layout of your new rooms and supports the finished walls. This is the first real construction step in turning a wide-open basement into a functional living area.
Combined, framing and drywall installation often run between $2 to $10 per linear foot. If you isolate just the framing, a typical basement project will land somewhere between $500 and $1,600, though this can change based on how complex your floor plan is. For a more detailed look at this, you can learn more about how basement size affects framing costs.
Insulation and Vapor Barriers: Your Defense Against Damp and Cold
With the frame in place, the next job is to tackle moisture and temperature—two things basements are famous for. This is where insulation and vapor barriers become absolutely essential. Down here, below ground level, they are not negotiable.
- Vapor Barrier: Think of this as a plastic raincoat for your foundation. It’s a sheet of plastic installed directly against the concrete walls to stop ground moisture from seeping into your wall cavities. This is your number one defense against the mold and mildew that plagues so many basements.
- Insulation: Tucked between the wall studs, insulation is what keeps your basement from feeling like a cave. It helps maintain a comfortable temperature, keeping it warmer in the winter and cooler in the summer, which translates directly to lower energy bills all year long. Good insulation is a cornerstone of smart proactive maintenance solutions for the whole house.
A proper vapor barrier and insulation system work together to create a sealed envelope, protecting your basement from both moisture and temperature swings. This duo is vital for meeting building codes and, more importantly, for making sure your new space is healthy and comfortable.
The cost to drywall a basement is a mix of materials and the labor needed to put it all together. This image gives you a clear idea of how those costs break down per square foot.
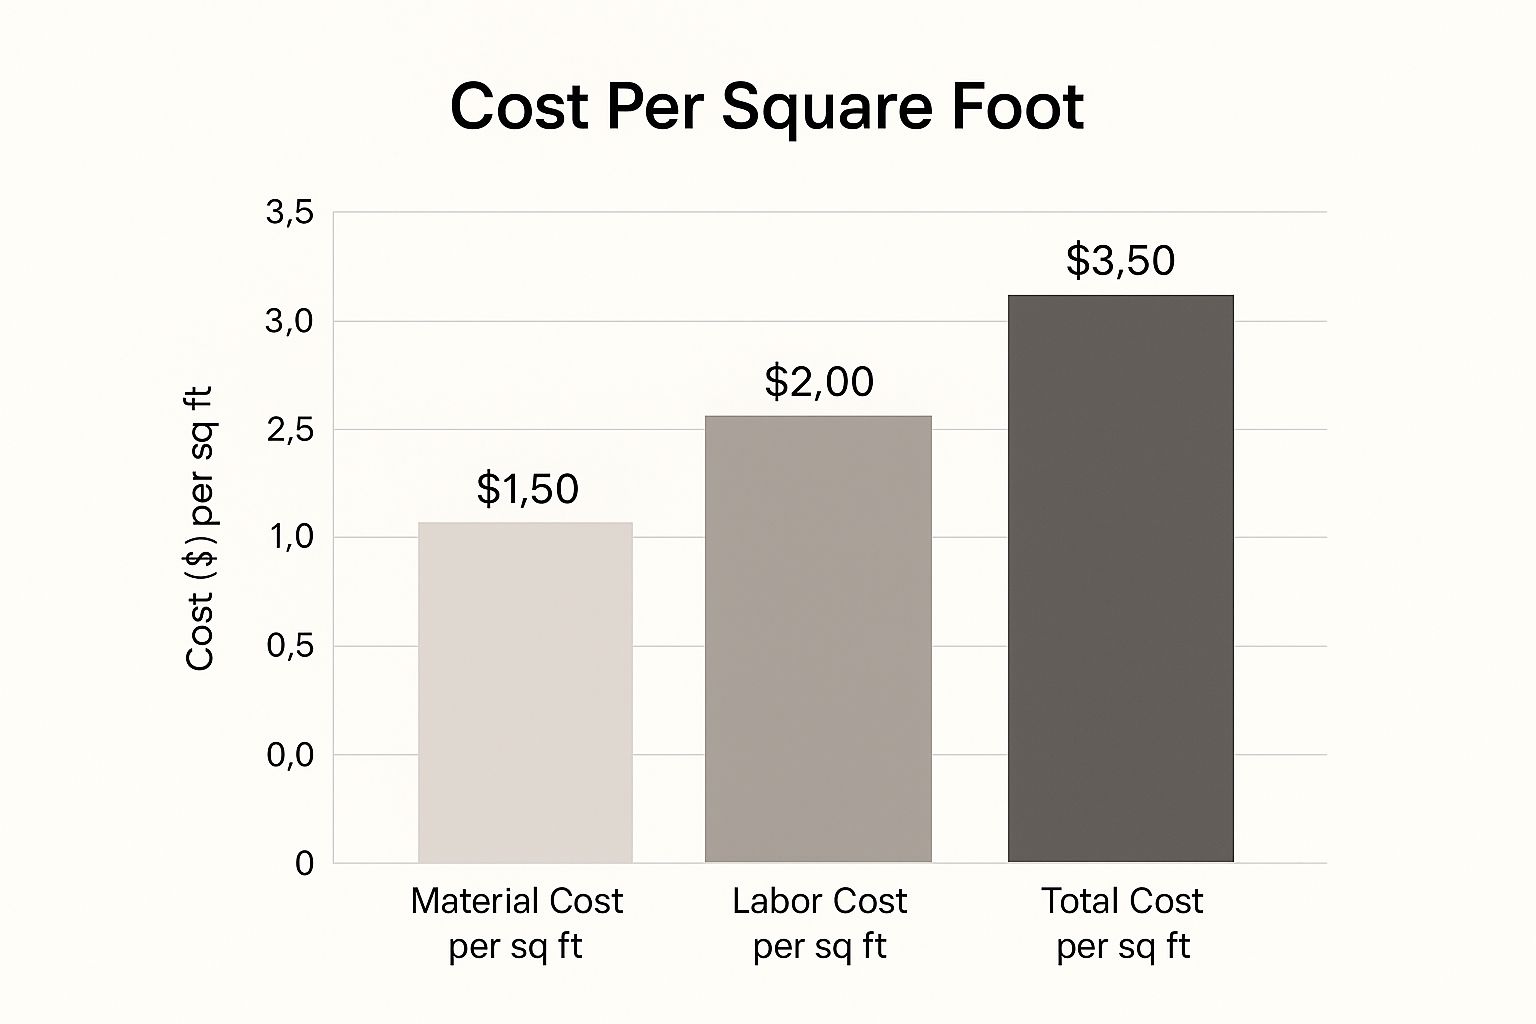
As you can see, labor is consistently the biggest piece of the pie. It really drives home the value of hiring skilled pros to get the job done right.
The Associated Costs Before Drywall Installation
Before you even think about hanging the first sheet of drywall, several other projects need to be completed. This table outlines the typical "hidden costs" that are essential for a successful basement finish, giving you a more complete picture of the total investment required.
| Waterproofing/Sealing | $2,000 - $7,000+ | Prevents water intrusion from cracks in the foundation, a critical first step. |
| Framing | $500 - $1,600 | Creates the wooden or metal structure for the walls. |
| Electrical Rough-In | $800 - $1,500 | Runs all wiring for outlets, switches, and lighting fixtures before walls are closed. |
| Plumbing Rough-In | $1,000 - $3,000+ | Installs pipes for a future bathroom or wet bar. |
| Vapor Barrier/Insulation | $500 - $2,000 | Manages moisture and temperature, essential for comfort and mold prevention. |
| Permits & Inspections | $50 - $300 | Ensures the project is legally compliant and built to safety codes. |
Factoring these expenses into your initial budget is key. It prevents surprise costs and ensures every step, from the foundation to the framing, is handled correctly before the drywall conceals the work.
Permits and Inspections: The Official Green Light
Last but not least, don't overlook the paperwork. Most towns and cities require you to pull a building permit to finish a basement. These permits typically cost between $50 and a few hundred dollars and are not just a bureaucratic hoop to jump through.
Getting a permit triggers mandatory inspections at critical points in the project—for example, after the framing and electrical are done but before the drywall covers everything up. It might feel like a hassle, but these inspections are there for your protection. They ensure all the work is up to code, which is crucial for your family's safety and the long-term value of your home.
How Project Complexity Impacts Your Final Price
When it comes to drywalling, not all basements are created equal. You could have two spaces with the exact same square footage, yet the final quotes might be miles apart. Why? Because the complexity of the job—all the little quirks and features of your specific layout—is a huge driver of the final price.
Think of it like painting. A flat, empty wall is a breeze. But a room with crown molding, window trim, and high ceilings? That’s a different story. It takes more time, more skill, and a lot more patience. Drywalling works the same way. A simple, rectangular room is every contractor's dream for a quick, straightforward job.
The minute you start adding architectural details, the clock starts ticking and the labor costs climb. Getting a handle on these variables is the key to understanding any contractor's bid and keeping your basement finishing project on budget.
Layout and Obstacles
The floor plan of your basement is one of the biggest factors in the complexity equation. A wide-open, boxy space means fewer cuts and less tricky finishing work, which helps keep labor costs in check. But as soon as you frame out walls for a new bedroom, bathroom, or closet, you're adding complexity.
Several layout details will directly affect your final bill:
- Corners and Angles: Every single corner, whether it's inside or outside, needs to be cut, fit, taped, and mudded with precision. A simple four-corner room is one thing, but a layout with multiple angles and alcoves takes significantly more time.
- Existing Obstacles: Pros constantly have to work around things that can't be moved. This means boxing in structural support columns, building soffits to conceal HVAC ductwork, or meticulously cutting around plumbing pipes and electrical panels. Each one is a mini-project that adds to the total labor.
- Ceiling Height: Standard 8-foot ceilings are routine. But if your basement has ceilings that are 10 feet or higher, the difficulty level jumps. Crews will likely need scaffolding or lifts to hang and finish the drywall, which slows everything down and can increase labor costs by 20% to 30%.
The Crucial Role of Finish Levels
Another major cost factor is the level of finish you want. The drywall trade has a standardized scale, from Level 0 to Level 5, that dictates how smooth and pristine the final surface will be. The higher the level, the more work it takes, which means more materials and a higher price tag.
A Level 5 finish is the gold standard—a perfectly smooth, glass-like surface. It involves applying a final skim coat over the entire wall to hide even the tiniest imperfections. It's often reserved for high-end homes where walls will get a glossy paint job or be hit by lots of direct light.
For most residential basements, a Level 4 finish is the go-to choice. It gives you a great, paint-ready surface that looks fantastic with typical flat or eggshell paints. However, if your plans include a home theater with dramatic lighting or you intend to use a high-gloss paint, your contractor will probably recommend upgrading to Level 5. Just be prepared for that to add a bit more to your budget. It's always best to have this conversation upfront to make sure the final result is exactly what you envision.
DIY vs. Hiring a Pro: Weighing the Real Costs
The thought of doing your own drywall is always tempting, isn't it? When you see that professional labor makes up 65% to 75% of the total bill, the math is pretty compelling. On a $5,000 job, that could mean keeping more than $3,000 in your pocket.
But it's never that simple. What you're really doing is trading that cash for your own sweat, time, and skill—or lack thereof. Drywall is brutally physical work. You’ll be hauling 50-pound sheets of it down your basement stairs and then trying to hoist them overhead. It's a workout.
Beyond the pure muscle, there’s a real art to getting a smooth, paint-ready finish. Taping and mudding, in particular, have a steep learning curve. A beginner’s mistakes—visible seams, bumps, and uneven surfaces—don’t just look bad; they can cost you a lot to fix.
Understanding the Trade-Offs
So, how do you choose? It really comes down to an honest assessment of your budget, your timeline, and your actual skills. Going the DIY route gives you total control over the budget, but you have to be ready to invest a massive amount of time and learn a tough trade on the fly.
Hiring a pro, on the other hand, brings a few key advantages to the table:
- Speed: A seasoned crew can hang, tape, and finish an entire basement in a few days. It would take a novice weeks, if not longer.
- Quality: Professionals deliver that flawless, seamless finish (usually a Level 4 or 5) that's ready for primer. Replicating that look without years of experience is nearly impossible.
- Tools: They show up with everything they need, from specialized screw guns to scaffolding and automatic tapers. That saves you from having to buy or rent a garage full of equipment you might never use again.
The real question isn't just "Can I do this?" but "What is my time worth?" A botched DIY job can easily end up costing more in correction materials and professional fixes than just hiring an expert from the start.
If you're tackling a major renovation, looking into professional home building services can show you how the pros handle complex jobs from the ground up. Ultimately, hiring a contractor isn't just a cost—it's an investment in a high-quality result that saves you from a steep learning curve and a whole lot of back pain.
Common Questions About Basement Drywall Costs
As you start pulling all the numbers together for your budget, a few specific questions always seem to pop up. Getting clear answers to these is crucial for avoiding surprises and making sure you're planning for the space you really want. Let's dig into the most common ones we hear from homeowners.
Is It More Expensive to Drywall a Basement Ceiling Than the Walls?
Absolutely. Drywalling a ceiling is a completely different beast than doing the walls, and the price reflects that. It's a tough, physically demanding job that involves fighting gravity every step of the way.
You're lifting heavy 4x8 or 4x12 sheets over your head, which often requires special lifts or at least an extra set of hands just to get the panels in place. The taping and mudding process is also much harder when you're working overhead. Because of all that extra labor and difficulty, contractors will always charge a higher per-square-foot rate for ceilings.
How Much Extra Does Mold-Resistant Drywall Really Cost?
This is a fantastic question, and the answer is usually, "Not as much as you'd think." Mold-resistant drywall (you'll often hear it called "green board" or "purple board") typically costs about 20-30% more per sheet than standard drywall.
While that sounds like a big jump, it's a small price to pay for what is essentially an insurance policy against moisture. Basements are naturally damp, and spending a little extra on the right materials now can save you from a catastrophic (and expensive) mold remediation nightmare down the road.
Think of it this way: The slightly higher material cost is a tiny fraction of what it would cost to tear out and replace a wall full of mold. It's one of the smartest investments you can make in a below-grade space.
How Do I Get a Truly Accurate Quote for My Project?
The key to getting a quote you can trust is to do a little homework and provide contractors with quality information. Start by reaching out to at least three different licensed and insured drywall professionals in your area.
Before you call, have your basic measurements ready—the length of the walls and the ceiling height. Don't forget to mention any tricky features, like soffits for ductwork, lots of corners, or built-in shelving. A good contractor will likely want to see the space in person before giving you a final number. Always ask for a detailed, written quote that breaks down the costs for materials and labor separately.
Finishing your basement is one of the best ways to add value and usable square footage to your home, but the drywall stage sets the foundation for a quality result. The team at Northpoint Construction has the hands-on experience to get your project done right, from framing to the final skim coat. If you're ready to transform your basement, reach out to us today for a professional consultation.