
Finishing a Basement on a Budget Without Sacrifices
Finishing your basement on a tight budget is absolutely possible. It all comes down to smart planning, a willingness to put in some sweat equity, and choosing materials that give you the biggest bang for your buck. A successful project starts with tackling any moisture issues head-on, designing a simple layout to keep framing costs down, and knowing which jobs you can handle yourself versus when to call in a pro. This approach lets you transform that unused space without breaking the bank.
Laying the Groundwork for a Budget-Friendly Finish
Before you even think about buying a single 2x4, the most important work you'll do is with a simple pen and paper. This initial planning stage is your single best defense against the budget creep that sinks so many home renovation projects.
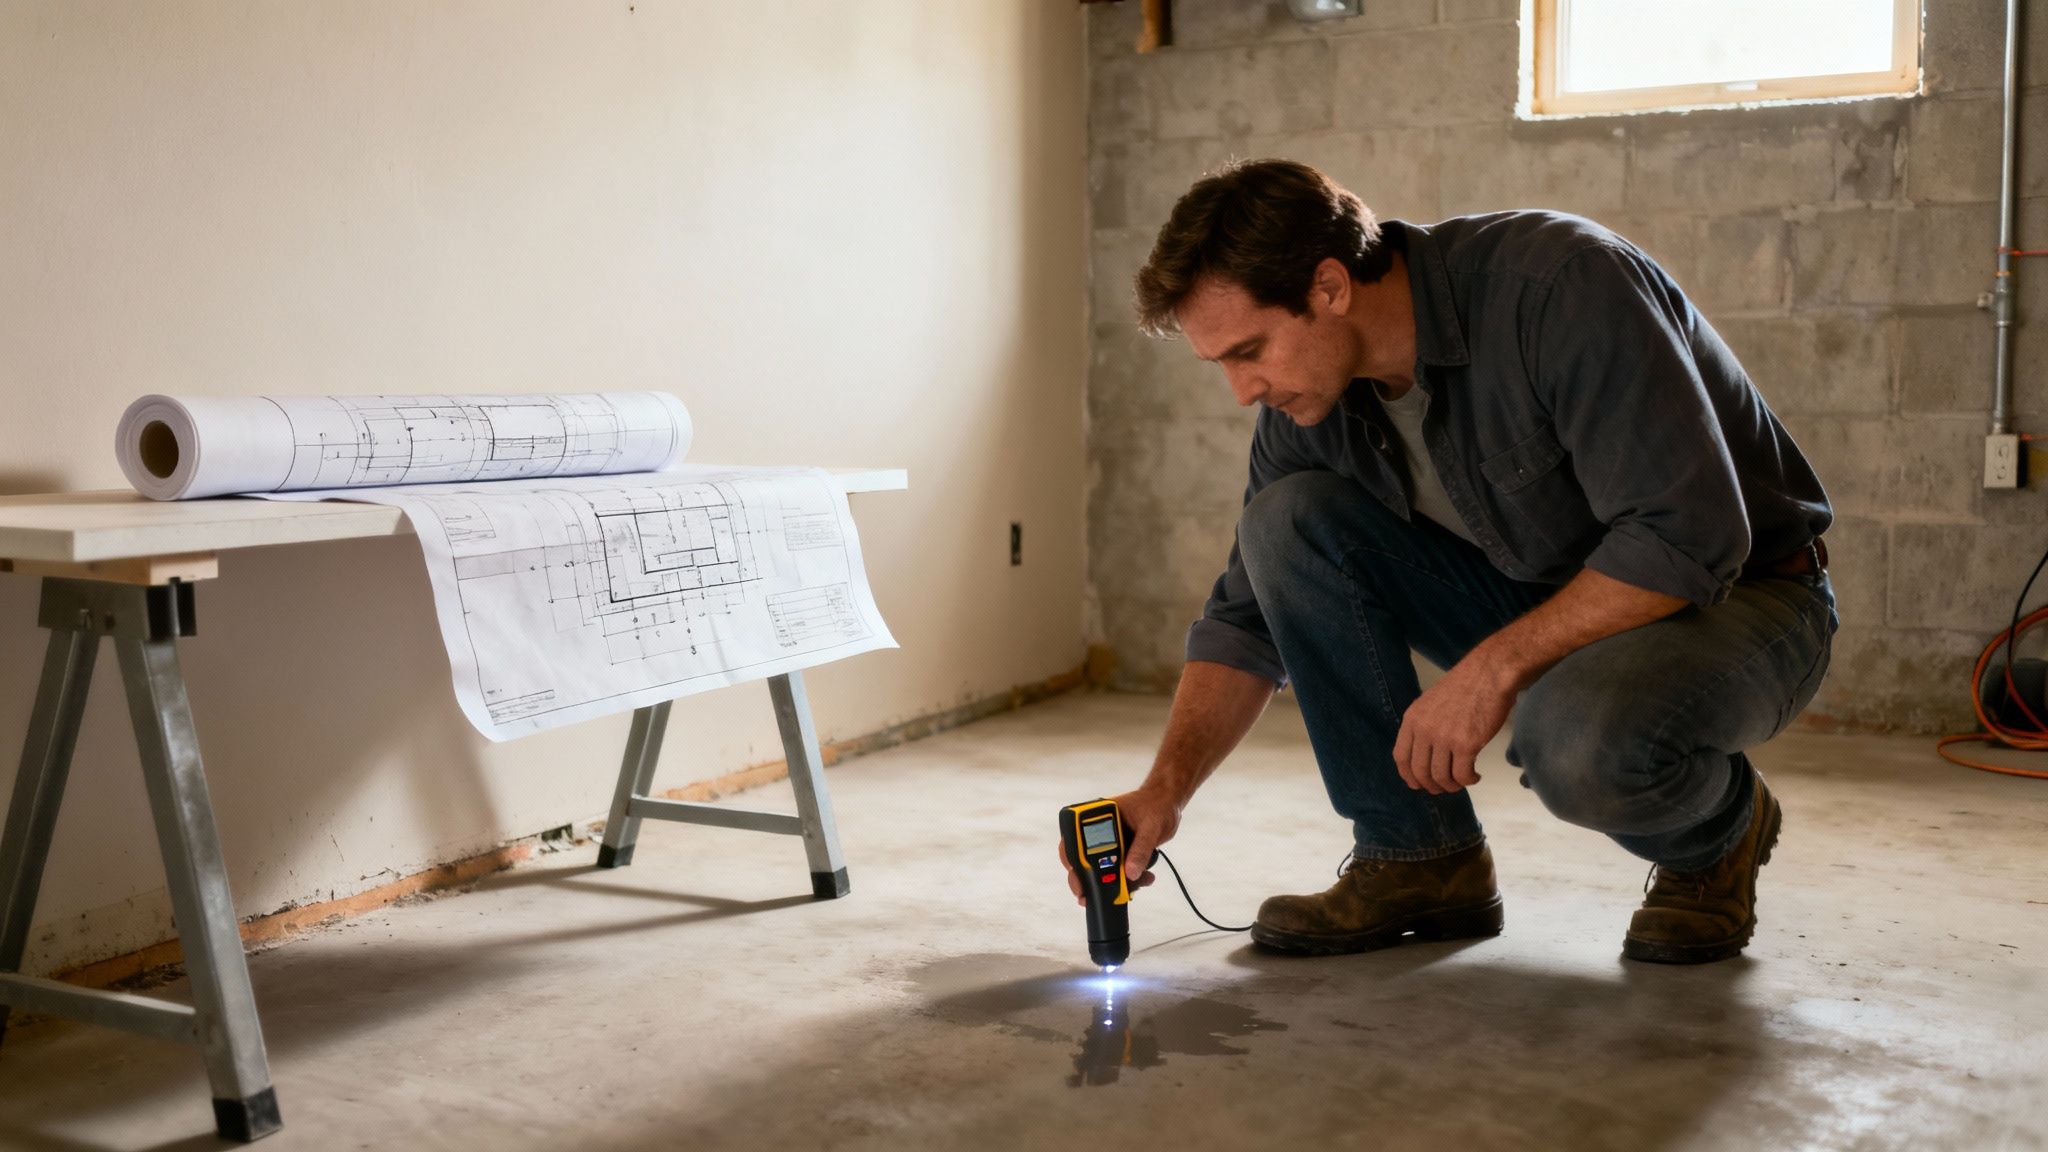
The absolute first thing you must do is a thorough moisture check. You have to be 100% sure your foundation is bone-dry before you dream of covering it with drywall and flooring.
Keep an eye out for these classic warning signs of water problems:
- Dark, damp-looking stains on the concrete walls or floor.
- A white, chalky powder on the masonry, which is called efflorescence.
- That unmistakable musty smell that screams mold or mildew.
First, Conquer Any Water Problems
Even a tiny bit of dampness can spell disaster down the road, leading to ruined drywall, warped floors, and dangerous mold growth. The good news is that many waterproofing fixes are surprisingly affordable.
Applying a high-quality sealant paint to the interior walls can work wonders as a moisture barrier. And don't forget to look outside! Make sure your gutters are clear and the downspouts are channeling water at least six feet away from your foundation. These simple, low-cost steps can save you thousands in future headaches.
Once you’ve got a dry space, it’s time to decide what it will become. What’s the dream for this new area? A cozy family room for movie nights? A quiet home office? Maybe a home gym or a much-needed guest suite? This decision will guide every other choice you make, from the layout to the lighting. The real difference between a finished vs. unfinished basement isn't just about adding walls; it's about creating functional, valuable living space.
Mapping Out Your Design and Budget
When you’re trying to finish a basement on a budget, an open-concept design is your secret weapon. Fewer walls mean spending less on lumber, drywall, and electrical wiring. You can always create distinct "zones" later using smart furniture placement, area rugs, and different paint colors.
Finally, you need to lock in a realistic budget. This isn't just a single number you hope to hit; it's a detailed, line-by-line plan. Factor in everything: permits, materials, and any labor you plan to hire. Most importantly, always build in a contingency fund of at least 10-15% for those inevitable surprises. Finishing your basement is a fantastic investment that adds real value, but as a rule of thumb, try to keep the project cost below 20% of your home's total value to see a solid return.
Understanding the Real Costs of a Basement Remodel
Let's talk money. This is where a basement dream can either take flight or hit a wall. Getting a handle on where your dollars are actually going is the single most important part of finishing a basement without breaking the bank. It's easy to see a big-ticket price and feel intimidated, so let's pull back the curtain and look at the individual costs.
You'll quickly find that a basement project has a massive price range. For a 1,000-square-foot space, you could be looking at anything from $7,000 on the very low end to over $23,000. The national average hovers around $32,000, but that number can be misleading. It all comes down to the size of your basement, how complex the layout is, and the quality of materials you pick. The real secret to staying on budget is smart planning and keeping a close eye on your labor costs, which should ideally account for about 20% of the total project. To get a better sense of averages in your area, you can learn more about basement remodeling costs on HomeAdvisor.com.
Deconstructing Your Budget
Instead of staring at one huge number, it helps to think of your budget in smaller, more digestible chunks. Each category represents a different stage of the project, from the raw construction to the final touches that make it feel like home.
Here are the usual suspects when it comes to costs:
- Framing and Drywall: This is the skeleton of your new space. It forms the walls and ceilings for your rooms and is a major part of your material budget.
- Electrical and Plumbing: These are non-negotiable for safety and functionality. Unless you're a licensed pro yourself, this is where you'll be hiring experts.
- Flooring: Your choices here have a huge impact on the budget. You can go with affordable and durable luxury vinyl plank or opt for cozier, more expensive carpeting.
- Finishing Touches: This is the fun part! It includes everything from paint and trim to interior doors and light fixtures.
To get a more tailored estimate, playing with a basement finishing cost calculator can be a real eye-opener. It allows you to plug in your own numbers and plans, helping you see where you can save and where you might need to invest more.
Don't Forget the Hidden Costs
Now for the costs that can sneak up on you. Beyond the lumber, drywall, and paint, there are a few foundational expenses that are absolutely essential for a project that will last. Skimping here is a recipe for disaster down the road.
Pro Tip: Always, and I mean always, build a contingency fund into your budget. Set aside at least 10-15% of your total estimated cost. This isn’t "if I need it" money; it’s "when I need it" money for the inevitable surprises.
This infographic gives you a great visual of these critical upfront costs you need to plan for, like waterproofing, permits, and that all-important contingency buffer.
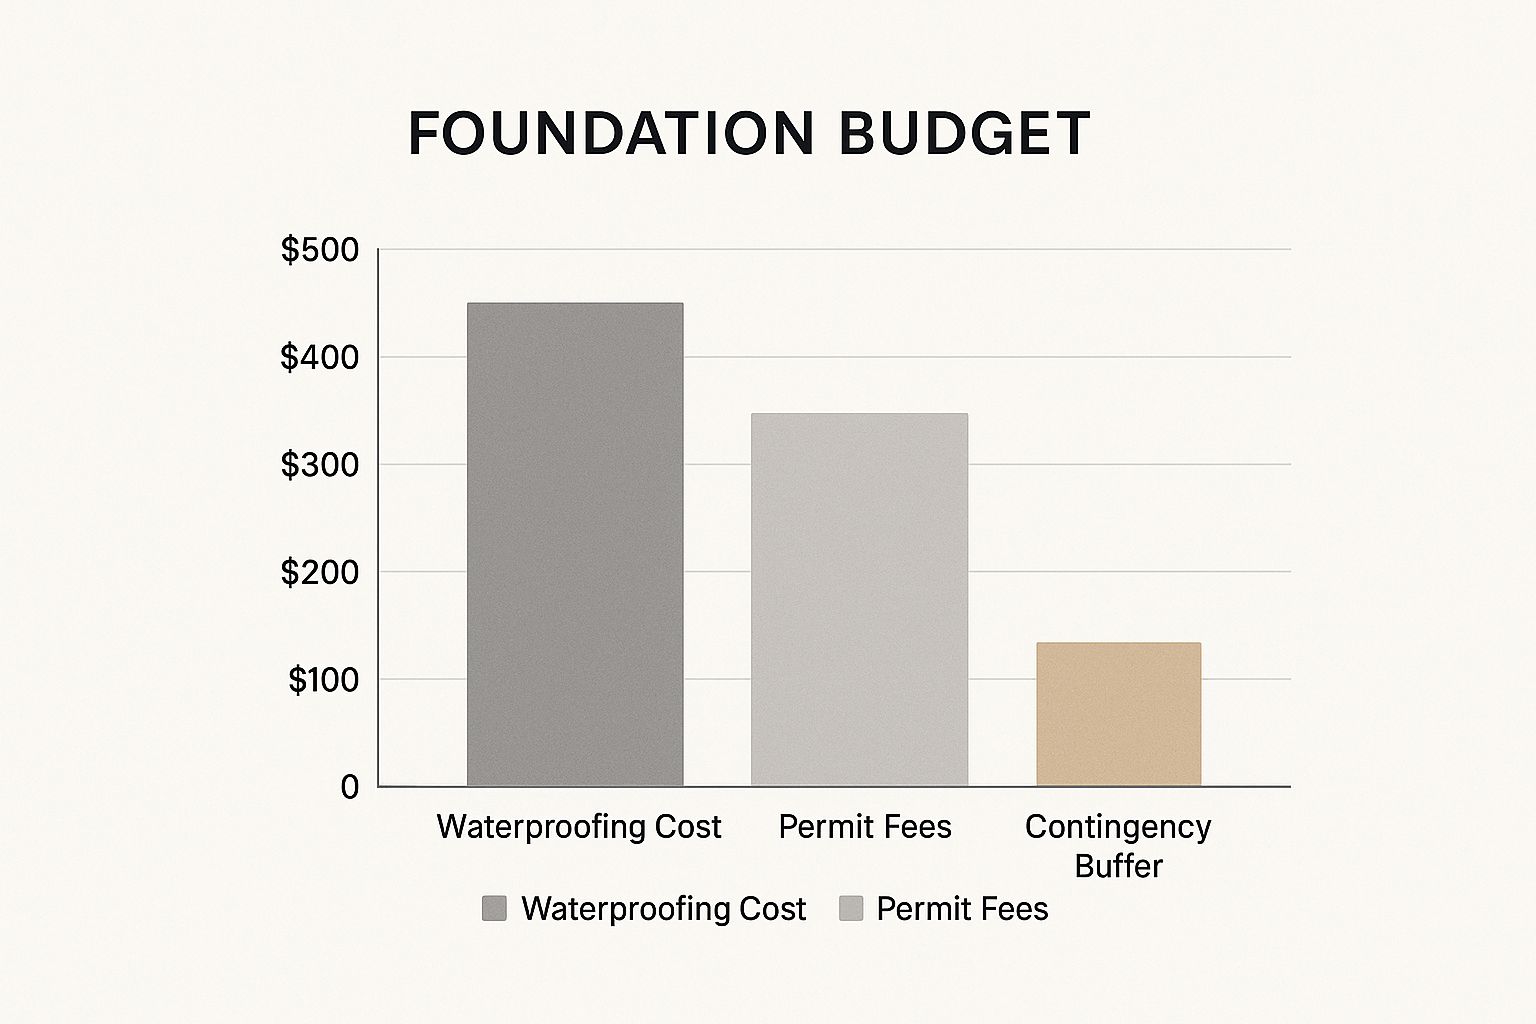
As you can see, things like permit fees might seem minor on their own, but they are a crucial piece of the financial puzzle. Planning for them from day one keeps your project on solid ground. And remember, the effort is worth it. A well-executed basement finish can give you a return on investment of up to 70% when you sell your home.
To give you a clearer idea of how this might break down, here’s a sample budget for a typical mid-range project.
Sample Cost Breakdown for a 1,000 sq. ft. Basement Finish
This table provides a sample budget allocation to help you plan your spending for key project phases.
| Framing & Drywall | $2,500 - $4,500 | 15-20% |
| Electrical | $1,500 - $3,000 | 8-12% |
| Plumbing | $1,000 - $2,500 | 5-10% |
| HVAC | $1,000 - $2,000 | 5-8% |
| Insulation | $800 - $1,500 | 3-5% |
| Flooring | $2,000 - $4,000 | 10-15% |
| Paint & Finishes | $1,200 - $2,500 | 6-10% |
| Permits & Fees | $500 - $1,500 | 2-5% |
| Contingency Fund | $2,000 - $4,000 | 10-15% |
Keep in mind these are just estimates. Your actual costs will vary based on your location, the materials you choose, and how much work you decide to do yourself.
Choosing Smart Materials That Look Expensive
This is where you can really make your budget work for you. Your material choices are what separate a smart, high-value renovation from an expensive one. The trick is to pick finishes that look fantastic but are also durable and cost-effective, especially for a space that lives below ground.
The cost to finish a basement can swing wildly, from $7 to $23 per square foot, and your material choices are the biggest reason why. For example, grabbing a deal on carpet at $2 to $8 per square foot is a much savvier move than splurging on hardwood, which can quickly hit $15 per square foot. Understanding these trade-offs is how you control the final bill. For a deeper dive, NerdWallet.com breaks down how materials affect overall costs.
Rethink Your Ceiling and Walls
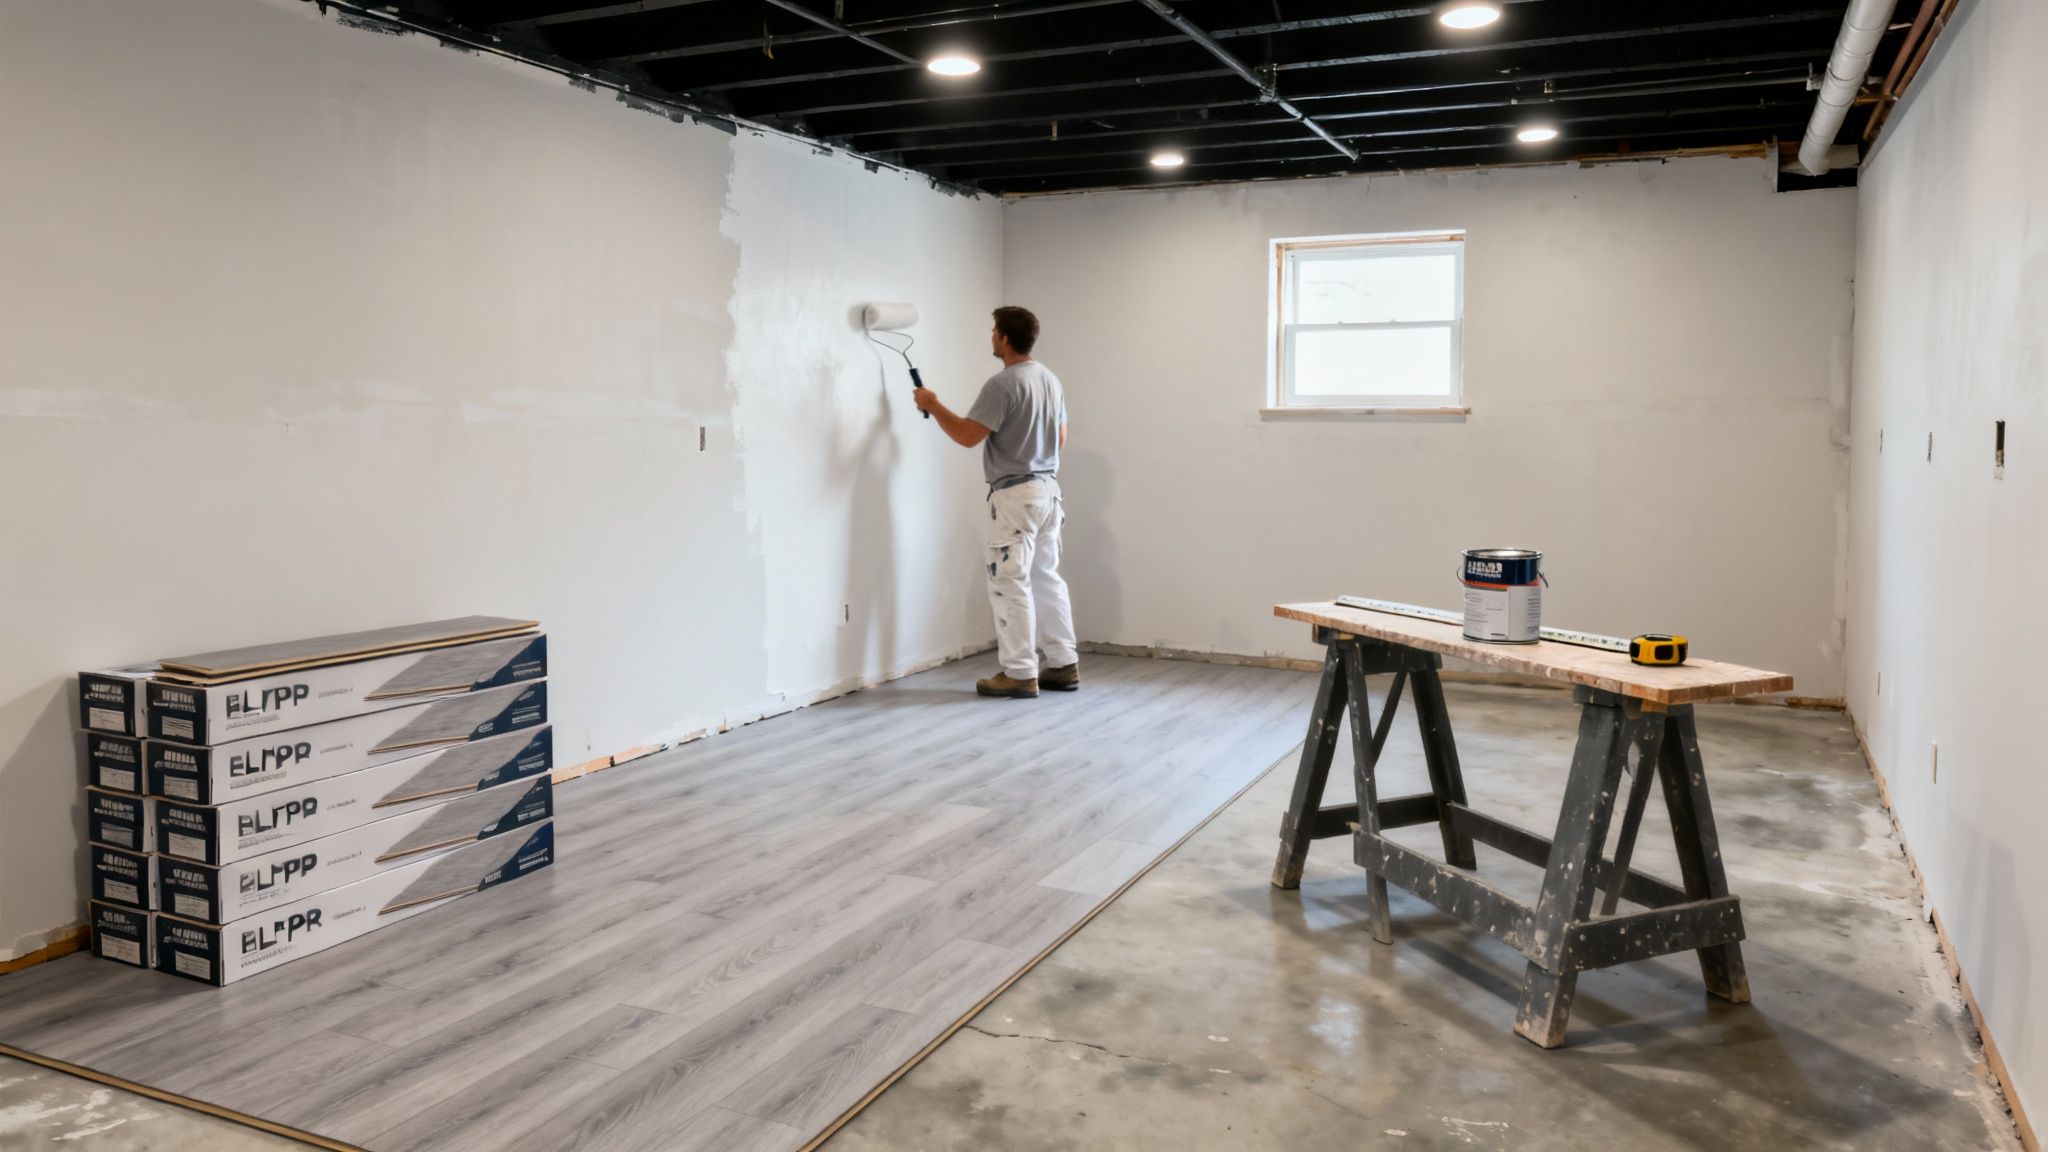
Look up. Seriously, one of the biggest budget-savers is right over your head. Instead of paying for the labor and materials to install a traditional drywall ceiling, why not embrace an industrial-chic exposed look?
Leaving the joists and ductwork visible and hitting it all with a coat of matte black paint creates a surprisingly modern, lofty vibe. I’ve seen this single decision save homeowners thousands of dollars on their project. It’s a huge win.
For the walls, standard drywall is almost always the most economical choice. You can learn more about the specifics in our guide to the cost of drywalling a basement. To give the space some personality without blowing the budget:
- Create an accent wall: Pick one wall and give it a simple DIY treatment. A little board and batten or just a bold pop of color can completely transform the room.
- Hang some mirrors: A few large, inexpensive mirrors are fantastic for bouncing light around and making the whole area feel bigger and more open.
Choose Smart and Stylish Flooring
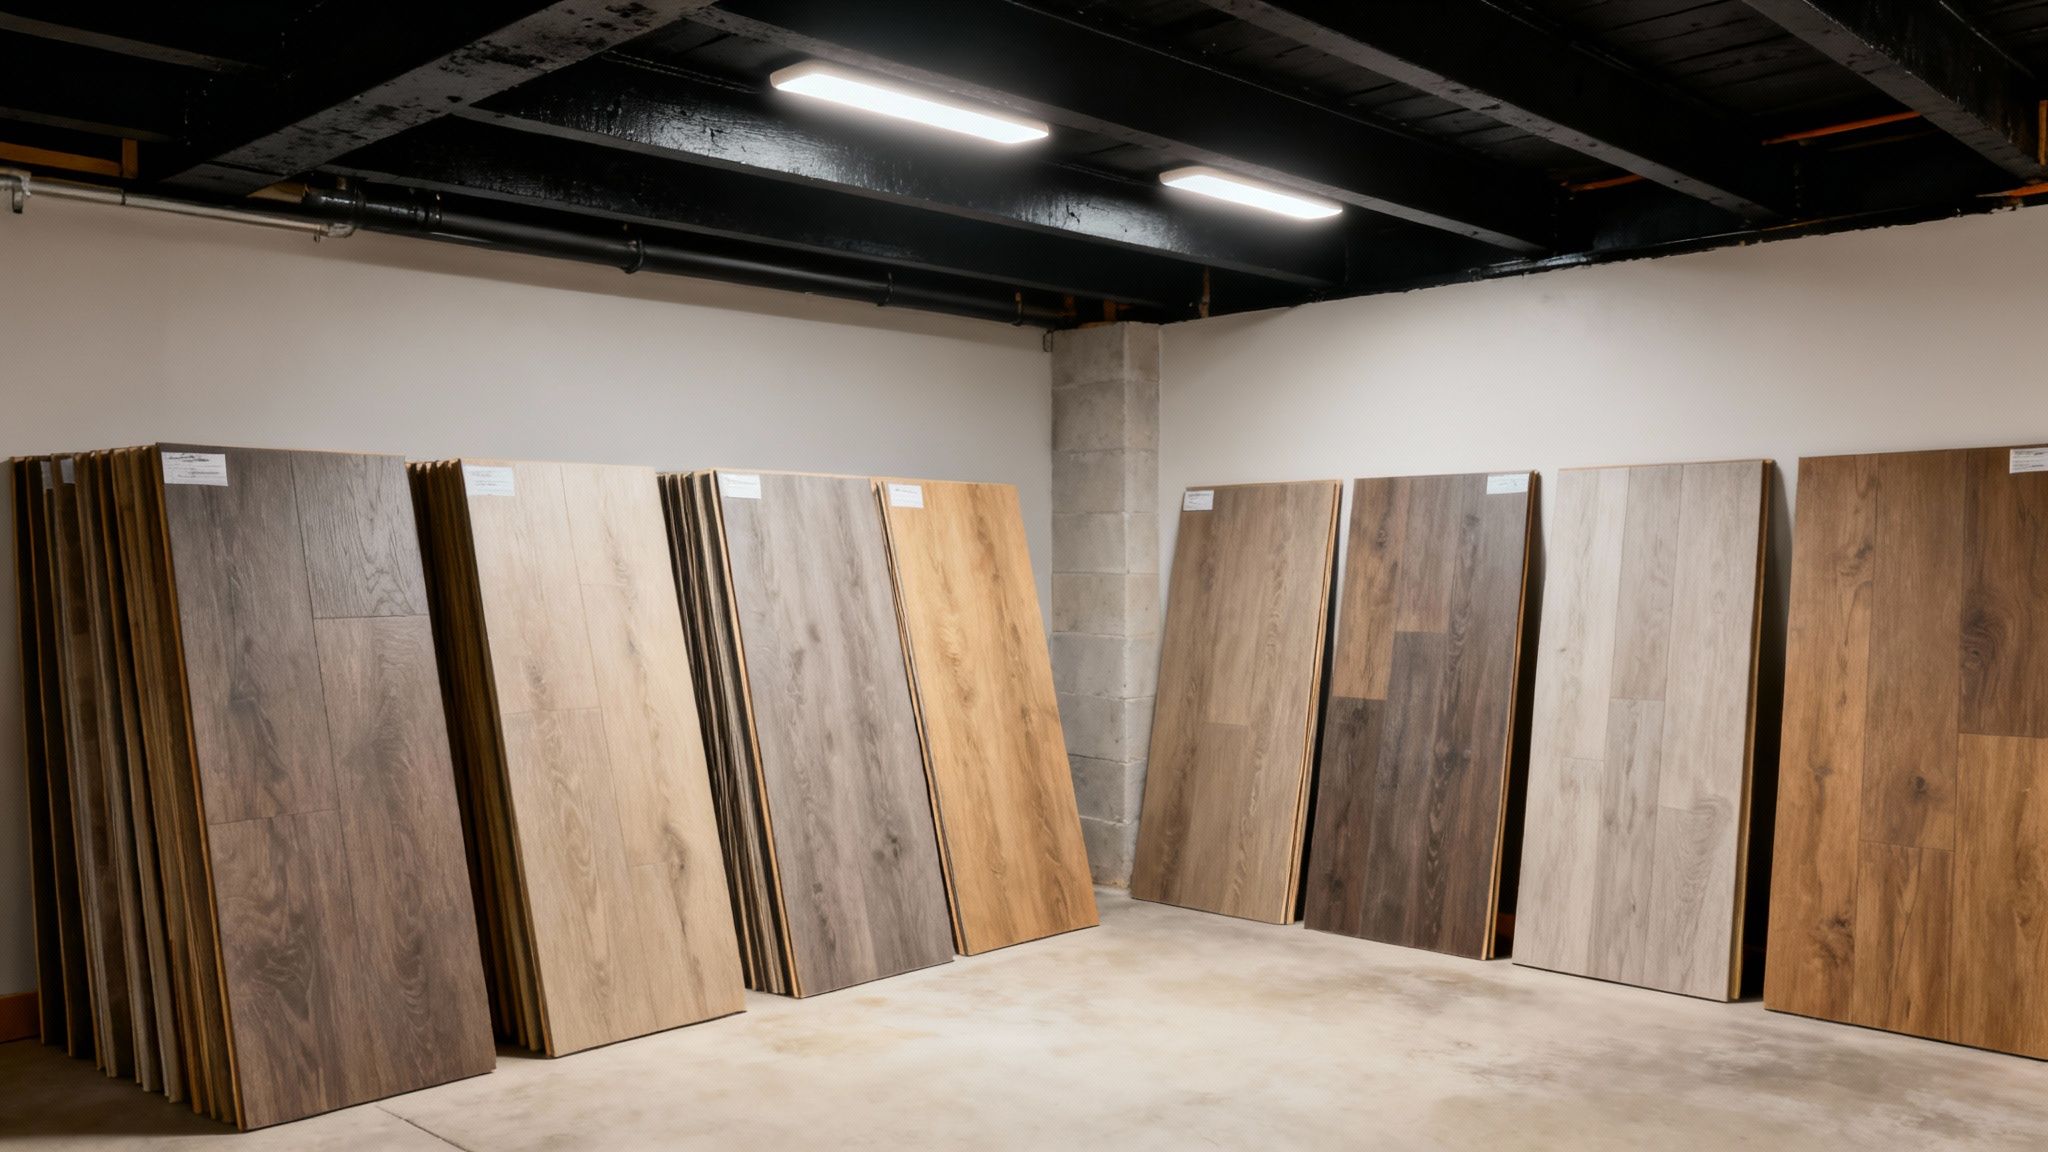
Basement floors take a beating and have to stand up to potential moisture, so your choice here matters. The good news is, you don’t have to spend a fortune to get something that's tough and looks great.
Key Takeaway: For my money, the best budget flooring for basements is almost always Luxury Vinyl Plank (LVP). It's 100% waterproof, tough as nails against scratches and dings, and the click-lock installation system is incredibly DIY-friendly.
Here’s a quick rundown of the most popular budget-friendly options I recommend to clients:
| Luxury Vinyl Plank (LVP) | $2 - $7 | Waterproof, DIY-friendly, durable, tons of styles | Can feel cold, needs a perfectly level subfloor |
| Stained Concrete | $2 - $6 | Extremely durable, modern look, no moisture worries | Can be cold and hard, requires professional sealing |
| Carpet Tiles | $1 - $5 | Warm and soft, easy to replace if a tile gets ruined | Can hold moisture and stains easily |
Illuminate with Inexpensive Lighting
Nothing makes a space feel cheap faster than bad lighting. But great lighting doesn't have to be expensive. The goal is to create a bright, inviting atmosphere, and my go-to for budget projects is LED wafer lights.
These things are a game-changer. They're ultra-thin, super affordable, and can be installed right into the drywall or a drop ceiling with minimal fuss. They cast a clean, even glow that makes the entire basement feel taller and brighter, chasing away those dark, gloomy corners for good.
Knowing When to DIY and When to Hire a Pro
The real secret to finishing a basement on a budget isn't doing everything yourself. It’s about being smart with your time and money. I call it the hybrid approach—you put in some sweat equity where it makes sense and bring in the pros for the stuff you absolutely can't mess up.
Figuring out that balance is probably the single most important decision you'll make for your budget. You want to pinpoint the jobs that are mostly just labor-intensive, not skill-intensive. If the biggest investment is your time, not a truck full of specialized tools, that’s your sweet spot for DIY.
The Best Jobs for DIY Savings
You can genuinely save thousands by handling the final-stage work yourself. These are the jobs that contractors charge a ton for simply because they take time, but they're completely doable for a homeowner with a bit of patience.
Here are the projects where I've seen homeowners get the biggest bang for their buck:
- Painting: This is the low-hanging fruit of basement finishing. A professional crew costs a lot, but you can get the same results with some good painter's tape, a few quality rollers, and a couple of dedicated weekends. The savings are massive.
- Installing LVP Flooring: Luxury Vinyl Plank has been a game-changer for DIYers. Most modern LVP uses a simple click-lock system. You don't need messy glues or a ton of special tools, and you'll save a bundle on installation costs.
- Adding Baseboards and Trim: Don't be intimidated by this one. Cutting and nailing trim just takes a bit of precision and a willingness to learn. A finish carpenter is expensive, but this is a skill you can pick up fast.
- Assembling IKEA-style cabinets: If you're putting in a kitchenette or some built-in storage, building the flat-pack cabinets yourself is a no-brainer. It’s like adult Legos, and it saves a small fortune.
When to Call in the Professionals
Now for the other side of the coin. As much as I love saving money, some things are absolutely non-negotiable. Trying to tackle a job that's over your head is a recipe for disaster. It can lead to failed inspections, dangerous situations, and repairs that cost way more than just hiring the right person in the first place.
Never, ever compromise on safety to save a few dollars. Licensed tradespeople are essential for ensuring your basement is not only beautiful but also safe and up to code for your family.
Here’s my "don't even think about it" list. Always hire a licensed and insured pro for these:
Complex Electrical Work: I’m talking about running new circuits or adding a subpanel. Swapping out a light fixture is one thing, but anything more than that is a job for an electrician. Bad wiring is one of the top causes of house fires.
Plumbing and Gas Lines: Any time you’re moving drains, running new water lines, or tapping into a gas line for a fireplace, you need a licensed plumber. A tiny, slow leak behind a new wall can cause thousands in mold and water damage before you even know it's there.
HVAC Ductwork: Tapping into your home's ductwork isn't as simple as it looks. If it's done wrong, you can mess up the airflow and efficiency for your entire house, not just the basement.
Major Structural Changes: This is the big one. If your plans involve touching anything that holds your house up—like removing a support post, cutting a new window into the foundation, or altering a load-bearing wall—you need a structural engineer's approval and a highly qualified contractor to do the work. Period.
High-Impact Design Ideas for a Low-Cost Space

A tight budget isn't a limitation; it's an invitation to get creative. I’ve seen some of the most impressive basement transformations come from clever design hacks, not from throwing money at expensive materials. With a little ingenuity, you can pull off a high-end look that feels both personal and polished.
The real secret is to focus on tricks that deliver a huge visual punch for minimal cost. For instance, if you have an open-concept layout, you can use paint to create distinct "zones" without building a single wall. Try painting a nook a dark, moody color—it instantly defines it as a cozy media corner. A lighter shade in another area can designate a workspace. This simple technique gives the illusion of separate rooms and adds architectural interest for the price of a few cans of paint.
Sourcing Stylish Furniture on a Dime
New furniture is one of the fastest ways to absolutely demolish your budget. But here's the thing: your basement doesn't need brand-new pieces to look incredible. When you're trying to save money, the secondhand market is your best friend. You can find high-quality, unique items for a fraction of their retail price if you just know where to look.
Here are a few of my go-to goldmines for affordable finds:
- Facebook Marketplace: This is my top pick for finding specific items locally, from sofas to media consoles. Pro tip: set up alerts for keywords like "mid-century modern" or "solid wood" to snag the best deals the moment they're posted.
- Estate Sales: The real magic happens on the last day. You can often get fantastic deals on well-made, vintage furniture that adds character new pieces just can't match.
- Thrift Stores in Wealthier Neighborhoods: It's worth the drive. These locations often receive donations of higher-quality, gently used furniture that can be absolute treasures.
A great-looking piece with good bones can always be transformed. A quick coat of paint, some new hardware, or even fresh upholstery can make a dated thrift-store find look like a custom designer piece.
Creating the Illusion of Space and Light
Let's be honest, basements often have a reputation for being dark and cramped. But a few strategic design choices can completely flip that perception. The goal here is to trick the eye and make the room feel bigger, brighter, and way more inviting.
One of the most effective tricks in the book is using large mirrors. A big mirror placed opposite a window or a key light source will bounce light all around the room, making it feel more expansive and airy in an instant. Area rugs are also essential for defining seating areas and adding warmth, but make sure you get the right size. A rug that’s too small will only make the room feel disjointed and smaller than it really is.
And please, don't skip layered lighting. It’s non-negotiable. Combine your overhead recessed lights with a mix of floor lamps, table lamps, and maybe some accent lighting. This creates a warm, dimensional glow that eliminates harsh shadows and makes the entire space feel cozier and more expensive.
Maximizing Functionality with Smart Choices
Finally, think about how every single item in the room can pull double duty. A storage ottoman is perfect for hiding blankets and board games while also providing extra seating. A sleeper sofa can turn a family room into a guest room in about 30 seconds.
You can even create a fantastic home theater on the cheap without any complex built-ins. All you really need is a decent projector and a smooth, white wall. For the best possible picture, you can apply a special projector screen paint directly onto the drywall. It’s an incredibly simple and low-cost way to get that immersive movie-night experience the whole family will love.
Your Top Basement Finishing Questions, Answered
Let’s be honest, finishing a basement on a budget brings up a ton of questions. You’re trying to make smart decisions with your money, and every choice feels like a big one. It's totally normal. Here are some real-world answers to the questions we hear most often from homeowners just like you.
What’s the Real ROI on a Finished Basement?
This is usually the first thing people ask, and for good reason. The good news is that finishing your basement is one of the better home improvement projects when it comes to return on investment. You can often expect to see an ROI of up to 70%.
So, if you spend $20,000 on the project, you could see your home’s market value jump by around $14,000. More importantly, you're not just adding value—you're adding usable square footage. Buyers absolutely love seeing a finished basement; it’s like a bonus room that’s already set up for a home gym, office, or family hangout spot.
Can I Save Money by Doing It Myself?
Absolutely, but you have to be realistic about it. Taking on the labor yourself can easily shave 20-30% off the total cost. That's a huge chunk of savings, especially on things like painting, laying down LVP flooring, or installing trim.
The catch? It only works if you genuinely have the skills, the time, and the right tools. A DIY mistake, especially with framing or drywall, can end up costing you more to fix than if you'd just hired a pro from the start. A smart, budget-friendly approach is often a hybrid model. You handle the cosmetic stuff, but bring in licensed professionals for the big three: electrical, plumbing, and anything structural.
Is Pulling a Permit Really Necessary?
Yes. I can't stress this enough. In almost every single case, you need a permit. It might seem like just another fee and a bunch of paperwork, but that permit is your safety net. It guarantees that a third-party inspector will sign off on all the critical work, ensuring your electrical wiring won't be a fire hazard and your plumbing is up to code.
Think of it this way: skipping a permit now could lead to massive headaches later. You could face fines, run into major issues when you try to sell the house, or even have a homeowner's insurance claim denied if an accident is traced back to unpermitted work. It’s just not worth the risk.
How Do I Keep It from Feeling Like a Cave?
This is the fun part! The secret to making a basement feel like a true extension of your home comes down to two things: great lighting and smart color choices.
- Go big on lighting. Forget that single, sad lightbulb in the middle of the room. A layered lighting plan is key. Start with recessed LED wafer lights for bright, even overhead light. Then, add in accent lighting like floor lamps and table lamps to create warm, cozy zones.
- Use color to your advantage. Light, neutral paint colors are your best friend in a basement. They reflect light and make the entire space feel bigger and more open. Painting the ceiling a crisp, bright white is also a classic trick for creating the illusion of more height.
With the right lighting and paint, you can create a space that feels just as inviting as any other room in your house.
Ready to turn your basement vision into a reality without breaking the bank? The team at Northpoint Construction specializes in creating beautiful, functional, and budget-friendly finished basements. Get in touch with us today to discuss your project.