

How To Build A Custom Home From Groundbreaking To Move In
Building a custom home is a journey with clear checkpoints—starting from land purchase and ending at move-in day. Knowing what lies ahead helps you stay on track and within budget.
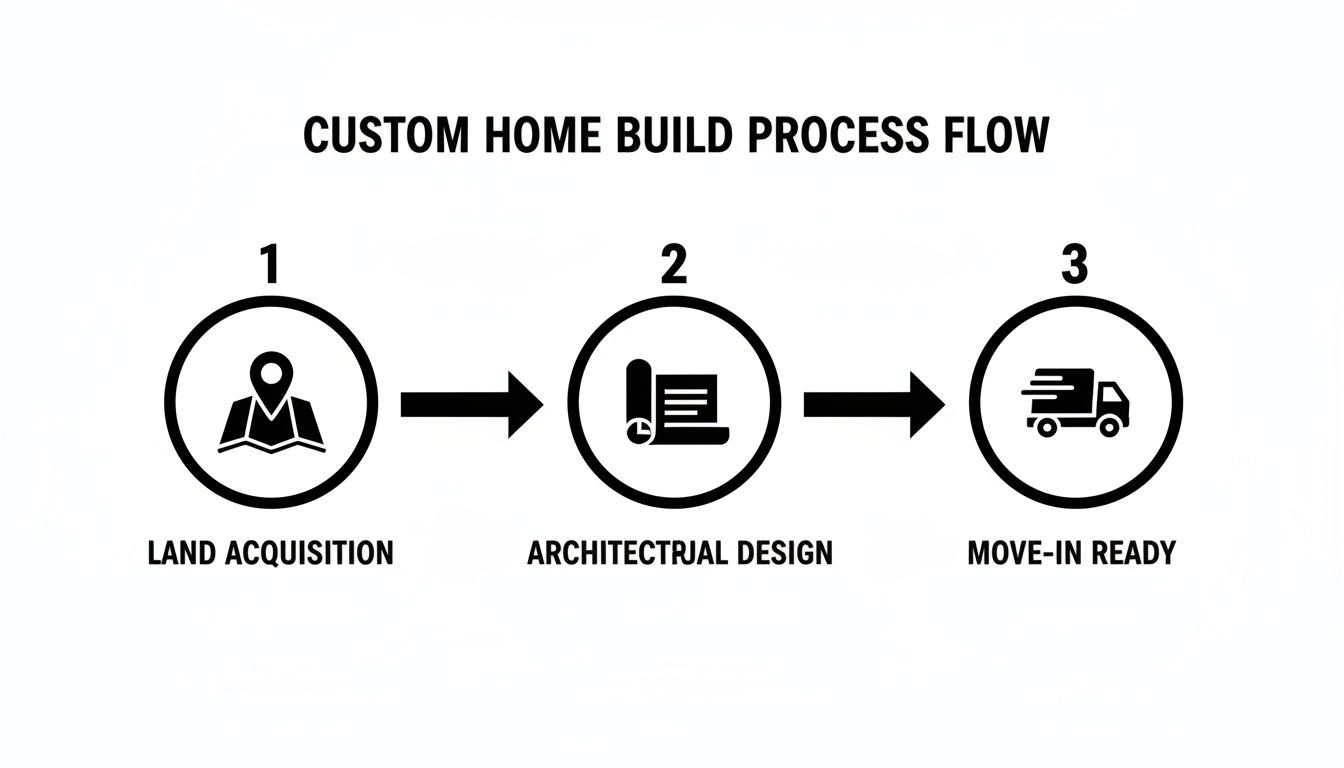
Map Out Your Custom Home Journey
To make things manageable, we break the build into four distinct phases. Each phase comes with its own timeline and budget range, so you can plan effectively and avoid surprises.
Overview Of Custom Home Building Phases
Below is a quick reference showing typical durations and cost brackets for each stage. Use this snapshot to keep your project on schedule and on budget.
| Land | 1–2 Months | $20k–$80k |
| Design | 3–4 Months | $10k–$40k |
| Construction | 9–12 Months | $150k–$400k |
| Finishes | 1–2 Months | $30k–$60k |
Lean on this table when you’re discussing timelines and budgets with your builder.
This graphic illustrates how a design delay can ripple through every subsequent step, ultimately pushing back your move-in date.
We’ve tracked custom home starts nationally and noted a 4% increase—bringing totals to 54,000 in Q2 2025. Explore custom home growth data to see how these trends might impact materials and labor availability.
Key Estimated Milestones
- Land Acquisition: Securing your lot and completing site surveys usually wraps up in 1–2 months.
- Design & Permits: Finalizing architectural plans and pulling permits can take 3–4 months.
- Construction: From foundation through rough-ins, expect 9–12 months of work on average.
- Finishes & Move-In: Installing fixtures, final inspections, and packing up often finish in 1–2 months.
“Mapping out each milestone before ground breaks can cut midbuild stress by 70%,” shares a Northpoint Construction project manager.
Next Steps
- Review each phase with your builder to lock in scope and costs.
- Set calendar reminders for permit submissions and inspections.
- Compare actual spending against your budget weekly to spot overruns fast.
- Update your budget worksheet as invoices come in to keep projections accurate.
Keep this guide handy—refer back whenever questions or delays surface. Happy building!
Choosing Your Site And Planning Your Budget
Picking the perfect piece of land lays the groundwork for a smooth custom build. Exploring your options early can shield you from surprises—both on the bill and the building site.
Site Evaluation Criteria
Before you commit, walk the land at different times of day. Noise levels, sun exposure and neighbor activity all matter.
- Soil Test: Confirms drainage, load-bearing capacity and potential foundation challenges.
- Zoning Rules: Check Orem, Provo, Lehi and American Fork regulations to avoid unpermitted setbacks.
- Neighborhood Vibe: Visit during rush hour and on weekends to gauge traffic and noise.
- Utility Access: Verify water, sewer and power hookups; unexpected trenching fees can add up.
Local Lot Differences
Lot prices can vary dramatically from one street to the next. Knowing the local quirks gives you leverage at the negotiation table.
| Orem | $75,000 | Mixed residential |
| Provo | $85,000 | Historic overlay |
| Lehi | $95,000 | Growth corridor |
| American Fork | $70,000 | Code restricted |
Comparing these details helps you spot a fair deal—and avoid hidden pitfalls.
Assess Financing Options
Your choice of loan affects timelines, down payments and your monthly payment. Shopping multiple lenders uncovers the real cost over the life of the loan.
- Construction-to-Permanent converts seamlessly into your mortgage.
- FHA Construction Loans ask for 3.5% down plus mortgage insurance.
- Home Equity Lines offer flexible draws if you already own land.
“Secure a 90-day rate lock once you have bids to avoid market spikes,” advises a Utah lender.
Budget Planning Essentials
A realistic budget breaks down like this:
- 20–30% for land acquisition
- 50–60% for actual construction
- 10–15% for permits, surveys and design fees
- 10–15% contingency to cover delays or scope changes
Negotiating early on land price can trim 5% off your cost, while sourcing materials from multiple suppliers might save 8%. Tracking bids weekly helps you spot outliers before they inflate your budget.
“Negotiating interest rates and fees can shave 0.5% off your loan, saving thousands over the term,” says a local mortgage advisor.
Real Talk From Provo
One homeowner in Provo discovered a 20-inch subsurface rock layer that required blasting permits. That surprise added $12,000 in site prep costs—but it also improved long-term drainage and foundation strength.
Key takeaways from their experience:
- Factor in unusual permits during your early estimates.
- Allocate extra contingency for geology surprises.
- Tap local experts for faster special-use approvals.
Worksheet And Modular Options
A simple worksheet keeps your figures organized from day one:
List lot cost, construction bids and soft costs to get your base total.
Add line items for weather delays and design tweaks.
Review these numbers monthly to catch overruns early.
Modular construction can slash build time by up to 50% and cut expenses by 20–30%. The global residential construction market is projected to generate US$4.25 trillion in revenue in 2025 with a 4.97% CAGR through 2027, highlighting its growth potential. Learn more about global residential construction trends on Statista.
Check out our deeper dive for homeowners at What to Know Before Building a House
Real-world evidence shows a tight, upfront budget plan can save homeowners 15% on unexpected costs. Next steps include ordering surveys, locking in builder bids and scheduling your first site visit. Use our customizable checklist to make sure no detail slips through the cracks.
Factor utility hookup timing precisely early.
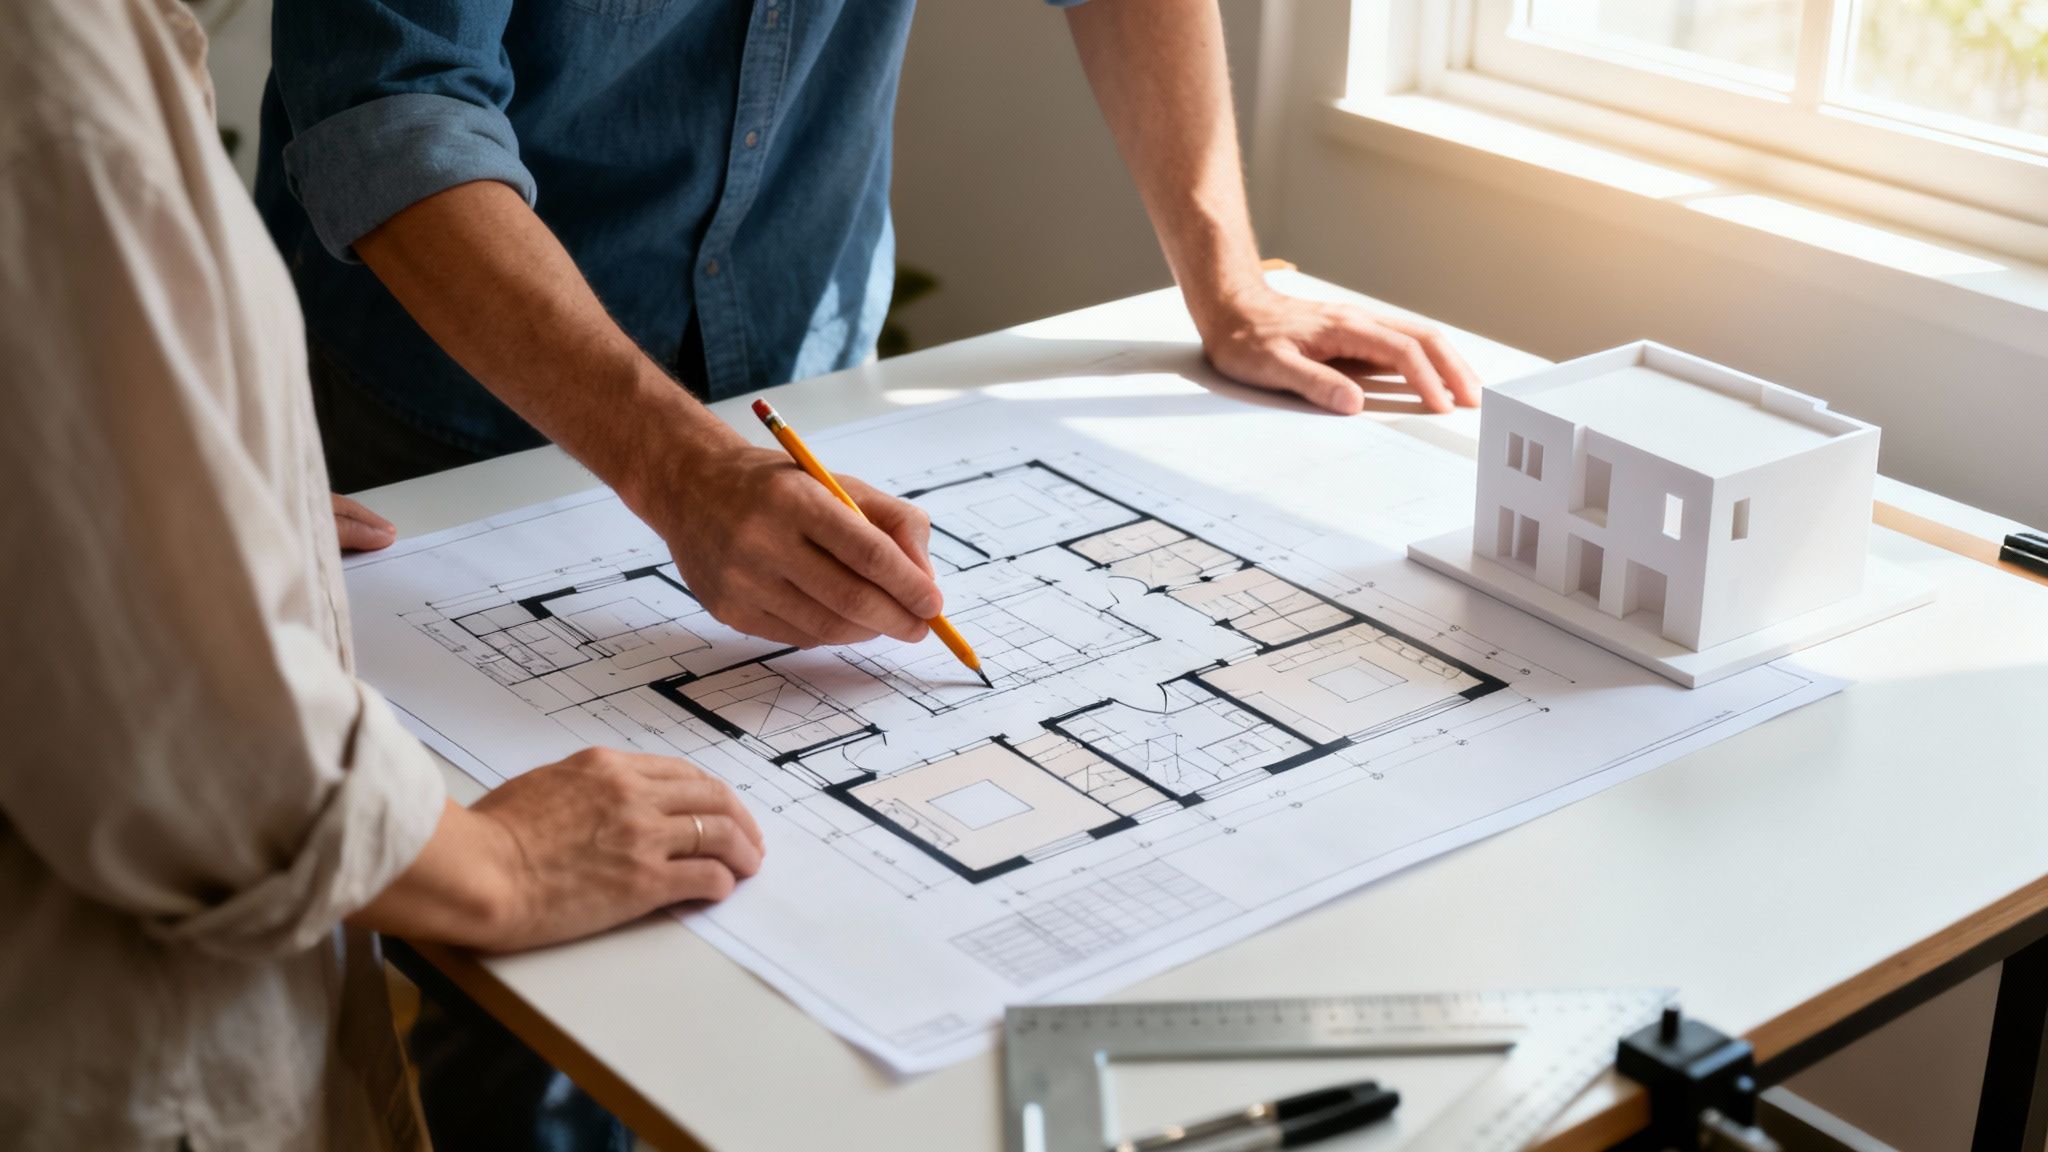
Designing Your Floor Plan And Securing Permits
The layout you choose will shape how you live each day—and even your utility bills.
Bringing an architect on board early means your rooms fit your habits, local rules, and site constraints.
This phase sets the stage for a custom home that feels effortless from day one.
Floor Plan Best Practices
Placing your main living areas where sunshine pours in can shave heating costs and lift moods.
Keeping traffic flowing prevents hallway bottlenecks when kids sprint from bedrooms to breakfast.
Adding energy-saving touches—like extra attic insulation or south-facing windows—can reduce heating bills by 15% each year.
Watch Out For These Layout Pitfalls:
- Undersized hallways that turn into choke points.
- Windows facing the wrong direction, causing glare or cold spots.
- Skipping a mudroom and ending up with dirty floors at every entrance.
A family in Lehi found their living room felt cramped until they added an extra two feet. That tweak not only accommodated their sectional but boosted their resale appeal—and cut cooking time by 10% thanks to better flow around the island.
Navigating Permit Submissions
Permits aren’t automatic. Every city in Utah has its own checklist, so start with Orem’s requirements.
A professional land survey and a clear site plan are your tickets past the first review.
Gathering all documents up front can shave weeks off approval times.
This snapshot from Orem’s planning page shows how timely survey uploads and crisp site plans can reduce review times by up to 20%.
Obtain a professional land survey.
Finalize your detailed site plan.
Complete the building permit application package.
Submit to the planning department and note reference numbers.
Track inspection schedules online.
“We secured our permit in just 30 days by pre-consulting with city planners,” recalls a Provo resident.
Tips For Fast-Tracking Approvals
One of the smartest moves is a pre-application meeting with municipal staff. Early feedback flags code issues before the formal review.
- Use clear legends on plans so reviewers spot what they need instantly.
- Bundle related permits (electrical, plumbing, mechanical) in one submission.
- Follow up each week and log every communication.
| Surveys | 2 weeks | 1 week |
| Plan Review | 3 weeks | 2 weeks |
| Permit Approval | 4–6 weeks | 3–4 weeks |
Keeping your timeline updated with permit statuses sidesteps surprises and keeps the build moving.
Checklist To Keep Your Design On Track
A running checklist guarantees nothing slips through the cracks during this critical phase. Review each item weekly:
- Confirm survey delivery and accuracy
- Verify plan revisions match your budget
- Track permit fees and reference numbers
- Schedule follow-up inspections proactively
- Communicate every change in writing to your architect
Expert Tip: Updating your checklist cut permit delays by 25%, according to a Northpoint planner.
With your design and permits in motion, momentum builds for a smooth ground-breaking. Stay organized, lean on local expertise, and keep communication lines open every day.
Selecting Your Builder And Finalizing Contracts
Finding the right builder shapes every step of your custom home journey. Start by checking their credentials, flipping through portfolios, and making sure their license is current. In Orem, Provo, or Lehi, local compliance is just as important as years of experience.
Next, reach out to past clients and scan online reviews. That’s often where you catch warning signs before you commit. Investing effort here can shave off 5–8% of total build costs by spotting red flags early.
- Examine craftsmanship, design range, and project scale.
- Verify state and county licenses to meet local rules.
- Talk to former clients for honest, firsthand feedback.
Ask targeted questions—where do they source framing lumber? What warranty backs the roofing shingles? These details tighten up your understanding and weed out inflated bids before you dive into comparisons.
Comparing Bids Side By Side
Don’t let multiple bids overwhelm you. Lay them out in a simple table with columns for materials, labor, and projected timelines. That structure makes hidden fees jump off the page.
- Note material markups and labor rates side by side.
- Request explanations for permit handling or inspection surcharges.
- Contrast phase durations to uncover padded schedules.
A transparent proposal keeps surprises out of the fine print.
“Comparing bids line by line helps avoid 12% average overruns, according to our data.”
Armed with this insight, you can negotiate upgrades—like porcelain tile instead of standard ceramic—or ask for extended warranties in exchange for a fixed-price contract. Clear change-order protocols guard against budget creep as plans evolve.
Contract Details Checklist
- Write down the scope of work for each phase.
- Define change-order rules with solid pricing formulas.
- Tie payment milestones to inspections or completion points.
- Include mediation steps before legal action.
- Specify warranty coverage and repair response times.
A detailed contract is your safety net. Watch for vague language around material standards or workmanship guarantees. If possible, have a lawyer vet the clauses on payment holdbacks and defaults.
For more guidance on picking the right professional, check out our guide on choosing the right general contractor.
Once you’ve signed, set a kickoff meeting to lock in timeline details. A shared project tracker—like Airtable or Trello—keeps both sides aligned. This step ensures nothing slips through the cracks once shovels hit the dirt.
Locking In Your Builder
With contracts signed, you now have a clear roadmap. Confirm your start date, inspection schedule, and warranty handover in writing. Keep communication channels open and log every change as an addendum.
Schedule your first review within two weeks of breaking ground.
“A clear kickoff meeting can reduce early-stage delays by 30%, according to our build tracker.”
Consistent check-ins and transparent updates protect your investment and uphold quality standards. At this point, you’ve wrapped up builder selection—next is managing your construction timeline and quality control so your custom home stays right on track. Start prepping for site visits and inspection questions now, and you’ll hit the ground running with confidence.
Managing Build Timeline And Ensuring Quality
Laying out a realistic schedule before the first shovel hits the ground is your best defense against delays and surprise costs. Clear timing builds trust with your builder and keeps everyone accountable.
Before you commit to a new home, consider tackling a high-end remodel. Many homeowners save 20–40% on renovation projects and use those lessons to inform their custom build. For deeper cost insights and trends, check out Birmingham Remodelers.
Discover more insights
Tracking Milestones And Scheduling
Start by outlining key phases—think site prep, framing, and interior finishes. Plug those into a Gantt chart or your favorite project-management tool so you can spot conflicts before they become crises.
- Use color codes for each phase and highlight critical milestones, like permit applications
- Link inspection and permit deadlines with mobile reminders
- Tie budget updates to schedule changes so your cost forecast adjusts in real time
Sharing this timeline with your crew—architect, builder, subcontractors—creates shared ownership. For instance, syncing Buildertrend (https://buildertrend.com) to your phone sends instant alerts when a task wraps or a cost line shifts. You can even upload photos of the site to keep everyone on the same page.
Conducting Effective Site Visits
No dashboard replaces a walk-through. Nothing beats stepping foot on the lot to catch issues early—like uneven concrete pours or misaligned framing.
- Photograph progress daily and mark dates to build a photo log
- Use a simple checklist to verify code compliance, material specs, and safety measures
- Invite both your architect and builder on-site to hash out questions before they escalate
“Escalate critical site issues within 24 hours to avoid schedule creep.”
This habit keeps small snags from snowballing into serious hold-ups. Once you’ve got your own checks down, plan for official inspections to lock in quality.
Bringing In Third-Party Inspectors
An independent set of eyes guarantees work meets both code and design intent. Here’s a quick rundown:
- Arrange a framing inspection to confirm structural elements before insulation
- Schedule electrical rough-in tests to verify wiring paths prior to drywall
- Order plumbing pressure tests to uncover leaks before walls are sealed
For more structure, check out our Construction Quality Control Checklists to align inspections with milestones.
Catching deviations now saves you from hidden defects—and hefty repair bills—down the road.
Piloting A Single Room For Insights
Why not test-drive one space before building the whole house? A mock-up offers real-world data on materials, workflows, and finishes.
| Pilot Bathroom | Tile finish and grout hue | Reduced tile waste by 18% |
| Kitchen Module | Cabinet layout and flow | Optimized traffic, cut build time by 12% |
- Define clear goals: durability tests, color matches, workflow
- Lock in hardware and fixture selections based on pilot results
- Track costs and schedule impacts to fine-tune full-build estimates
During our kitchen mock-up, we discovered the faucet style clashed with cabinet tones—and fixed it before ordering.
Balancing Quality Materials And Budget
Choosing long-lasting materials up front pays dividends later. Evaluate lifecycle costs, warranties, and how easily you can source items locally.
- Compare at least three suppliers for bulk discounts on lumber and fixtures
- Pick quartz over marble for countertops to balance price with durability
- Source locally to cut delivery fees and support community vendors
Keep manufacturer lead times in mind—ordering too late can stall your schedule. Builders often recommend products rated for high UV exposure and moisture resistance for Utah’s climate.
“Durable selections can cut maintenance costs by 25% over a decade,” says a Northpoint specialist.
Review real-user ratings and performance data so you’re buying with confidence, not guesswork.
Managing your timeline and quality hand in hand is the best way to protect your investment. Regular reviews, on-site tests, and structured inspections help you stay on track—and ensure your custom home is built right the first time. Lead your team with clear priorities each week, and you’ll turn that dream design into a reality without the headaches.
Completing Finishes And Final Walkthrough
Now that the walls are painted and the flooring goes in, your house starts feeling like home. Cabinetry, countertops and moldings pull everything together, marrying style with everyday wear.
• Always review full-size samples under natural light to spot any color shifts.
• Ask about care routines for hardwood, quartz and porcelain so surfaces stay pristine.
• Consider mock installations in busy zones—seeing partial tile or cabinet runs can save headaches later.
A family in American Fork tried three different blue-gray paints on a living room wall before landing on their perfect shade. Similarly, choosing matching trim profiles for baseboards and crown molding makes every detail feel intentional.
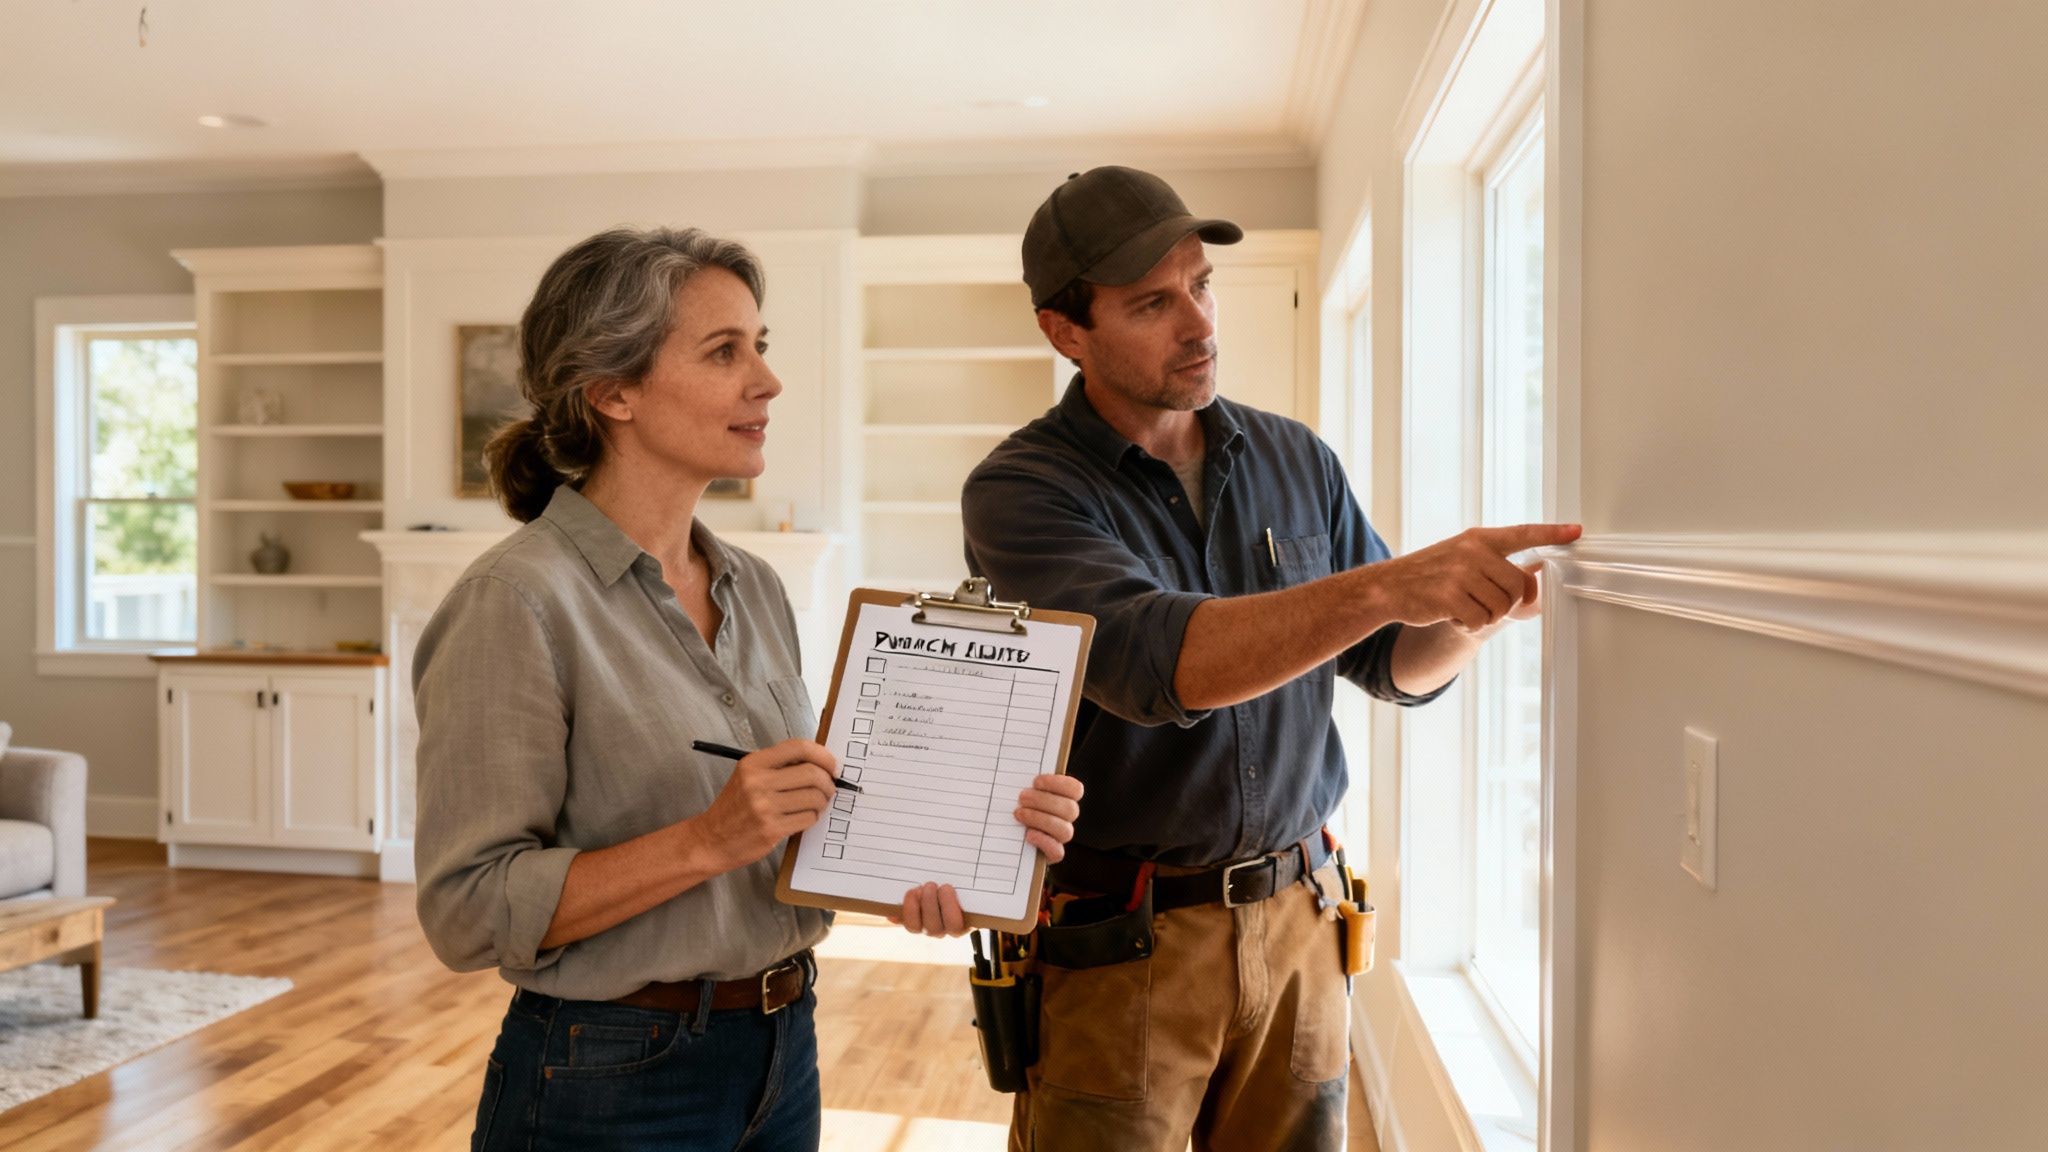
Fine Tuning Your Punch List
A punch list is your last line of defense against overlooked flaws. It keeps contractors on the hook and ensures every corner meets your standards.
• Identify each snag during your final walk-through.
• Assign clear deadlines for repairs so momentum doesn’t stall.
• Confirm every fix with a quick sign-off before releasing funds.
• Hold back 5% of payment until all items are wrapped up.
“A thorough punch list can cut post move in callbacks by 75%,” says a Northpoint Construction project manager.
Time-boxing these tasks is crucial to safeguarding your move-in date and your peace of mind.
Verifying Utilities And Inspections
Locking in utilities and passing inspections keeps surprises off your closing day. Aim to book these checks well ahead of occupancy.
| Electrical | Test circuits and install breaker panels | Two weeks before move in |
| Plumbing | Pressure test lines and seal any leaks | Ten days before occupancy |
| HVAC | Balance airflow and complete system checks | One week before handover |
Final approvals for plumbing, electrical and HVAC clear the way for your certificate of occupancy—and that golden moment when the front door finally opens.
Final Move In Checklist
This list makes your closing days a little less chaotic. Check off each item to roll smoothly into move-in week.
• Collect warranty paperwork for appliances, roofing and mechanical systems.
• Gather owner’s manuals and vendor contacts for future fixes.
• Schedule a builder walk-through to demo maintenance tips and system operations.
• Book your moving truck and set utility start dates well in advance.
Hinge alignment, paint touch-ups and cabinet adjustments often pop up at the eleventh hour—tackling them now means less stress once boxes arrive.
Celebrating your new home is the rewarding finish after meticulous planning and execution.
Post Move In Tips
Once you’re unpacked, take a fresh walkthrough to catch any wear spots or hardware misalignments.
• Document scuffs, stains or cracks within the first week.
• Note warranty expiration dates so you can act before coverage lapses.
• Book a seasonal inspection for HVAC, roof and siding.
• Keep a simple photo log of emerging maintenance needs for easy claims.
A little vigilance in the first month protects your investment and honors Northpoint’s commitment to quality.
Applying Lessons To Future Projects
Reflect on your finish choices and note which held up best under real-life use. Sharing those insights helps your builder fine-tune processes next time around.
Early post move in audits often catch 30% of minor flaws that might become major repairs later.
A project notebook—complete with photos, invoices and dated notes—becomes your go-to reference for future remodels or additions.
Celebrating Your Achievement
Invite friends and family over for a casual housewarming. A small gathering not only marks the end of your build but also shines a light on everyone’s hard work and dedication.
Common Questions About Building A Custom Home
How Long Does a Custom Home Take
A typical custom home build stretches between 9 to 18 months, but variables like site complexity, design tweaks, and permit delays can push you off schedule. Lock in early plans and touch base often—this simple habit usually keeps the project on track.
Budget Contingencies
Projects always throw curveballs—think sudden material price spikes or unexpected weather setbacks. Industry pros recommend tucking away 10–15% of your total budget for these surprises. You’ll be glad you did when something unexpected crops up.
Permit Essentials
Every build needs permits for building, electrical, plumbing, and mechanical systems. Requirements shift from one municipality to the next—Orem and Provo don’t share identical checklists. Use our permit checklist to avoid approval hold-ups.
Early permit consultations cut approval times by up to 25%.
Financing Your Project
Here are the most common financing routes homeowners take:
- Construction-to-Permanent Loans turn into your mortgage once construction wraps.
- Owner-Builder Loans suit hands-on homeowners—but they demand solid project-management skills.
- Home Equity Lines of Credit let you tap the value in your existing property.
Compare interest rates, fees, and repayment schedules to find the best fit. Clear, consistent communication with lenders and your build team will keep surprises to a minimum.
Additional Tips
- Schedule weekly milestone check-ins to spot delays early.
- Keep a digital build journal for decisions, change orders, and deadlines.
- Explore local community forums for neighborhood-specific advice.
- Store all permit documents in one dedicated digital folder.
Block out monthly sit-downs with your builder—nipping small issues in the bud prevents big headaches later.
Ready to turn your vision into reality? Partner with Northpoint Construction for expert guidance and hands-on support every step of the way. Visit Northpoint Construction to get started!