
Finishing a basement without breaking the bank really comes down to a three-pronged attack: smart planning, taking on the right DIY tasks, and being savvy with your material choices. Your project plan is honestly the most powerful money-saving tool you'll have. It’s what keeps you from making those expensive "oops" moments and helps you put your money where it counts.
Laying the Foundation for a Budget-Friendly Basement

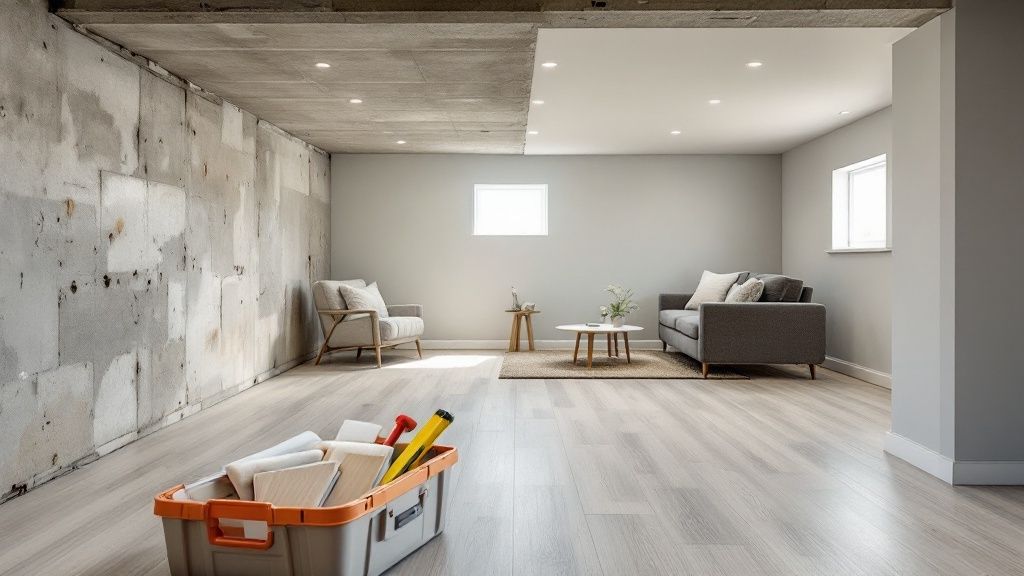
Turning that dark, concrete box downstairs into a place you actually want to hang out in can feel like a monumental task. But with a solid plan, you can get it done without draining your savings. The very first step isn't swinging a hammer—it's grabbing a tape measure and a notepad. A detailed plan is your best defense against over-buying materials and helps you see potential roadblocks before they become expensive headaches.
This initial planning phase is where you'll make the decisions that have the biggest impact on your wallet. Before you get your heart set on that fancy vinyl plank flooring or a complex layout, you have to get real with the numbers. There's a lot that goes into it, from framing and drywall to electrical and plumbing.
Creating Your Project Roadmap and Budget
Start by getting exact measurements of your entire basement. I'm talking total square footage, the linear feet of every wall, and the ceiling height. These numbers are non-negotiable for estimating materials like drywall, insulation, and paint. Getting this right from the start means you buy what you need without a pile of costly leftovers.
Next, fire up a spreadsheet and start listing every single potential expense. You need to think beyond just the lumber and drywall. Don't forget to budget for:
- Permits: This isn't optional. Check with your local town or city hall. They protect your home's value and ensure everything is done to code.
- Tools: You might not own a drywall lift or a power miter saw. Factor in the cost of renting specialized equipment.
- Surprises: Trust me, there will be surprises. Always, always build a 10-15% contingency fund into your budget for things like finding a hidden foundation crack.
- Hiring Pros: Be honest about what you can't do. Electrical and plumbing are usually best left to licensed professionals, so get multiple quotes for those jobs.
To give you a rough idea, let's look at a sample budget. The costs can vary wildly depending on your location and choices, but this should give you a starting point.
Sample Budget for a 1000 sq ft Basement Finish
Here’s an estimated cost breakdown for a budget-friendly, 1,000 sq ft basement finish. It highlights the major cost centers and shows just how much you can save by rolling up your sleeves.
| Framing & Lumber | $1,500 - $2,500 | $3,000 - $5,000 | $1,500 - $2,500 |
| Insulation | $800 - $1,200 | $1,500 - $2,500 | $700 - $1,300 |
| Drywall & Finishing | $1,000 - $1,800 | $3,500 - $6,000 | $2,500 - $4,200 |
| Electrical (Pro Recommended) | N/A | $2,500 - $4,500 | $0 |
| Plumbing (Pro Recommended) | N/A | $2,000 - $4,000 | $0 |
| Flooring (LVP) | $2,000 - $3,000 | $3,500 - $5,000 | $1,500 - $2,000 |
| Paint & Primer | $400 - $700 | $1,500 - $2,500 | $1,100 - $1,800 |
| Trim & Doors | $800 - $1,500 | $2,000 - $3,500 | $1,200 - $2,000 |
| Permits & Contingency | $1,500 - $3,000 | $1,500 - $3,000 | $0 |
| Total Estimated Range | $8,000 - $13,700 | $21,000 - $36,500 | $13,000 - $22,800 |
Disclaimer: These are rough estimates for 2024 and can vary significantly based on location, material quality, and project complexity. Always get local quotes.
As you can see, the potential savings from DIY are massive, but it's crucial to be realistic about your skills. Saving money on drywall isn't worth it if you end up with a poor finish you have to pay someone to fix later.
Key Takeaway: Your budget isn't just a list of costs; it's your decision-making guide. It forces you to prioritize, helping you decide where to splurge and where to save so every dollar works for you.
Phasing Your Project to Manage Cash Flow
Here’s a brilliant strategy if the total cost feels overwhelming: do it in phases. You don't have to finish the entire basement in one go. Breaking the project into smaller, manageable stages makes the cost far less intimidating and lets you pay for it as you go.
You could structure your project something like this:
Phase 1: The Bones. First, get the essential structure done. This means waterproofing, framing, insulation, and running all the rough-in electrical and plumbing. You'll be left with a clean, dry, and functional shell.
Phase 2: The Main Hangout. Next, focus on finishing just one primary area, like the family room. Go all the way here—drywall, lighting, flooring, the works. This gets you a usable space much faster.
Phase 3: The Extras. Later on, as your budget recovers, you can tackle the other rooms. Finish that bathroom, build the wet bar, or frame out the guest bedroom.
This phased approach keeps you from feeling buried financially and physically. If you're considering bringing in a pro for some or all of the work, looking into comprehensive home building services can give you a clearer picture of costs and timelines. And here's a huge money-saving tip: design your layout around the existing plumbing and ductwork. Relocating those systems can easily add thousands to your final bill.
Choosing Materials That Look Great Without Breaking the Bank
Pick the right materials for floors, walls, and ceilings, and watch your budget stay grounded. With a few savvy swaps, you’ll get a high-end look without the high-end price tag.
Material and DIY choices like these can slice project costs dramatically, leaving more cash for finishing touches.
Smart And Stylish Basement Flooring Options
Basement floors battle moisture and chill every day. Skip solid hardwood—it warps under damp conditions—and think about materials built for the challenge:
- Luxury Vinyl Plank (LVP): 100% waterproof with realistic wood or stone visuals. The click-lock system makes it an ideal weekend DIY.
- Stained Concrete: Seal and stain the existing slab for a sleek, industrial vibe. It’s tough on a budget—just layer in area rugs for warmth.
- Carpet Tiles: Soft underfoot and simple to replace if one tile gets stained or worn out.
Walls That Work For Your Budget
Drywall remains a top choice thanks to its low cost and versatility. A 4x8 sheet of 1/2-inch drywall still ranks among the most affordable ways to get clean, crisp walls.
You can also embrace an unorthodox look:
Pro Tip: Paint bare concrete using a quality masonry paint. You’ll lock out moisture and achieve a modern, industrial finish—no framing required.
Ceiling Solutions That Save Money And Headaches
Installing drywall overhead can be messy and time-consuming. Instead, consider:
- Exposed And Painted Ceiling: Spray joists, pipes, and ducts a uniform dark tone—black or charcoal. It visually raises height and keeps utilities within reach.
- Drop Ceiling: A simple metal grid and acoustic tiles cost a bit more upfront but grant easy access for future repairs or upgrades.
Cost-Effective Basement Material Comparison
Before we move on, here’s a quick comparison of these top picks:
| Flooring | Luxury Vinyl Plank (LVP) | $2 - $5 | Pros: Waterproof, DIY-friendly Cons: Thin feel |
| Flooring | Stained Concrete | $1 - $3 | Pros: Very low cost, modern look Cons: Cold |
| Flooring | Carpet Tiles | $2 - $4 | Pros: Replaceable, warm Cons: Prone to stains |
| Wall | Standard Drywall | $0.40 - $0.65 | Pros: Versatile, affordable Cons: Needs framing |
| Wall | Painted Concrete | $0.50 - $1 | Pros: Moisture-resistant Cons: Prep required |
| Ceiling | Exposed And Painted | $0 - $0.50 | Pros: Cost-effective, easy access Cons: Look |
| Ceiling | Drop Ceiling | $1.50 - $3 | Pros: Accessible, sound reduction Cons: Lower headroom |
These options strike a balance between cost, toughness, and style. Mix and match based on your space’s needs.
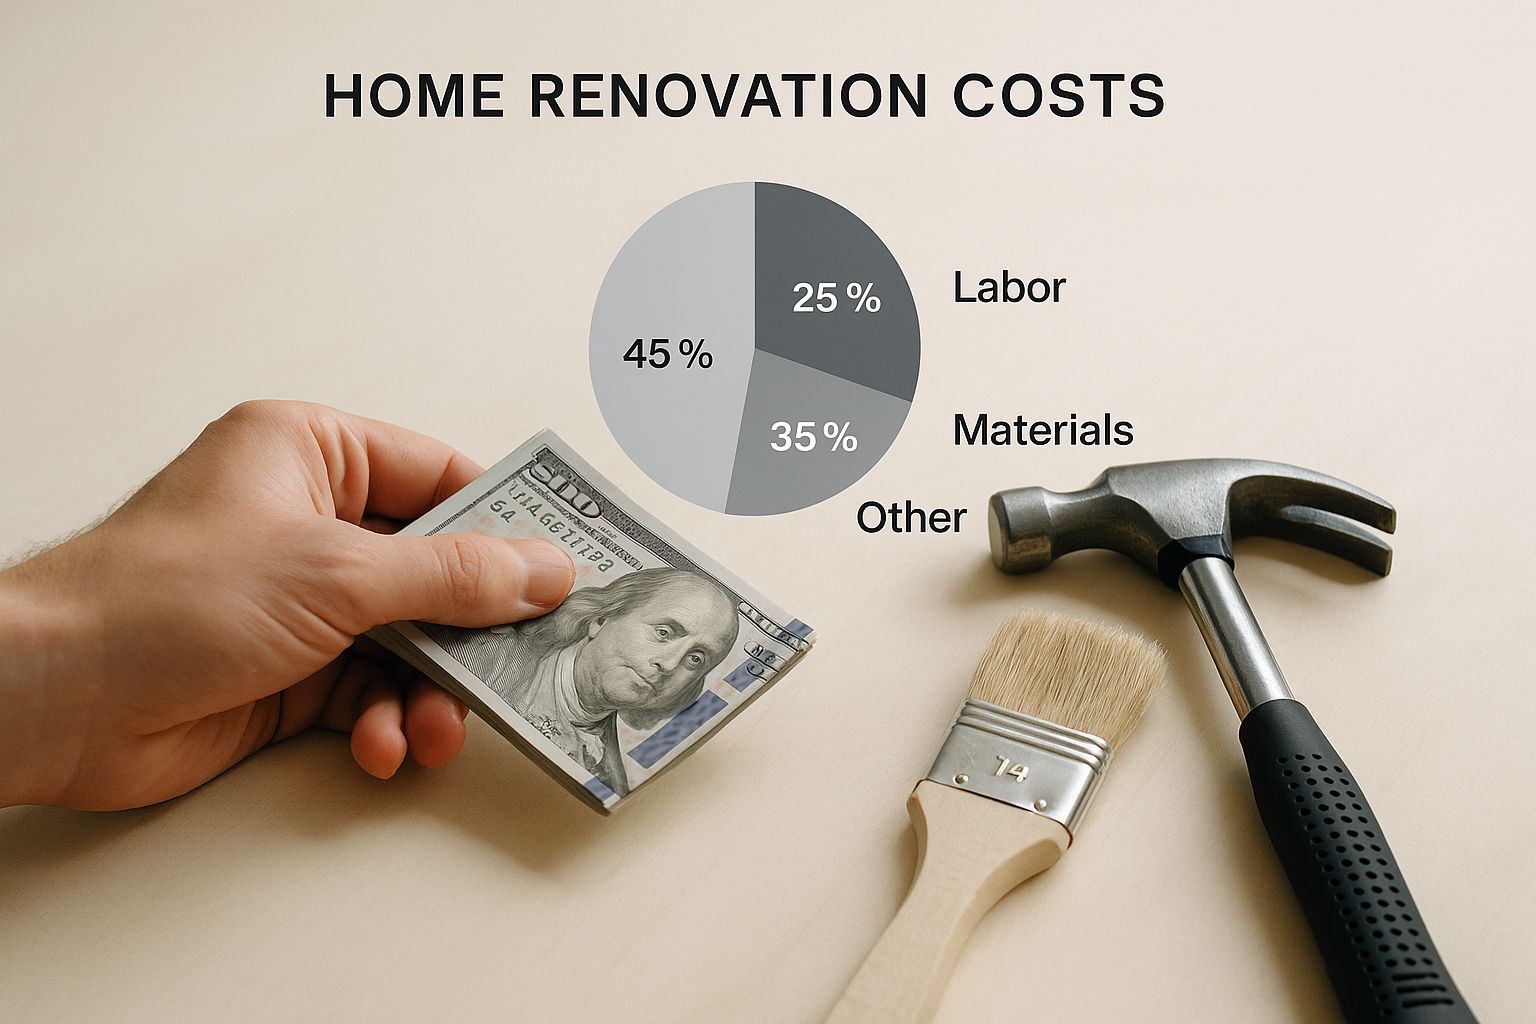
Finishing a basement often returns 70% of its cost in added home value. Since labor typically accounts for 20% to 40% of the total bill, DIY-friendly materials can save you a bundle. For more detailed figures, check out the HomeGuide basement finishing cost breakdown.
By choosing wisely, you’ll create a durable, attractive space—and keep your budget firmly on track.
Tackling the Right DIY Jobs to Maximize Savings
This is where your sweat equity really pays dividends. When you get a quote from a contractor, labor can easily eat up 20% to 40% of the total project cost. Every single task you can confidently handle yourself is money that goes directly back into your pocket.
By being smart about which jobs you take on, you can shave thousands off the final bill. That frees up cash for those upgraded finishes you’ve been eyeing or, just as importantly, for hiring the right pros for the jobs you can't do.
The trick is to focus on tasks that are high-impact but low-risk. Stick to jobs that don’t require a special license or pose a serious safety threat if you get something wrong. You want to build momentum and confidence, not create a bigger, more expensive problem for a pro to fix later.
Demolition: Your Starting Point for Savings
Got an old, partially finished basement with dated wood paneling or a grimy drop ceiling? Demolition is the perfect place to roll up your sleeves and get started. It’s hard work, no doubt, but it isn’t technically complex. With a few basic tools and a strong back, you can get the space down to a clean slate.
You don't need a huge arsenal of tools for demo. Most of the time you can get by with:
- A pry bar and hammer: The classic combo for ripping off old trim and paneling.
- A utility knife: Essential for scoring drywall to make it easier to pull down in manageable sections.
- A reciprocating saw: Incredibly helpful for cutting through stubborn old 2x4s or stuck materials.
- Safety gear: Goggles, heavy-duty gloves, and a good dust mask. This stuff is non-negotiable.
Before you start swinging, make absolutely sure you've shut off the power at the breaker to any circuits in the area. And don't forget to budget for a dumpster rental or junk removal service—you'll be surprised how fast the debris piles up.
Painting: The Ultimate DIY Value-Add
If there's one job that offers the biggest bang for your buck, it's painting. Professionals charge a premium for their labor, but you can get a fantastic-looking finish with just a bit of patience. This applies to walls, trim, and my favorite budget basement hack: the ceiling.
A really popular and cost-effective move right now is to paint the exposed ceiling—joists, pipes, ductwork, and all—a single dark color like black or charcoal gray. It creates a cool, modern, industrial vibe and, by making the ceiling recede visually, it actually makes the room feel taller. The best part? It saves you the massive expense of drywalling a ceiling.
My Personal Tip: Rent a paint sprayer for the ceiling. I've seen people try to brush and roll around all those pipes and wires, and it's an absolute nightmare. A sprayer gives you smooth, professional-looking coverage in a fraction of the time. Just be meticulous about masking off everything you don't want painted!
Laying Down the Floor Yourself
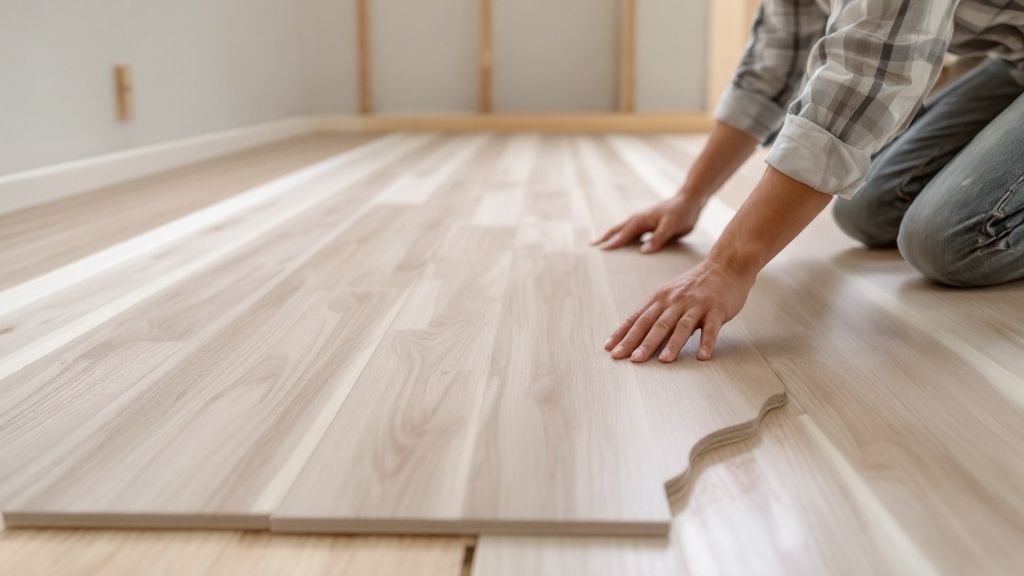
Flooring materials have come a long way, and many are now designed specifically with the homeowner in mind. Luxury Vinyl Plank (LVP) is a total game-changer for basements. It's 100% waterproof, tough as nails, and most brands use a click-lock system that's incredibly DIY-friendly. The planks just snap together—no glue, no nails.
Just make sure your concrete subfloor is clean, dry, and flat before you begin. You might need to pour some self-leveling compound to fill in any low spots, but that’s another task that’s surprisingly easy to handle yourself. The only special tool you'll probably need is a tapping block and pull bar, which you can usually find in a cheap installation kit right next to the flooring.
The Finishing Touches: Trim and Baseboards
Installing baseboards and trim is what pulls the whole room together, giving it that polished, finished look. This job demands a bit more precision, but it's absolutely within reach for a determined DIYer. The single most important tool here is a power miter saw for making those clean, angled cuts that create perfect corners.
You don’t need to go out and buy one, either. You can rent a high-quality miter saw for a weekend from any big-box home improvement store for a fraction of the cost. This mindset—renting specialized tools for specific jobs—is a core principle of finishing a basement on a tight budget.
By tackling these key jobs, you're doing more than just saving money; you're building a real connection to your new space. It’s no wonder the DIY approach has become so popular as people look to add usable square footage without the huge cost of a home addition. With today’s materials, a high-quality, comfortable space is more achievable than ever, as you can see from this insightful article on basement remodeling costs.
Knowing When to Call in a Professional
Let's be honest: taking on a basement renovation yourself is one of the biggest money-savers out there. But some things are non-negotiable, and safety and building codes top that list. While you can handle the framing, drywall, and painting, there are three areas where a mistake isn’t just costly—it’s downright dangerous.
Getting this part right is about knowing where your DIY skills end and a licensed pro’s expertise begins.
The “Big Three” Jobs to Outsource
I’ve seen enough projects go sideways to know you absolutely should not touch electrical, plumbing, or major structural work without a license.
Electrical: This is the big one. It's not just about getting a shock. An incorrectly sized breaker or a loose connection in a junction box can seem fine for months before it overheats and sparks a fire behind your brand-new drywall. It’s a risk that’s never worth the savings.
Plumbing: A tiny, slow leak from a poorly sealed joint is a homeowner’s nightmare. By the time you spot the dampness, you could be dealing with widespread mold, rotted studs, and a flooded floor. Pros have the tools to pressure-test their work, ensuring every connection is rock-solid before the walls are closed up.
Structural Changes: Thinking about cutting a new egress window or removing a post that’s in the way? Stop right there. Messing with a load-bearing wall or your foundation without an engineer’s sign-off can compromise the integrity of your entire house. It’s a recipe for disaster.
| Electrical | Code complexity & safety protocols | Fire, shorts, failed inspections |
| Plumbing | Requires perfect seals & pressure | Leaks, catastrophic water damage, mold |
| Structural | Affects your home's integrity | Foundation cracks, wall failure, collapse |
You Can Still Be the Boss: Acting as Your Own General Contractor
Here’s the good news: you don’t have to hire a general contractor who takes a 15-25% cut just to coordinate the pros. By hiring subcontractors directly, you become the GC. It’s more work, but the savings are huge.
Your game plan is simple:
- Get everything in writing. Create a clear "scope of work" document. No assumptions.
- Shop around. Get at least three detailed bids from licensed and insured pros.
- Pay for progress. Tie payments to completed milestones and, most importantly, passed inspections.
To get a better feel for who does what, our guide on the roles of different experts can be a huge help. You can find it right here: Meet the Construction Team.
Finding and Vetting Your Pros
Don’t just hire the first person who gives you a low bid. Meet them at your house. Ask to see their license and a certificate of insurance—and make sure they’re current.
Ask for references from recent basement projects and actually call them. A good subcontractor will have a portfolio and happy clients. You’re looking for someone who communicates clearly and knows the local code requirements inside and out.
Expert Insight: Hiring your own subcontractors can easily save you 25% or more compared to a full-service firm. The catch? The schedule is now your responsibility.
Contracts and Red Flags
A solid contract is your best friend. It prevents "misunderstandings" that always seem to cost you money.
Make sure your contract includes:
- A hyper-detailed scope of work. What, exactly, is being done?
- Specific materials. If you agreed on a certain brand of PEX pipe, put it in writing.
- A payment schedule tied to finished work, not just dates on a calendar.
- A clause requiring lien waivers with each payment. This protects you if they fail to pay their suppliers.
Be wary of anyone asking for a huge upfront deposit, pushing for an all-cash deal to avoid taxes, or telling you, "You don't really need a permit for that." Those are giant red flags.
Keeping Your Project from Stalling
Time is money, especially when you have crews scheduled. A delay with one trade can create a domino effect that throws your entire timeline and budget out the window.
- Plan for permits. Getting a permit can take anywhere from 2 to 8 weeks, depending on how busy your local building department is. Start the process early.
- Book ahead. Lock in your tool rentals and any special equipment as soon as you have your dates.
- Sequence your trades. You can’t have the electrician come before the framing is up. Schedule the plumber for the rough-in, followed immediately by the electrician, then the inspectors, and finally the insulation crew. This keeps the project moving without having to open walls back up.
I saw a homeowner in Orem save $1,200 just by scheduling his electrician to come in the day after the plumbing rough-in passed inspection. He used a shared calendar to keep everyone in the loop, cutting what could have been a two-week lag down to a single day. That’s smart planning.
The Bottom Line on Safety and Budgets
Bringing in the right professionals for the high-stakes jobs is the smartest financial decision you can make. It protects your family, your home’s value, and your peace of mind.
A few final reminders:
- Never, ever skip a permit. The fine for a single violation can be over $500, and you’ll have to tear out the work and do it again.
- Double-check that all your electrical and plumbing components are up to current codes.
- Keep the cell numbers for your plumber and electrician handy.
- If the plan changes, get it in writing. A simple email confirming a change order can save you a massive headache later.
Reminder: Even with a mostly DIY project, professional sign-offs from city inspectors are what make the renovation official. They protect your investment for the long haul.
The Prep Work You Absolutely Can’t Afford to Skip
I know you’re eager to start framing walls and picking out paint colors. That's the fun part. But trust me on this: a stunning finished basement built on a damp foundation is a nightmare waiting to happen. The prep work is the unglamorous, behind-the-scenes hero of your entire project. Cutting corners here to save a few dollars is, without a doubt, the single most expensive mistake you can make.
Think of yourself as a moisture detective for a little while. Basements are naturally prone to water issues, and even a tiny, slow leak can eventually feed mold, rot out your new framing, and destroy your drywall. Before you even think about buying a single 2x4, you need to give that foundation a thorough shakedown.
First Things First: Find and Fix Every Last Leak
Start with a visual sweep. Look for the dead giveaways: dark, wet-looking streaks running down the concrete, or that chalky white powder (efflorescence) that gets left behind when water evaporates. Pay close attention to corners and the floor along the walls, especially after a heavy rainstorm.
Next, run a simple humidity test that works like a charm. Grab some clear plastic sheeting and cut out a couple of 12x12 inch squares. Using heavy-duty tape, seal one square tightly to a concrete wall and another to the floor. Let them sit for a day or two. When you come back, check for condensation.
- Water droplets on the underside of the plastic? That tells you moisture is wicking up through the concrete from the ground.
- Water droplets on the top surface? That's a sign of high humidity in the basement air itself.
Don't panic if you find foundation cracks. Hairline cracks are pretty common as a house settles. The ones you need to worry about are cracks wider than a credit card or any that are visibly wet. While bigger issues need a pro, you can often tackle small, non-structural cracks yourself with a polyurethane or epoxy injection kit from the hardware store. It's a fantastic way to save a few hundred bucks. For more persistent problems, looking into professional proactive maintenance solutions can stop a minor drip from turning into a major flood.
Picking the Right Waterproofing Battle Plan
Once you know where the moisture is coming from, you can choose how to fight it. Not all waterproofing methods are created equal, and the right one depends entirely on your situation.
For general dampness or that humid feeling, a high-quality interior waterproofing paint is a great DIY-friendly option. A couple of thick coats of a product like DryLok or a similar masonry waterproofer can create a solid barrier, blocking a surprising amount of moisture vapor. This is a perfect first line of defense that you can knock out in a weekend.
A Word of Caution: Waterproofing paint is a shield, not a dam. It’s meant for low-level dampness, not active leaks. If you see water trickling in or have puddles after it rains, you're dealing with a bigger issue that needs an exterior fix or a professionally installed interior drainage system.
Don't Forget About Insulation
In a basement, insulation plays two critical roles: it keeps the space warm, and it helps manage condensation. When warm, humid air from your main living area hits those cold, bare concrete walls, it sweats—just like a glass of iced tea on a hot day. That moisture can lead to mold and a perpetually clammy feeling.
Your best bet on a budget is rigid foam board insulation. Unlike fiberglass, it won't absorb water and act like a sponge. You can glue it directly to the concrete walls before you build your stud walls in front of it. This one step is absolutely crucial for creating a comfortable, dry space and will make a real difference on your energy bills.
The Real Deal on Building Permits
Finally, let's talk permits. It's so easy to see them as just another fee and a bunch of red tape. But getting the right permits is one of the smartest things you can do to protect your investment. A permit ensures that the critical stuff—especially electrical and plumbing—is done to code, which is all about keeping your family safe.
Down the road, when you go to sell your house, an unpermitted basement remodel can kill a deal or even force you to tear everything out. The permit fee is a tiny fraction of your total project cost, but the safety and peace of mind it buys are priceless. Seriously, don't skip it.
Answering Your Top Budget Basement Finishing Questions
When you're trying to finish a basement on a budget, a lot of questions pop up. It’s totally normal. Getting the right answers can save you from some serious headaches and unexpected costs down the road. Let's break down some of the most common things homeowners ask.
Getting these details sorted out early helps you plan better, spend smarter, and sidestep those classic renovation traps.
What’s the Absolute Cheapest Way to Finish a Basement Floor?
Good news—your biggest asset is already there: the concrete slab. The most wallet-friendly move you can make is to simply work with what you've got. Sealing and painting the existing concrete is incredibly cheap and gives you a clean, tough surface that’s perfect for a home gym, workshop, or kid's play space.
If you want something with a bit more warmth or polish without breaking the bank, here are a few other smart options:
- Epoxy Coating: This gives you a glossy, seamless look that’s super resistant to moisture and spills. It's a definite step up from basic paint and something you can tackle yourself over a weekend.
- Luxury Vinyl Plank (LVP): While it costs more than just painting concrete, LVP is still a fantastic budget-friendly choice. It’s completely waterproof, holds up to almost anything, and the click-lock installation is a very DIY-friendly system.
- Carpet Tiles: Here's another great DIY solution. The best part? If one tile gets stained or ruined, you just pop it out and replace it. That’s a whole lot cheaper than replacing an entire roll of carpet.
Do I Really Need a Permit to Finish My Basement?
I get this question all the time, and in almost every situation, the answer is a resounding yes. If your project involves any structural changes like adding walls, or if you're touching electrical or plumbing, you're going to need a permit. It might seem like bureaucratic red tape, but trust me, it’s for your own protection.
A permit ensures a professional inspector signs off on the work, confirming it meets local safety codes. This is non-negotiable for electrical and structural work. Skipping this step can lead to fines, being forced to tear out your new walls, and creating a nightmare scenario when you eventually sell your home.
Your very first move should be a call to your local building department. Find out exactly what they require. The small fee and bit of paperwork now will save you from a potential disaster later.
How Can I Save Money on Basement Lighting?
Lighting is what transforms a basement from a cave into a cozy living space, but it doesn't have to be a budget-buster. The trick is to keep things simple and efficient. Recessed can lights are popular for a reason—they offer fantastic overall light for a low price per fixture. When you pop in some energy-efficient LED bulbs, you'll also keep your electric bills lower for years to come.
Another great strategy is to lean on your outlets. Instead of paying an electrician for complex wiring, multi-way switches, and a dozen ceiling fixtures, think differently. Use a simple track light to illuminate a specific area. Then, supplement that with floor lamps and table lamps plugged into the wall outlets you’ve already planned for. You get a nice, layered lighting effect without the steep labor costs.
Is It Cheaper to Leave the Basement Ceiling Exposed?
Absolutely, and it’s not even close. Leaving the ceiling joists, pipes, and ductwork exposed is easily the cheapest and quickest way to finish your ceiling. You completely skip the material and labor costs of drywall or a drop ceiling.
The go-to move here is to paint everything—joists, ducts, pipes, everything—one solid color. Black or a dark charcoal is the most common choice. It creates this cool, industrial-loft vibe and makes the ceiling seem to disappear, which can actually make the room feel taller. Plus, you have immediate access to all your home's mechanical systems for future repairs, a practical perk that pays for itself.
At Northpoint Construction, we believe a beautiful basement shouldn't break the bank. Whether you need expert advice on your DIY project or a professional team to handle the entire job, we're here to help you create the space you've always wanted. Let's turn your vision into a reality, on time and on budget. Learn more about our basement finishing services and get a quote today!