
How to Plan a Bathroom Renovation A Guide for Utah Homeowners
Tackling a bathroom renovation can feel like a huge undertaking, but with a solid plan, it's a completely manageable project. The whole secret is breaking it down. You start with what you want, figure out what you can spend, and then map out all the steps in between. A good plan, right from the start, is what keeps the project on track and saves you from those nightmare renovation stories.
Your Blueprint for a Successful Bathroom Renovation
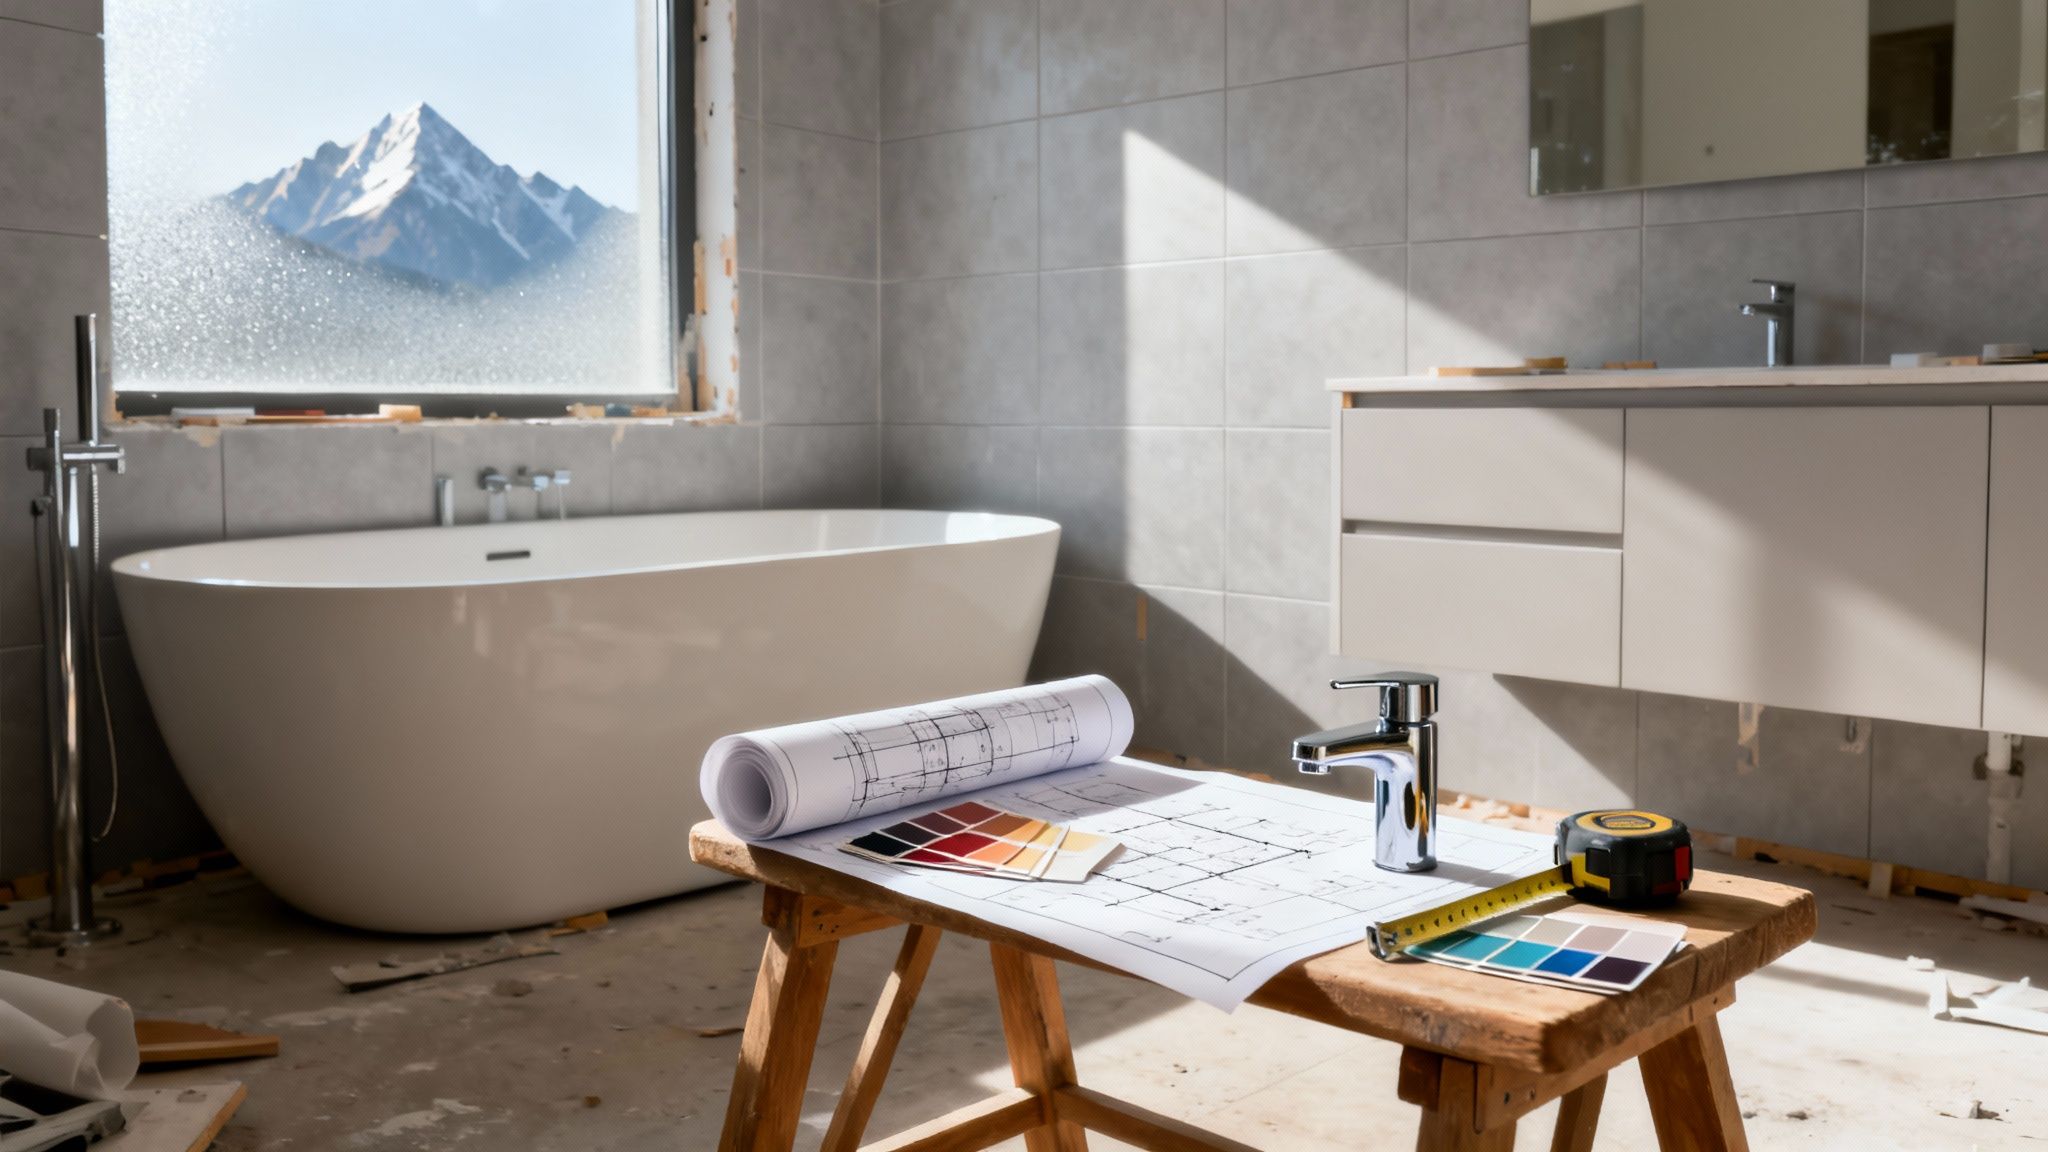
Let's be honest, remodeling your bathroom is a big deal. It's not just about picking out new tile; it's a serious investment in your home's comfort and resale value. The success of the entire project really comes down to the quality of your planning before anyone picks up a tool. Think of it as your project's DNA—it determines everything that follows. This initial phase is where you sync up your dream bathroom with a real-world budget and a practical schedule.
This guide is designed to be your go-to checklist, walking you through every crucial step of the process. We'll cover everything from setting your goals to signing off on the finished space.
Defining Your Vision and Scope
Okay, before you fall in love with a specific tile or vanity, let's zoom out. What are you actually trying to accomplish here? Are we talking about a simple cosmetic update—fresh paint, new fixtures, maybe a new vanity top? Or is this a full-blown, down-to-the-studs remodel where walls and plumbing lines might get moved around?
Getting clear on the scope is your first critical step. I always tell my clients to make two lists:
- Must-Haves: These are the deal-breakers. Think a double vanity to solve the morning rush hour or a walk-in, curb-less shower for accessibility.
- Nice-to-Haves: This is your wish list. Heated floors for those chilly Utah mornings? A high-tech smart toilet? List them out.
This simple exercise is incredibly powerful. It forces you to prioritize where your money goes and gives you a clear vision to share with potential contractors. Especially for homeowners in the Orem, Provo, and Lehi areas, it’s also smart to consider what features are popular locally to ensure your investment adds real value to your home.
Understanding the Investment
When you renovate your bathroom, you're tapping into a massive global trend. The bathroom remodeling market is expected to surge from USD 412.8 billion in 2025 to a whopping USD 593.7 billion by 2035. Why? Because more and more, people see their bathrooms as private retreats, not just functional spaces. Knowing this helps frame your project as a smart investment, not just an expense.
Key Takeaway: Your plan is the most important tool you have. It turns vague ideas into a concrete, step-by-step process, helps you sidestep expensive errors, and makes sure the bathroom you get is the one you dreamed of. Take your time here—good planning is the bedrock of a smooth renovation.
If you're planning a more complex project that involves moving walls or changing the layout, it can be helpful to understand an effective BIM workflow for remodeling projects. It gives you a peek into how professionals use digital modeling to catch potential issues before they become real-world problems.
Figuring Out Your Budget and Project Scope
Let's be honest, the most important part of any bathroom renovation happens long before a single tile is laid. It's all about setting a realistic budget and a crystal-clear project scope. This is the foundation that keeps your dream bathroom from turning into a financial nightmare.
Think of your budget as the blueprint for every decision you'll make. It determines the quality of the materials, whether you can move that toilet to the other wall, and if those heated floors are a go. Without it, you're just wishing; with it, you have a plan.
Cosmetic Refresh or a Full Gut Job?
First things first: you need to decide how deep you're going. Are we talking about a simple facelift or a complete tear-out? Knowing the difference is crucial for your budget.
- Cosmetic Update: This is all about surface-level changes. We're talking a fresh coat of paint, a new vanity faucet, maybe a modern light fixture. The key here is that the main layout and plumbing stay exactly where they are. It’s a fantastic, budget-friendly way to make a big impact.
- Full Gut Renovation: This is the big leagues. It means taking the room down to the studs and subfloor. You'll go this route if you’re moving walls, relocating the shower, or need to tackle bigger problems like ancient plumbing or hidden water damage.
A cosmetic refresh might only set you back a few thousand dollars. But a full gut renovation, especially here in the Orem/Provo area, can easily jump into the tens of thousands. Your list of "must-haves" will tell you pretty quickly which path you're on.
Where Does the Money Actually Go?
Once you’ve got a total number in mind, it's time to slice up the pie. A classic mistake is getting excited about the shiny fixtures and completely forgetting about the less glamorous (but absolutely essential) costs like labor.
Industry data gives us a pretty good roadmap. With the U.S. kitchen and bath market expected to hit a staggering $235 billion in revenue by 2025, it’s clear people are investing in these spaces. For a typical master bath remodel, which often runs between $20,000-$50,000, a smart breakdown looks something like this: 40% for fixtures, 30% for labor, and 20% for tiles and materials. For a more detailed look at these figures, you can read our bathroom renovation cost breakdown.
My Most Important Advice: Always, and I mean always, budget a contingency fund. Set aside at least 15-20% of your total budget for the unexpected. We find issues like hidden water damage or funky, outdated wiring in roughly 30% of projects. That fund is your safety net—it stops a small surprise from derailing the whole renovation.
Getting Real Numbers from Real Pros
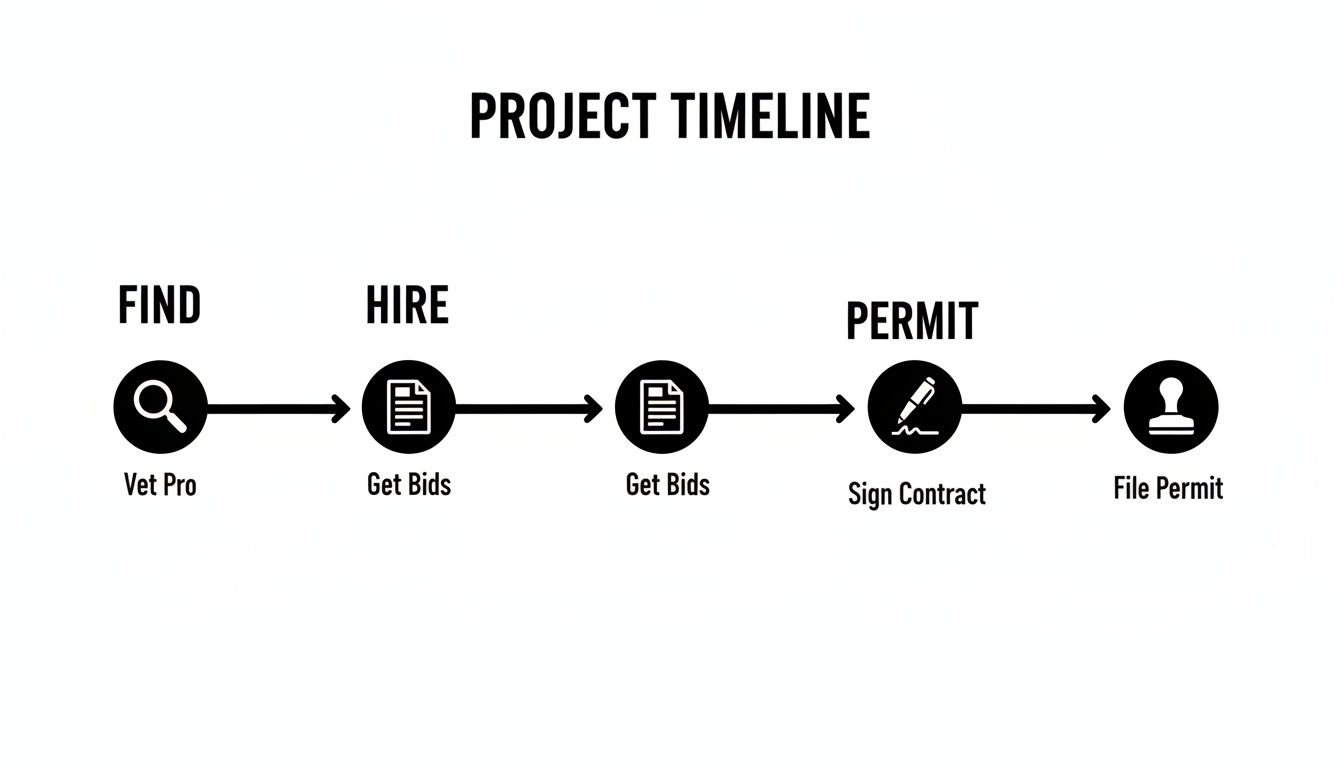
Okay, you have your budget mapped out. Now it's time to see what things will actually cost. Your next step is to contact at least three licensed, reputable contractors in Utah County and get detailed bids.
A real, professional quote is more than just a number on an invoice. It should be an itemized list breaking down every cost: labor, materials, permits, everything.
When you get those quotes back, don't just skip to the total. Dig into the details:
- Does the price include hauling away all the old demo materials?
- Are the city permit fees baked in?
- What's the payment schedule look like?
This is where all your upfront planning pays off. When you give each contractor the exact same detailed scope of work, you get quotes you can actually compare side-by-side. This simple step is your best defense against surprise costs and keeps your project running smoothly from start to finish. If you want to dig deeper into market trends, you can explore the 2025 Kitchen & Bath Market Outlook.
Designing a Functional and Stylish Bathroom
This is where the fun really begins—the part where your vision starts to become a reality. A truly great bathroom is more than just pretty tile and a new faucet; it’s a perfect marriage of your personal style and day-to-day function. It’s all about creating a space that genuinely works for you, whether it’s a chaotic hub for a busy family or your own private, spa-like retreat.
The journey from a vague idea to a functional design starts with the nuts and bolts: layout, materials, and making sure the space will serve you well for years to come.
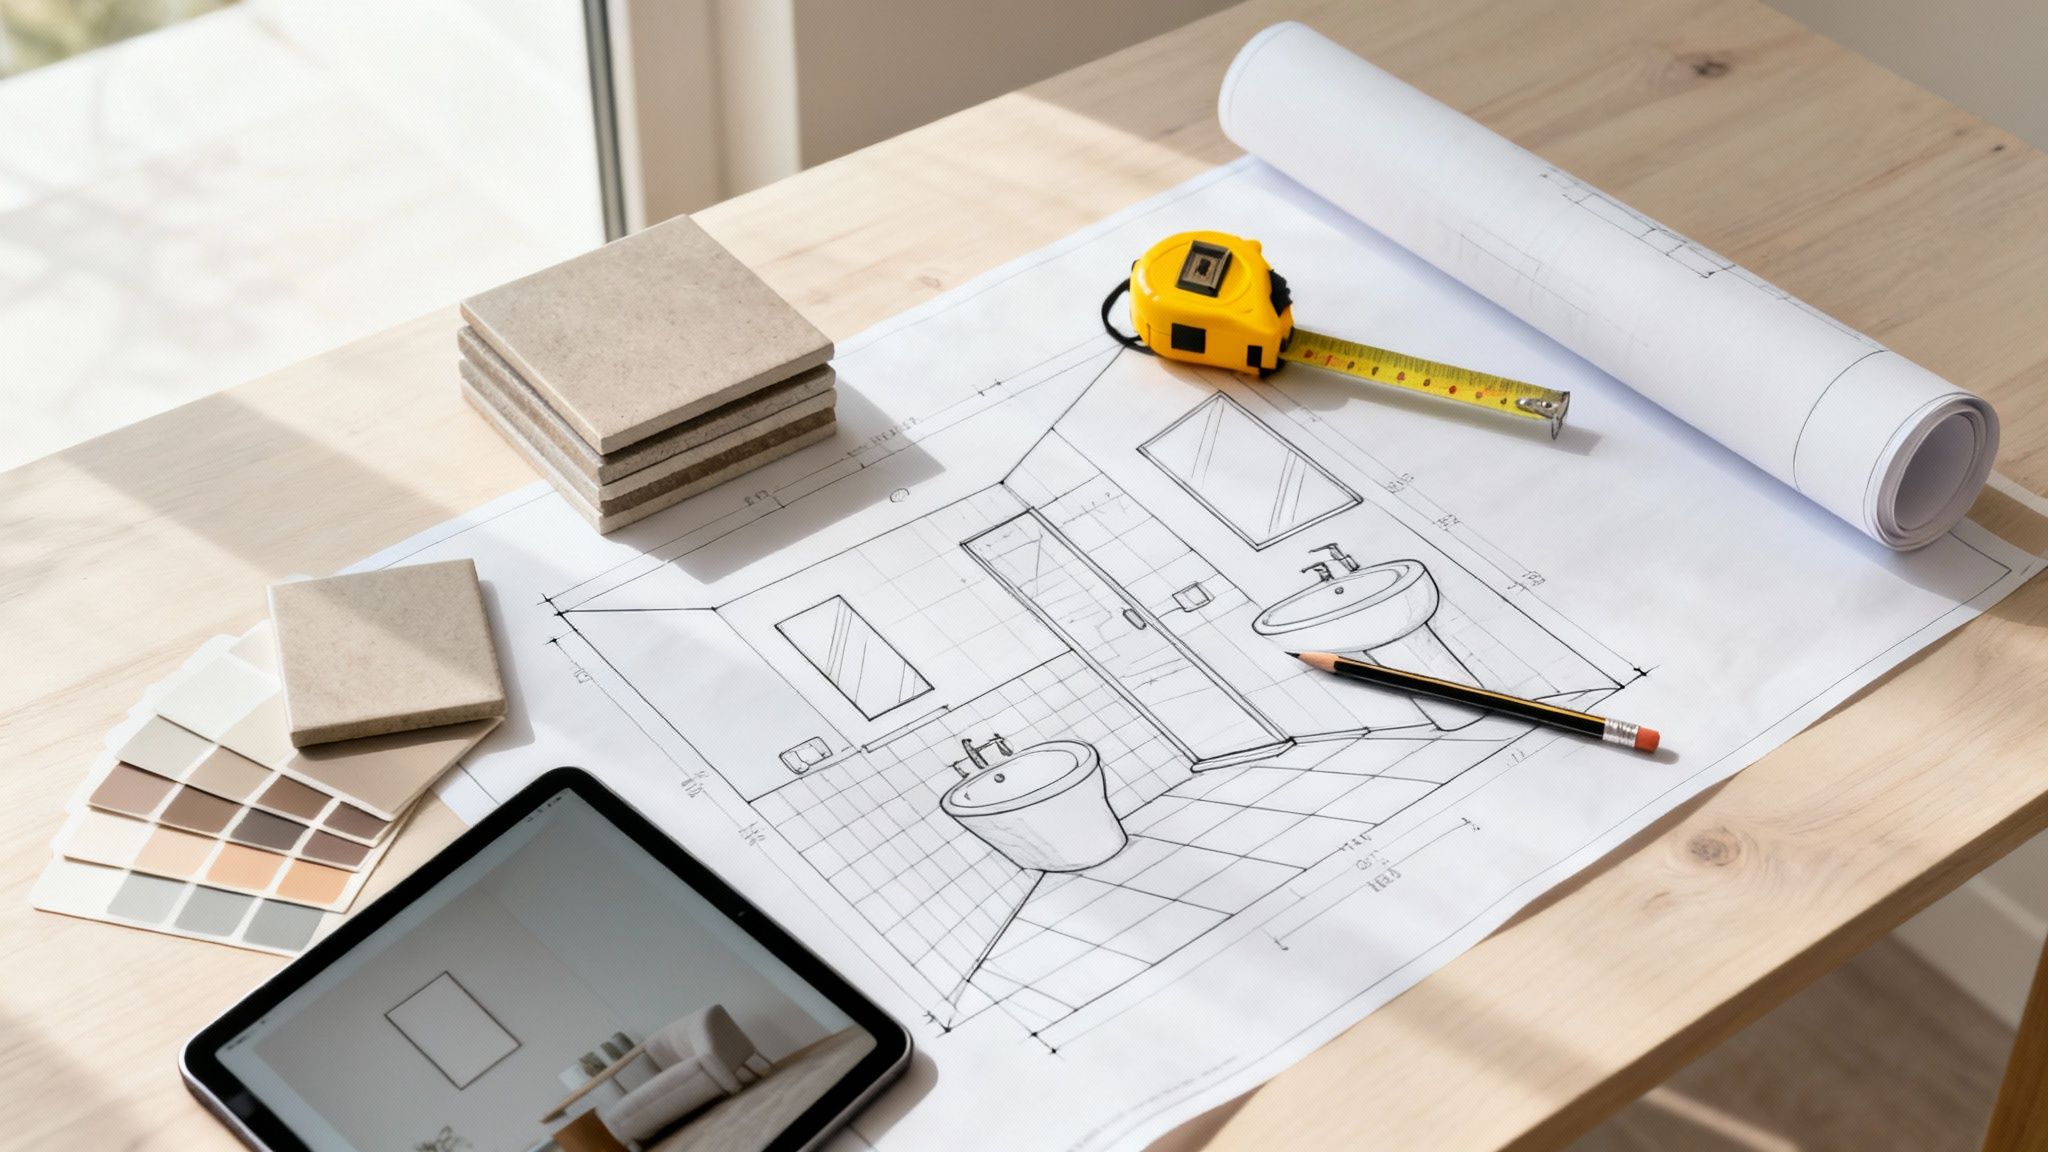
Measure Twice, Plan Once
Before you fall in love with a single fixture, grab a tape measure. You need to know your space inside and out. Measure everything: the length of each wall, the ceiling height, the exact placement of your current toilet and sink plumbing, and where every window and door sits.
These numbers are your design's guardrails. Sketch out a simple floor plan—it doesn't need to be an architectural masterpiece. This visual map will quickly tell you if your ideas are actually feasible. You might discover that the gorgeous freestanding tub you’ve been eyeing won't leave you enough room to comfortably open the vanity door. It’s better to find that out now.
Function-First Layout Planning
Your daily routine is the ultimate guide for your bathroom's layout. Think about how you move through the space. Is there a traffic jam every morning between the sink and the shower? Your most-used elements, like the vanity, should always be in the most accessible spots.
As you start dreaming up a new layout, keep this in mind: moving plumbing is one of the most expensive parts of a bathroom renovation. If you can keep your new fixtures along the existing "wet wall"—the wall with all the main supply and drain lines—you will save yourself a significant amount of money and headaches.
Balancing Style with Practicality
With the functional layout locked in, you can move on to choosing the style and materials that bring your vision to life. This is where you inject your personality, whether that means a sleek, modern aesthetic or something more warm and traditional.
But looks aren't everything. Your material choices need to stand up to the reality of a bathroom environment.
- Flooring: Porcelain tile is a workhorse. It’s incredibly durable, practically waterproof, and comes in every style imaginable. For shower floors, I always recommend smaller mosaic tiles—the extra grout lines provide much-needed grip and safety.
- Vanity: Don't overlook ready-made vanities. They are a huge budget-saver compared to custom cabinetry, and you can easily give them a high-end look by swapping out the hardware or adding a unique countertop.
- Walls: Tile is non-negotiable for wet areas like the shower. For the rest of the walls, use a paint specifically formulated for bathrooms. It will have mold- and mildew-resistant properties that are an absolute must in a high-moisture space.
Selecting the right materials is a huge piece of the puzzle when learning how to plan a bathroom renovation that will last.
Expert Tip: I've seen this happen a hundred times: someone picks a beautiful material that's a nightmare to maintain. Light-colored grout on a shower floor, for instance, looks pristine on day one but will inevitably get discolored and require constant scrubbing. A medium-gray grout often looks just as sharp and does a much better job of hiding everyday grime.
To help you weigh your options, here’s a quick guide to some of the most common choices for fixtures and finishes.
Fixture and Finish Selection Guide
| Porcelain Tile | Extremely durable, water-resistant, huge variety of styles | Grout lines require sealing and cleaning | $5 - $25 per sq. ft. |
| Natural Stone | Luxurious, unique veining, adds high-end value | Porous (requires sealing), can be expensive and prone to staining | $10 - $50+ per sq. ft. |
| Quartz Countertop | Non-porous, stain-resistant, durable, low maintenance | Not heat-proof (can discolor), less "natural" look than stone | $60 - $150 per sq. ft. |
| Acrylic Tub/Shower | Affordable, lightweight, easy to clean | Can scratch, may feel less solid than cast iron or steel | $300 - $1,500+ |
| Fiberglass Fixtures | Most affordable option, easy to install | Prone to scratching and fading, can look dated | $200 - $800+ |
| Chrome Faucets | Inexpensive, durable, easy to match with accessories | Shows water spots and fingerprints easily | $50 - $300+ |
| Brushed Nickel Faucets | Hides water spots well, durable, versatile style | Can be more expensive than chrome | $100 - $500+ |
This table is just a starting point, but it shows how balancing cost, durability, and aesthetics is key to making choices you’ll be happy with for the long haul.
Designing for Today and Tomorrow
These days, a great bathroom isn't just about how it looks—it's about how it makes you feel and how it will function in the future. In fact, one recent study showed that 68% of U.S. homeowners now consider special needs when they remodel.
Spa-like features are also a top priority for over 70% of design experts, with homeowners adding things like upgraded lighting and deep soaking tubs to create a true sanctuary. Thinking ahead by incorporating universal design elements like a curbless shower or strategically placed grab bars doesn't just improve safety—it can significantly boost your home's future value.
Bringing in the Pros and Tackling Permits
Alright, you’ve got a solid plan and a vision for your new bathroom. Now it's time to shift gears from dreaming to doing. This is where the technical side of the project kicks in—hiring your team and getting the right permits. It can feel like the most daunting part of the process, but getting it right is what ensures your beautiful new bathroom is also safe, legal, and built to last.
For homeowners here in the Orem, Provo, and Lehi area, one of the first questions is always, "Do I really need a permit for this?" The short answer is: it depends entirely on what you’re planning to do.
When You'll Need to Pull a Permit
You can breathe easy if you’re just doing some light cosmetic work. Things like painting the walls, swapping out a faucet in the same spot, or even installing a new vanity where the old one was won’t require a trip to the city office.
But the minute you start opening up walls or moving things around, the rules change. A permit is almost always a must-have if your project involves:
- Moving Plumbing: If you're relocating the toilet, shower, or sink, you're changing the drain and supply lines. That needs to be inspected.
- Altering Electrical Wiring: Adding a new outlet for an electric toothbrush, moving a vanity light, or installing an exhaust fan where one didn't exist before all require a permit.
- Changing the Layout: Taking down a wall (even a non-load-bearing one) or changing the room's footprint is a major change that demands an official sign-off.
The permit process can feel a bit tangled, and every city—whether it's Provo or Lehi—has its own specific rules. Your best first move is to check your local building department’s website. Honestly, a good general contractor will take care of all of this for you. They know the drill and will make sure every step is properly documented and inspected. Understanding how to approach navigating regulations and permits is key to a smooth project from start to finish.
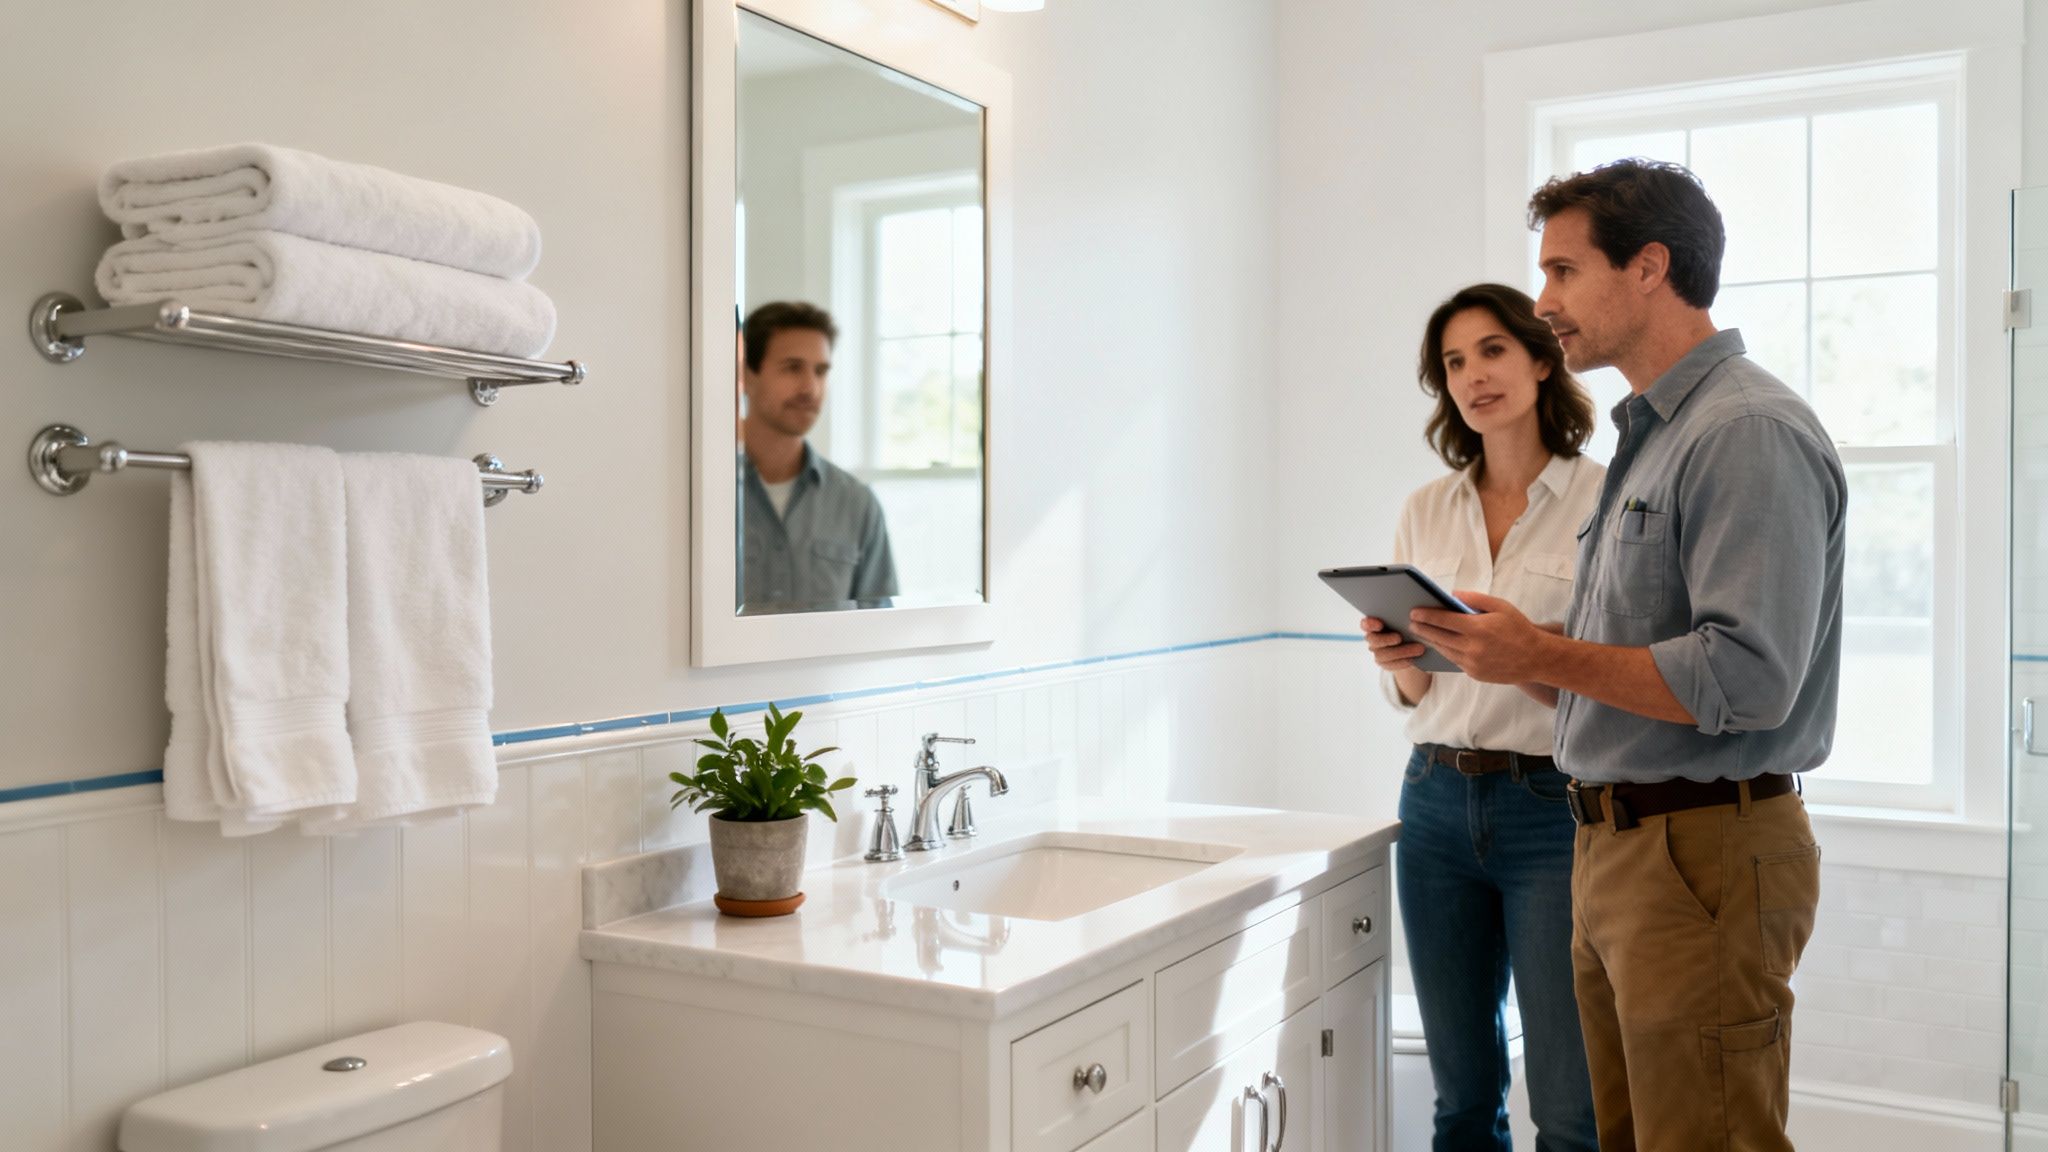
Finding and Vetting Your Contractor
Here’s the single most important decision you'll make in this entire renovation: choosing the right contractor. Think of them as the captain of your ship. They’re responsible for managing everyone and everything, from the plumbers to the tilers, all while keeping the project on track and up to code.
Don't just jump on Google. Start by asking people you trust—friends, family, or even the staff at local building supply stores. Aim to get a shortlist of at least three solid contractors. Then, it's time to dig in and do your homework. A fantastic contractor is worth their weight in gold, and our guide on how to choose a general contractor walks you through exactly what to look for.
The Interview: How to Read Between the Lines
When you meet with potential contractors, don’t just ask for a price. Treat it like you're hiring someone for a crucial job—because you are. Go in with a list of smart questions.
Key Questions to Ask Every Potential Contractor:
Are you licensed and insured to work in Utah? (And don’t be shy about asking to see proof of liability insurance and workers' comp.)
Can you give me a list of recent client references I can actually call?
Who will be my main point of contact and on-site manager during the project?
Based on my plans, what’s your realistic timeline for a job like this?
What’s your process when unexpected problems pop up or I want to make a change?
A detailed, itemized bid is the hallmark of a true professional. If a contractor just throws a single lump-sum number at you without breaking down the costs for labor, materials, and permits, that’s a huge red flag. A transparent bid protects everyone involved.
Once you have the bids in hand, sit down and compare them line-by-line. The lowest number isn't always the winner. A bid that’s way cheaper than the others might mean they're using subpar materials or, even worse, cutting corners on things you can't see. You’re looking for a partner who communicates well, genuinely gets your vision, and has a great reputation right here in our community. This is how you set yourself up for a renovation that you'll love, not one that gives you headaches.
Crafting a Realistic Renovation Timeline
Alright, you’ve got your budget locked in and a vision for the new space. Now comes the part where we map it all out on a calendar. Creating a realistic timeline is probably the single best thing you can do to keep your sanity during a renovation. It helps you understand the natural order of things and manage expectations from one week to the next.
Think of it like a puzzle—you can't put the roof on before the walls are up. In a bathroom, the plumbing and electrical have to be in place before the drywall is installed, and the floor has to go down before the vanity is set. Getting this sequence right is critical to avoid expensive rework and keep the project chugging along.
The Major Phases: From Studs to Spa
While every project is a little different, a full bathroom remodel generally follows a predictable rhythm. The exact timing can shift based on how complex your project is or your contractor's schedule, but the order of operations is pretty universal.
Here's a breakdown of what a typical schedule looks like:
- Week 1: Demolition & Discovery. This is where the old bathroom gets torn out, right down to the studs. It’s loud, messy, and usually pretty fast. This is also the moment of truth when any nasty surprises, like hidden water damage or funky old wiring, tend to show up.
- Weeks 2-3: The "In-the-Walls" Work. With everything exposed, the real guts of the project begin. Plumbers and electricians will run new lines for that shower you're moving or the new outlets you wanted. If the layout is changing, this is when new walls are framed.
- Week 4: Inspections & Closing Up. Once the rough-ins are done, you’ll need an inspector from the city (whether you're in Orem, Provo, or Lehi) to give the work a thumbs-up. After that green light, the crew can install insulation and hang fresh drywall.
The Fun Part: Bringing the Vision to Life
Once the foundational work is buttoned up, you'll start to see the beautiful new bathroom emerge. This part of the process is often the most rewarding for homeowners.
The transformation continues with careful precision:
- Week 5: Paint & Tile. The room gets its first coat of paint now, while it's still an empty box—this makes for a much cleaner job. Then, the tile installer gets to work their magic on the floor and shower walls. This step really starts to define the room's character.
- Week 6: Flooring & Big Fixtures. If your plan doesn't involve floor tile, this is when materials like luxury vinyl plank go in. Right after, the new tub, vanity, and toilet are carefully brought in and set in place.
- Weeks 7-8: The Finishing Touches. This is all about the details that pull the entire room together. Faucets, light fixtures, mirrors, and all the hardware are installed. A final touch-up coat of paint and some meticulous caulking are usually the last steps before a deep professional clean.
This timeline highlights the crucial prep work—like vetting contractors and securing permits—that has to happen long before the first sledgehammer swings.
How to Survive in the Renovation Zone
Let's be honest: living without a key bathroom, even for a short time, can be tough. A little bit of prep work goes a long way in keeping your family comfortable and stress-free.
If you have another full bathroom, make it the go-to spot for everyone during the remodel. If not, it's time to get creative. Think about setting up a temporary vanity station with a mirror and toiletries in the laundry room or a corner of the basement. Most importantly, keep the lines of communication with your contractor wide open. Regular check-ins will keep you in the loop and help you solve small problems before they balloon into big delays.
Key Takeaway: A standard, full-gut bathroom remodel typically takes 4 to 8 weeks from demo day to completion. Keep in mind that material backorders, inspection schedules, and the sheer scope of your project can stretch this out. My advice? Always build a 1-2 week buffer into your mental timeline to account for the unexpected. It's the best way to avoid unnecessary stress.
Final Touches and Post-Renovation Care
The dust has finally settled, the last contractor has left for the day, and your new bathroom is looking fantastic. But hold on—the project isn't quite over yet. This final stage is all about the little details and making sure your beautiful new space stays that way for years to come. It’s what separates a "finished" job from a truly complete one.
Before you hand over that last check, it's time for one of the most important steps: the final walkthrough. This is your chance to go over everything with a fine-tooth comb.
The Punch List Walkthrough
Don’t just give it a quick glance. I recommend grabbing a roll of blue painter's tape and walking the space with your contractor or project manager. Your job is to point out every single little thing that isn't quite right. This list of last-minute fixes is known in the industry as a punch list.
Here are some real-world examples of things that end up on a punch list:
- A tiny paint drip on the new trim.
- A vanity drawer that sticks just a little bit.
- A minuscule chip on the edge of a tile.
- A section of grout that looks a little thin.
Seriously, no detail is too small. A good contractor expects this and wants you to be thrilled with the result. They'll work through the list to make sure every item is addressed before calling the job 100% complete.
Protecting Your Investment with Proper Care
Now that you have this stunning new bathroom, you’ll want to keep it looking that way. The single biggest mistake I see homeowners make is using the wrong cleaning products, which can cause permanent damage.
As a rule of thumb, avoid harsh, abrasive, or acidic cleaners. This is especially critical if you have natural stone like marble or travertine, or even certain high-end tiles. For instance, that popular DIY vinegar solution can actually etch and dull the surface of natural stone. Your best bet is always a pH-neutral cleaner made for the specific material. Most of the time, simple soap and water is perfect for porcelain tile.
Pro Tip: Before your contractor leaves for the last time, ask them for a cheat sheet of recommended cleaning products for every new surface they installed—from the countertop and tile to the grout sealer. This simple step will save you from making a costly mistake.
Finally, think about how you'll live in the space. Get a jump on organization by adding drawer dividers, clear bins for toiletries, and extra hooks for towels. Setting up smart storage from day one helps you keep that clean, uncluttered feeling you worked so hard to achieve.
Got Questions About Your Bathroom Renovation? We've Got Answers.
Even the most meticulously planned project comes with questions. It’s only natural. Having worked with countless homeowners across Utah County, we've heard just about everything. Here are some of the most common things people ask when they're just getting started.
How Long is This Actually Going to Take?
This is the big one, isn't it? While every project has its own unique quirks, a full, down-to-the-studs bathroom remodel typically takes somewhere between 4 to 8 weeks to complete. That's from the first swing of the sledgehammer to the final polish on the faucet.
Now, that timeline can shift. If you're just doing a cosmetic facelift—new paint, a new vanity, updated fixtures—you might be looking at just a week or two. But if you start moving walls or re-routing pipes, you'll definitely be on the longer end of that 4-to-8-week window. A seasoned contractor is your best bet here; they know how to juggle the schedules for plumbers, electricians, and tile setters to keep things moving without long, frustrating gaps.
What’s the Return on Investment for a Bathroom Remodel?
Good news here. A bathroom renovation is consistently one of the smartest investments you can make in your home. Nationally, you can expect to get back about 60-70% of what you put in when it comes time to sell.
Of course, the final number really depends on the scope of your project and the materials you choose, not to mention the real estate market right here in Utah County. If you want to maximize that return, stick with timeless designs and practical upgrades. Think classic tile, great lighting, and smart storage solutions. These are the things that appeal to nearly everyone, unlike very specific, trendy choices that might not age well.
Do I Really Need a Permit for This?
It all comes down to what you're changing. For simple cosmetic updates in cities like Orem, Provo, or Lehi, you generally do not need a permit. We're talking about things like painting, installing a new toilet in the same spot, or swapping out a light fixture without touching the wiring.
But the moment you decide to move a plumbing line, add a new electrical outlet, or knock down a wall, you're in permit territory. It's always best to check directly with your local city’s building department to be sure. A professional contractor will handle all of this for you, making sure your project is not only beautiful but also safe and up to code.
How Can I Keep Costs Down Without Cutting Corners?
You absolutely can have a beautiful new bathroom without breaking the bank. The single biggest way to save money is to keep your existing layout. Moving plumbing and electrical systems is where the costs can really start to climb. Also, think about what can be salvaged. That old cast-iron tub might just need a good reglazing to look brand new.
Be a smart shopper when it comes to materials. You can find amazing deals during sales, and there are plenty of fantastic, high-quality alternatives to those super-premium brands. And while a little DIY on things like demolition or painting can save on labor, always—and I mean always—hire a licensed pro for plumbing and electrical work. The cost of fixing a major mistake there is far greater than the money you'd save.
Ready to turn your bathroom renovation plans into a beautiful reality without the stress? The expert team at Northpoint Construction is here to guide you through every step, ensuring a seamless process and a stunning result. Visit us online to schedule your consultation today!