
How to Plan a Home Renovation from Start to Finish
Before a single hammer swings, every successful renovation starts with a simple question: why? Figuring out your "why" is the bedrock of your entire project. It's the one thing that will guide every single decision you make, from the big-picture budget to the tiniest details, making sure the final result is exactly what you need.
Laying the Groundwork for Your Renovation
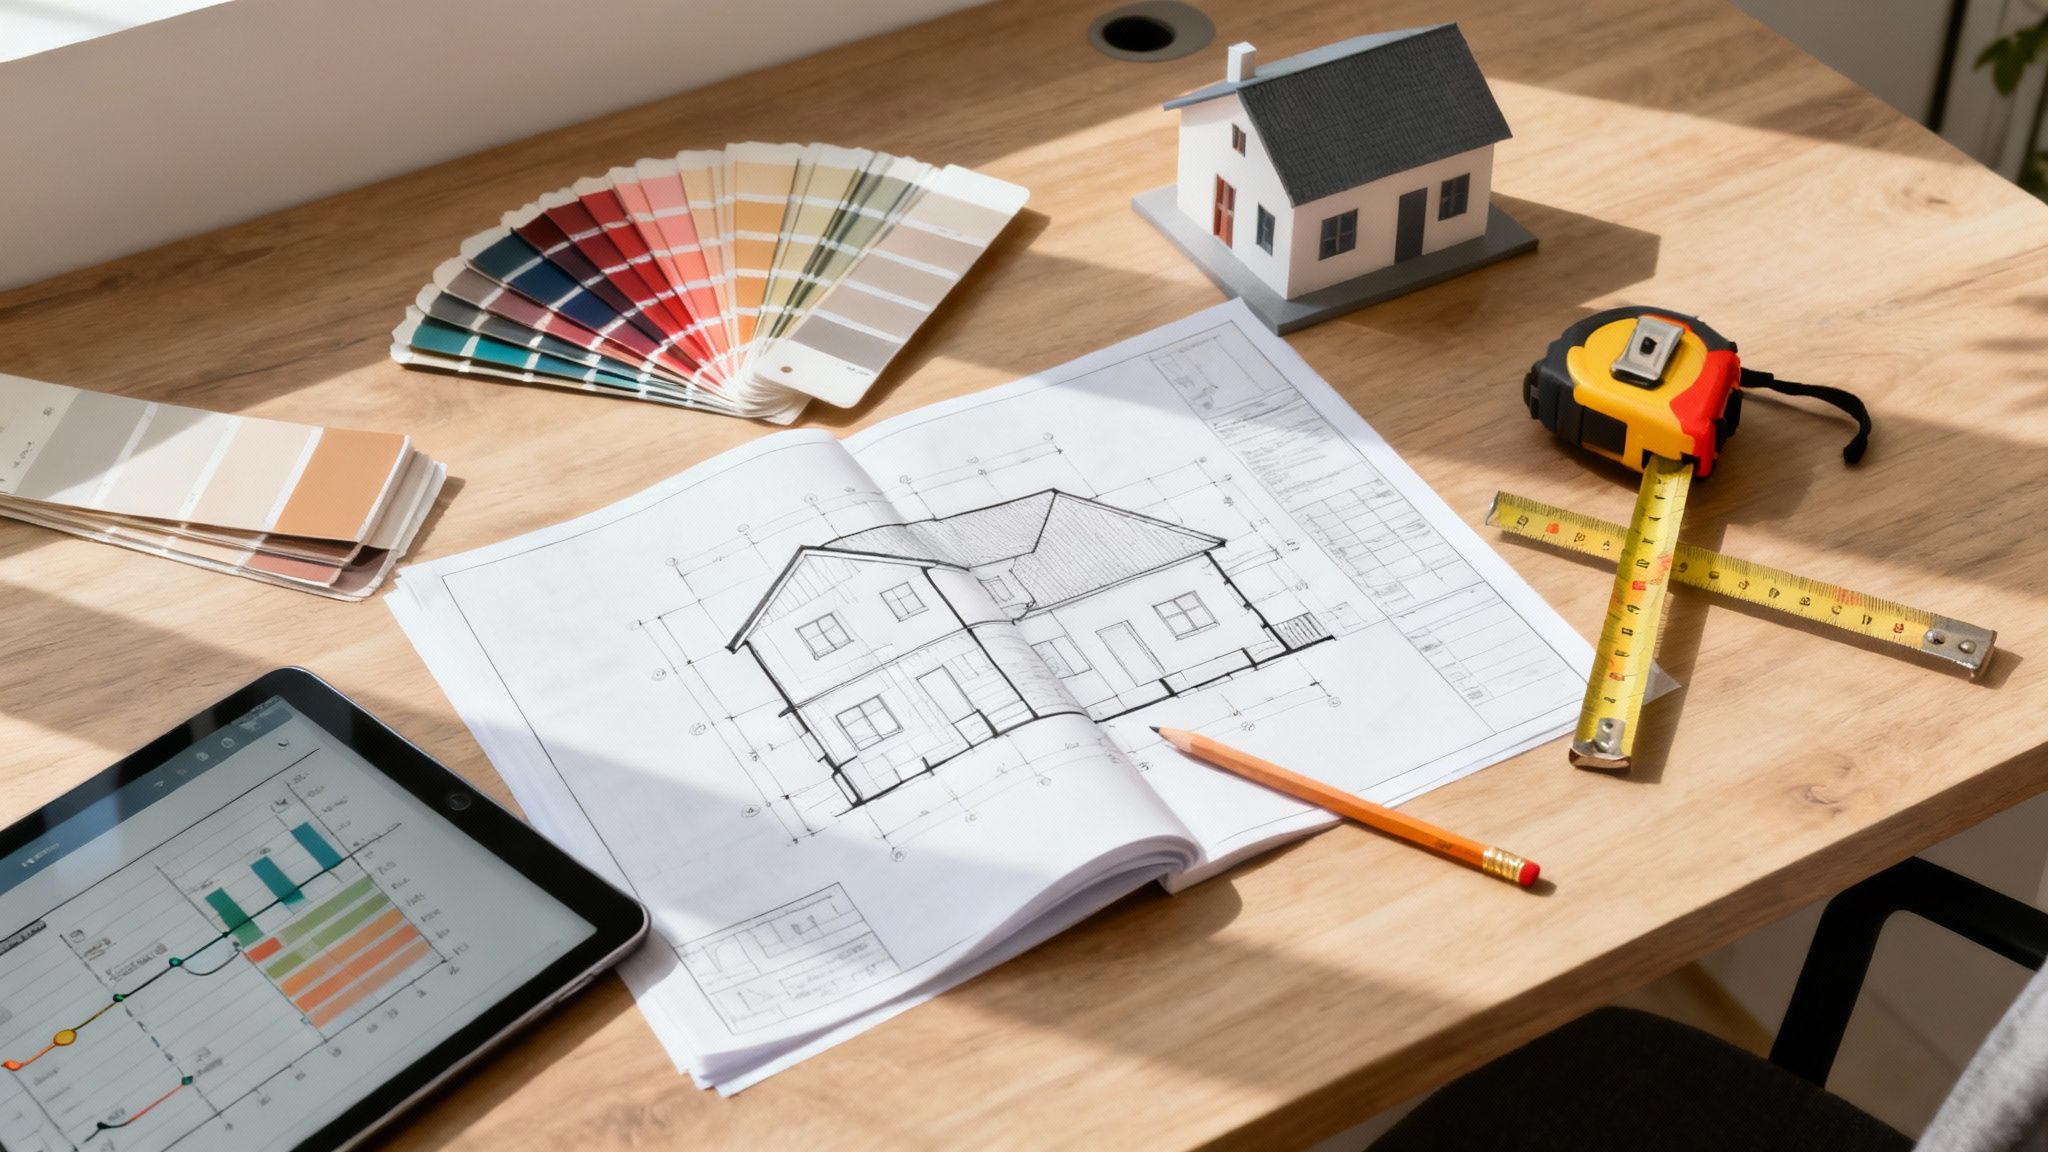
The first phase of planning a renovation isn't about demolition—it's about discovery. This is where you take a vague idea, like "I want a better kitchen," and turn it into a concrete, actionable plan. Getting this part right saves you from a world of headache and costly changes down the line.
Think of it as creating a roadmap for your home. You wouldn’t set off on a cross-country trip without a destination, and you definitely shouldn't start tearing down walls without a clear vision. The goal here is to move from a daydream to a detailed scope of work.
Define Your Primary Goals
First things first, you need to get to the heart of why you're doing this. Are you renovating for better function, to increase your property value, or purely for aesthetics? There’s usually some overlap, but one reason almost always takes the lead.
For example, a growing family might be laser-focused on creating an open-concept living space for more togetherness. On the other hand, someone looking to sell in a few years will want to zero in on updates with the best return on investment, like a modern bathroom or a refreshed kitchen.
Your main drivers will likely fall into one of these buckets:
- Improving Functionality: Your kitchen layout is a nightmare, or you’re desperate for a real home office that isn't the dining room table.
- Increasing Property Value: You're making strategic moves—like finishing the basement or adding a second bathroom—to boost your home's price tag.
- Addressing Wear and Tear: Let's be honest, sometimes things just break. The renovation is a necessity because systems are failing or materials are just plain worn out.
- Enhancing Lifestyle: You want a home that truly feels like you. Maybe that means building a spa-like master bathroom for a personal retreat.
Your 'why' is your project's North Star. When you're facing a tough decision between two expensive options, returning to your primary goal will almost always reveal the right answer.
Create Your Vision and Scope
With your goals locked in, it's time for the fun part: visualizing the outcome. This is where your inspiration gets a reality check. Start collecting ideas from websites, magazines, and social media, but don't just pin pretty pictures. Ask yourself what you actually like about them. Is it the color scheme? The materials? The overall vibe? A vision board is a fantastic way to pull all these ideas together.
From that vision, you can start to outline the scope of your work. This means making a detailed list of everything you want to get done. To keep yourself grounded, split that list into two critical categories:
- Must-Haves: These are the non-negotiables. If these things don't happen, the project isn't a success. For a kitchen remodel, this might be new cabinets, functional countertops, and reliable appliances.
- Nice-to-Haves: These are the dream items you'd love to include if the budget and timeline allow. Think wine fridge, under-cabinet lighting, or that gorgeous (and expensive) tile backsplash.
Trust me, this simple exercise is one of the most powerful tools for keeping your budget in check later on.
Assess Your Home's Current Condition
Finally, it’s time for an honest look at your property. You have to see beyond the dated wallpaper and worn-out floors to the bones of the house. Are the electrical and plumbing systems up to code and ready to handle your new plans? Any cracks in the foundation?
For older homes, spotting potential hazards is especially important. For instance, if your house was built before the 1980s, you absolutely need to understand the basics of safe asbestos removal. Ignoring these kinds of issues now just sets you up for budget-busting surprises once construction is underway. A thorough inspection from the get-go helps you build a much more accurate budget and a truly realistic timeline.
Creating a Realistic Renovation Budget and Timeline
Alright, you've defined your goals and your vision is starting to come together. Now for the hard part: grounding those dreams in reality. This is where we talk numbers and calendars—the budget and timeline that will make or break your project. Honestly, getting this right is the most critical part of the entire renovation process.
This simple infographic breaks down how you get from a vague idea to a solid plan.
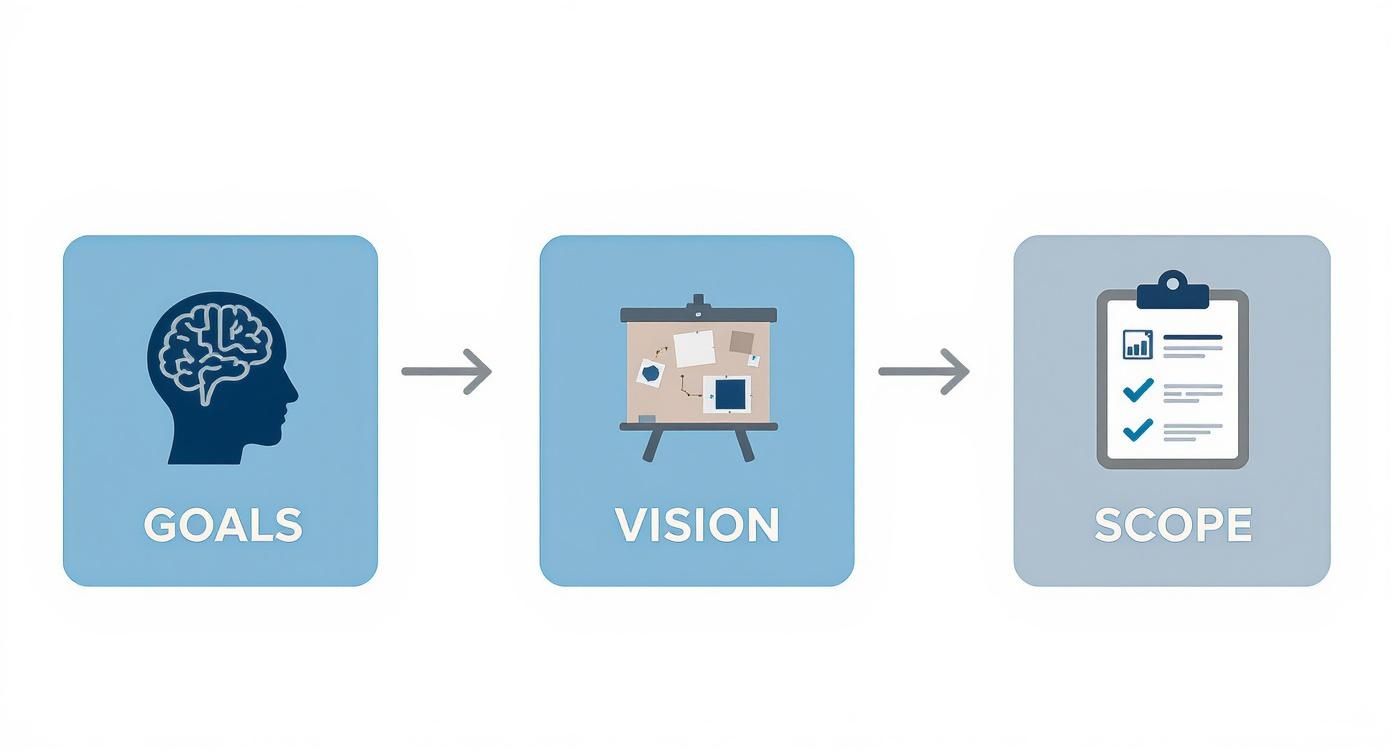
As you can see, your core goals directly influence your vision, which then crystallizes into a detailed scope of work. It’s a natural progression.
And you're not planning this in a vacuum. The U.S. residential remodeling market is white-hot, jumping 51 percent from $404 billion in 2019 to an incredible $609 billion in 2023. A recent Harvard study on housing improvements confirms it. With so much money being invested, meticulous financial and timeline planning has never been more important.
Building Your Comprehensive Budget
One of the biggest mistakes I see homeowners make is thinking a budget just covers materials and labor. A real budget accounts for everything, so you’re prepared for every single cost that pops up.
The best way to do this is to break down your expenses into categories. This simple exercise prevents those "little" costs from quietly piling up and blowing your budget down the road.
Make sure your budget has line items for:
- Design Fees: This covers your architect, interior designer, or draftsperson.
- Permits and Inspections: Don't forget the fees your local municipality requires. They can vary a lot.
- Materials: Everything from the 2x4s and drywall to the fancy faucets and tile.
- Labor: The cost for your general contractor and all their subcontractors (plumbers, electricians, painters).
- Temporary Living Costs: Will you need to move out? Factor in rent, storage units, and movers.
The Contingency Fund: Your Non-Negotiable Safety Net
If you take away one thing, let it be this: always, always have a contingency fund. Plan to set aside an extra 15-20% of your total project cost for the unexpected. Trust me, something will come up.
If you’re working on an older home, I’d lean heavily toward that 20% mark. You never know what you'll find behind the walls—outdated wiring, old plumbing, you name it. This fund isn't "extra" money; it's an essential part of your budget that keeps one surprise from derailing the entire project.
If you need a real-world example of how to itemize costs, our guide on calculating basement finishing costs offers a great template for breaking things down.
To help you visualize where the money goes, here’s a sample breakdown for a mid-range kitchen remodel.
Sample Renovation Budget Breakdown
| Cabinetry & Hardware | 30% | $18,000 |
| Labor & Installation | 20% | $12,000 |
| Appliances & Ventilation | 15% | $9,000 |
| Countertops | 10% | $6,000 |
| Flooring | 7% | $4,200 |
| Electrical & Lighting | 5% | $3,000 |
| Plumbing & Fixtures | 5% | $3,000 |
| Design Fees | 4% | $2,400 |
| Paint & Trim | 3% | $1,800 |
| Permits & Other | 1% | $600 |
This table is a general guide, but it clearly shows that big-ticket items like cabinets and labor eat up half the budget. Knowing this helps you make smarter decisions on where to save and where to splurge.
Mapping a Realistic Project Timeline
Your timeline is just as crucial as your budget. A well-structured schedule helps manage expectations, coordinate all the different tradespeople, and keep the project chugging along without expensive delays.
Every renovation follows a logical order. While the details will change from project to project, the general sequence is designed to be efficient and avoid having to undo and redo work.
Here’s the typical flow of a renovation:
Permitting & Approvals: This can take weeks or even months. Start this process as early as possible.
Demolition & Site Prep: Time to clear out the old and make way for the new.
The "Big Stuff" (Structural Work): This includes framing new walls, any foundation work, or moving load-bearing structures.
Rough-Ins: This is when plumbers, electricians, and HVAC techs run all the pipes, wires, and ductwork inside the walls before they get closed up.
Closing Up (Insulation & Drywall): The walls are insulated, drywall goes up, and it's all taped and mudded.
The "Pretty Stuff" (Finishing Work): Now for the fun part—flooring, painting, tile, and cabinet installation.
Finals & Fixtures: Sinks, faucets, light switches, and all the final pieces are installed.
The Punch List: You and your contractor do a final walkthrough to spot any last-minute fixes before you sign off and make the final payment.
Mapping these stages out with your contractor gives everyone a clear roadmap. You’ll know when big milestones are coming, when materials need to be on-site, and when you need to make key decisions. It's the secret to a much, much smoother journey.
Choosing Your Design and Selecting Materials
Okay, this is the fun part. You've crunched the numbers and have a solid plan, and now you get to decide what your new space will actually look and feel like. This is where all those saved pins and dog-eared magazine pages start to become real, tangible choices.
Making smart, cohesive decisions now about design and materials is what separates a good renovation from a great one. The goal is to create a space that’s not just beautiful on day one, but that holds up to your lifestyle for years to come. It’s a constant balancing act between aesthetics, durability, and that all-important budget.
Translating Inspiration Into a Cohesive Design
A folder full of inspiring images is a fantastic starting point, but it's not a design plan. The next step is to look for the common threads. Are you consistently drawn to warm woods and clean lines? Or do you find yourself saving photos with bold, saturated colors and funky patterns? Identifying these preferences is how you start to define your actual style.
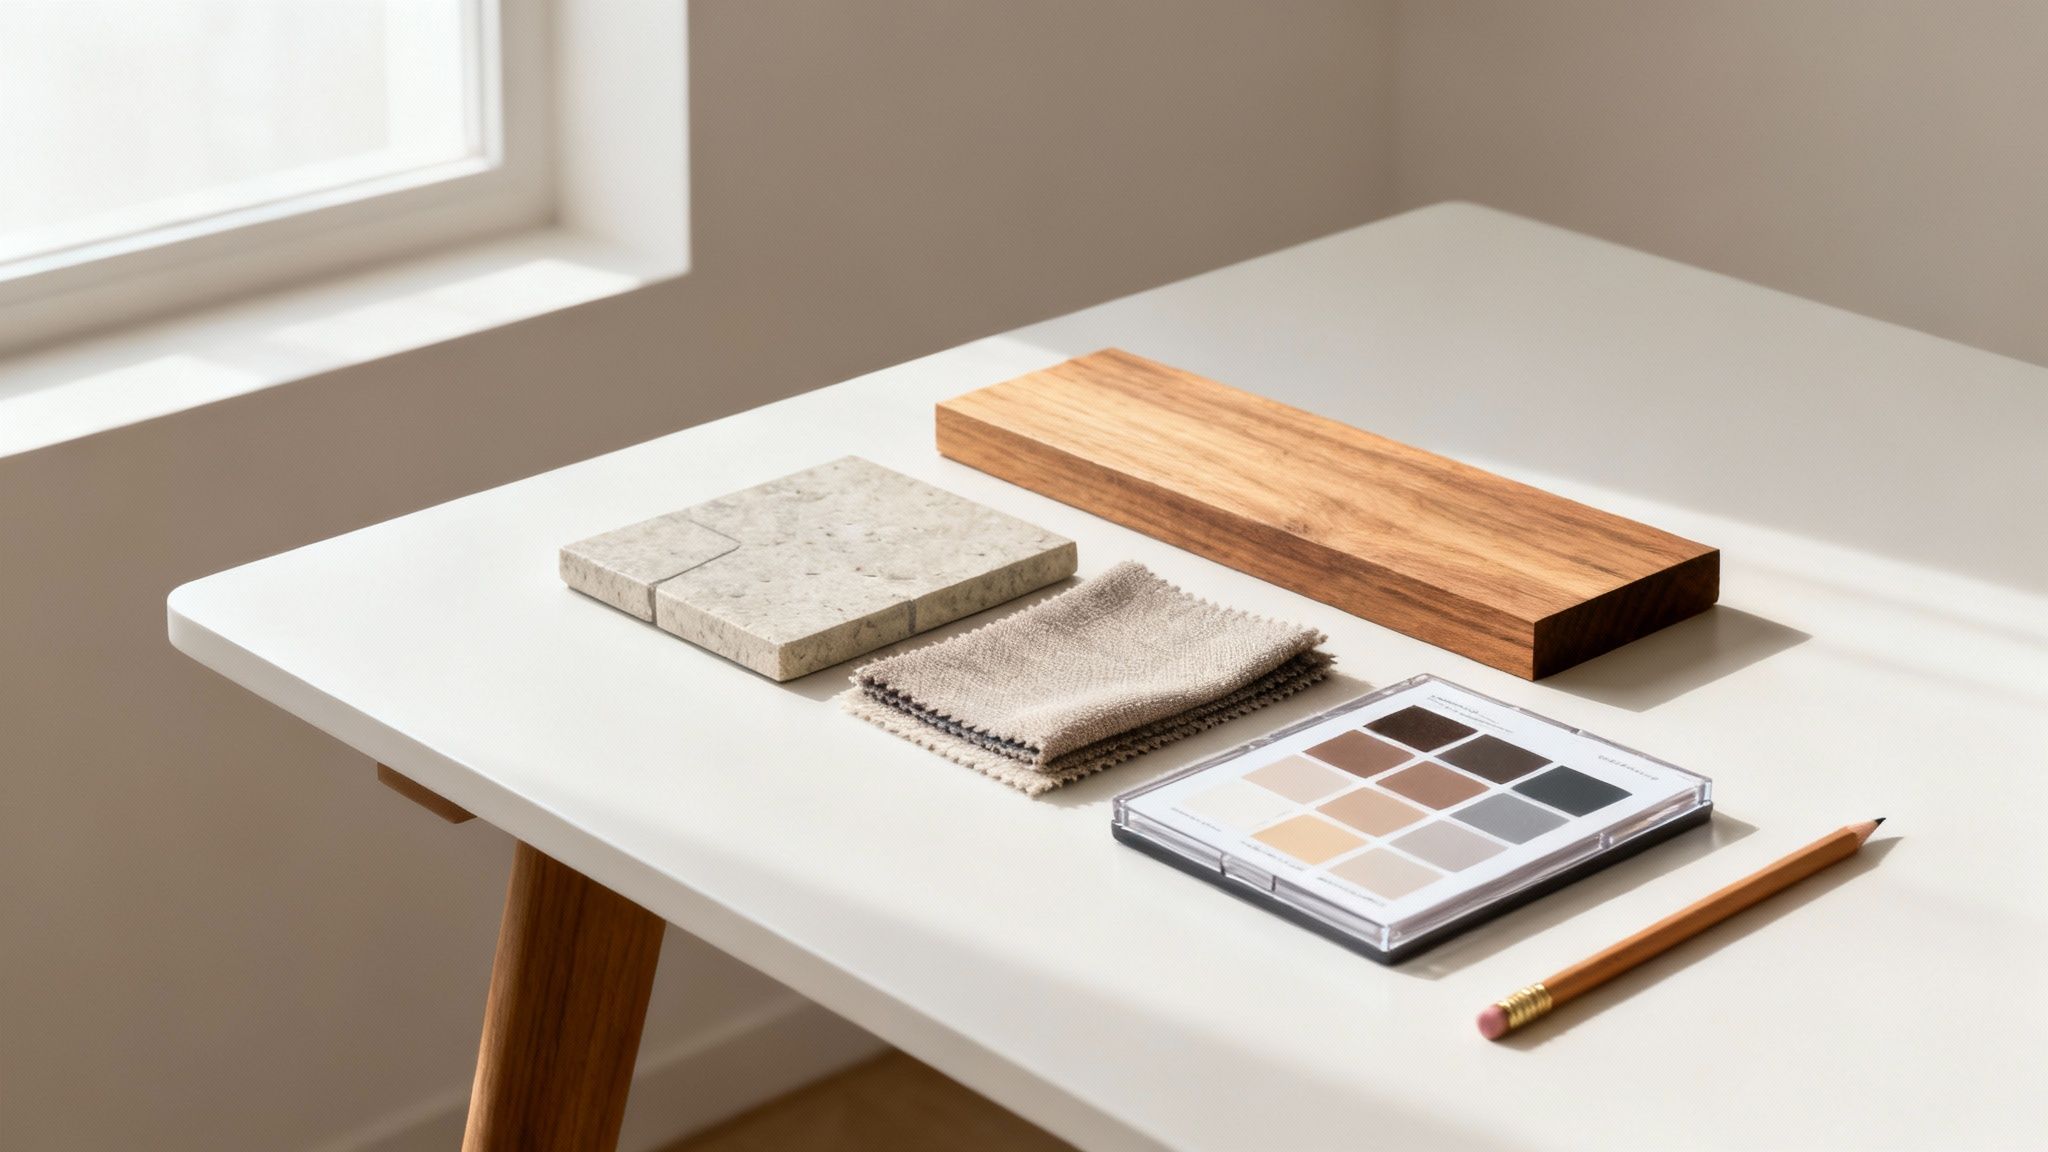
Once you have a feel for the vibe, build a focused material and color palette. You don't need dozens of different finishes; in fact, limiting your core materials creates a much more intentional and high-end feel.
- Primary Materials: These are the big ones—the main flooring that runs through the space or the primary wall color.
- Secondary Materials: Think of your kitchen countertops or the bathroom vanity. They should complement the primary choices.
- Accent Materials: Here’s where you can inject personality with a unique backsplash tile, a statement light fixture, or cool cabinet hardware.
A cohesive design doesn’t mean everything matches perfectly. It means all the elements feel like they belong together, telling the same story to create a space that feels harmonious and pulled-together.
Balancing Cost, Durability, and Aesthetics
Every single material choice is a negotiation. You're weighing what you love against what you can afford and what will actually last. The "perfect" material is simply the one that hits the sweet spot between these three factors for your specific project.
Take kitchen countertops, for instance. It’s a classic dilemma:
- Marble: Absolutely gorgeous, but it's porous, stains if you look at it wrong, and costs a fortune. It’s a high-maintenance choice for someone who is prepared for the upkeep.
- Quartz: This engineered stone gives you a similar look to marble but is way more durable, non-porous, and scratch-resistant. It’s a fantastic, family-friendly workhorse.
- Laminate: By far the most budget-friendly option, with surprisingly chic designs now available. The downside? It's vulnerable to heat and scratches and doesn't have the same weighty feel as stone.
Apply this same logic to everything from flooring to faucets. Get real about how you live. A family with two big dogs and three kids has completely different durability needs than a single person in a condo. Honesty about your lifestyle is more important than chasing a look that won't work for you.
Navigating Supply Chain Realities
Unfortunately, choosing materials today isn't as simple as pointing at a sample in a showroom. We're all dealing with massive supply chain disruptions that can throw a wrench in your timeline and budget. Remodelers are seeing long, unpredictable lead times for just about everything—appliances, windows, cabinets, you name it.
The only way to combat this is to be proactive and plan ahead.
- Order Early: As soon as your design is locked in, order the big-ticket items. We're talking appliances, custom cabinets, and windows. The lead times can be several months long, so get in the queue.
- Confirm Stock: Before you fall head-over-heels for a specific tile or light fixture, have your contractor confirm it’s actually in stock and available to ship.
- Have a Backup Plan: Always have a second choice for your most important materials. If your dream flooring is backordered for six months, having a pre-approved alternative ready to go will keep your project from grinding to a halt.
This is also a great time to think about long-term performance. As you choose new systems and materials, you have a perfect opportunity to improve HVAC efficiency and lower energy bills down the road. Making these smart, flexible choices is no longer a luxury—it’s an absolute necessity for a successful modern renovation.
How to Hire the Right Renovation Team
Your renovation's success really boils down to the people you hire. A brilliant plan is only as good as the team bringing it to life, which makes finding the right pros one of the most important decisions you'll make. This is where the rubber meets the road—let's walk through how to find, vet, and choose the professionals who will turn your vision into a reality.

Assembling Your A-Team
First off, let’s figure out who you actually need on your team. The size and complexity of your project dictate the roles you'll need to fill. A simple cosmetic update might just call for a great general contractor, but bigger jobs demand more specialized expertise.
- Architect: If you're changing the structural footprint of your home, you need an architect. Think moving load-bearing walls, putting on an addition, or significantly reconfiguring the roofline. They create the master blueprints that ensure everything is structurally sound, safe, and up to code.
- Interior Designer: A designer is all about the look, feel, and function of your interior spaces. They're the experts in space planning, selecting finishes, crafting a lighting plan, and pulling together a cohesive aesthetic. If your project is more about a gut kitchen remodel or a full bathroom overhaul (without moving major walls), a designer’s eye is invaluable.
- General Contractor (GC): The GC is the conductor of your renovation orchestra. They’re the ones hiring and coordinating all the subcontractors—plumbers, electricians, painters—and managing the day-to-day schedule, ordering materials, and making sure the project is built exactly to the plans. For nearly any project involving more than one trade, a GC is essential.
Finding and Vetting Potential Contractors
Finding the right contractor can feel like searching for a needle in a haystack, but a methodical approach makes it totally manageable. The goal is to build a short list of qualified, trustworthy candidates you feel good about.
Start by asking for recommendations from people you trust. Word-of-mouth referrals from friends, family, or neighbors who’ve recently done similar work are pure gold. You can also check with local chapters of professional organizations like the National Association of the Remodeling Industry (NARI) or the National Association of Home Builders (NAHB).
Once you have a list of three to five names, the real work begins. Vetting is not a step you can afford to skip; it’s what protects your investment and your sanity.
A great portfolio is nice, but it's just one piece of the puzzle. Thoroughly vetting a contractor's credentials, insurance, and references is what separates the true professionals from the potential nightmares.
Here’s what your vetting checklist should cover:
- License and Insurance: Ask for their contractor's license number and then actually verify it with your state’s licensing board. This is crucial: request proof of both general liability insurance and workers’ compensation. This protects you from being on the hook financially if an accident happens on your property.
- References: Call at least three recent clients. Don't be shy—ask specific questions. Did the project stay on budget? Was communication clear and consistent? How were unexpected problems handled?
- Portfolio Review: Look at examples of their past projects, ideally ones similar in scope to yours. Even better, ask if you can visit a completed or in-progress job site to see the quality of their workmanship up close.
The Bidding Process and Your Contract
With your vetted list in hand, it's time to get bids. To get a true apples-to-apples comparison, you have to give each contractor the exact same set of detailed plans and scope of work. A vague request will only get you a set of vague, incomparable bids.
Aim to get at least three detailed, itemized bids. A single lump-sum price isn't enough information. You need a breakdown of costs for labor, materials, permits, and other expenses. This transparency not only helps you understand where your money is going but also helps you spot red flags—like a bid that's drastically lower than the others. A suspiciously low bid often means corners are being cut somewhere.
If you want to dive deeper into this critical step, check out our in-depth article on how to choose a general contractor for a complete breakdown.
Once you’ve made your choice, the final piece is the contract. This legal document is your ultimate protection. Never, ever start work on a handshake deal, no matter how much you like and trust the person.
A rock-solid contract should clearly lay out:
Full Scope of Work: A detailed description of every single thing that will be done.
Payment Schedule: Payments should be tied to the completion of specific project milestones, not random dates.
Total Cost and Allowances: The fixed price, plus a clear outline of any allowances for items you'll select later (like tile or light fixtures).
Change Order Process: A formal procedure for how any changes to the original plan will be proposed, approved, and billed.
Project Timeline: An estimated start date and an estimated completion date.
Proof of Insurance and Lien Waivers: Confirmation of their insurance and a process for getting lien waivers from subcontractors as they are paid.
Taking the time to hire the right team truly sets the stage for a successful renovation. It transforms what could be a stressful ordeal into a collaborative partnership focused on one thing: achieving your goals.
Managing Your Project from Start to Finish
Once the dust starts to fly, your role shifts from planner to project manager. This is where all that meticulous preparation really begins to pay off. The goal here isn't to micromanage every single nail, but to have solid systems in place for communication, decisions, and payments. Get this right, and you'll keep things moving smoothly and, most importantly, on budget.
Your relationship with your general contractor is now the most critical partnership in this whole endeavor. Think of it as a team effort. A healthy, productive dynamic is built on one thing: structured, consistent communication. You're both working toward the same finish line, and good communication is the glue holding it all together.
Establishing Clear Communication Protocols
Before a single hammer swings, sit down with your contractor and agree on a communication plan. How often will you connect? And how? A random mix of texts, emails, and hurried voicemails is a surefire way for critical details to get lost.
Instead, pick one primary channel for all the important stuff. Maybe it’s a standing weekly meeting on-site, a shared Google Drive for documents, or even just a dedicated email thread. These regular check-ins stop small hiccups from turning into massive headaches and keep you in the loop on progress and potential roadblocks.
A renovation is a marathon, not a sprint. Setting up a predictable rhythm for communication and site visits keeps everyone aligned, reduces stress, and builds the trust needed to navigate the inevitable bumps in the road.
Handling Changes the Right Way
Let’s be realistic: no matter how perfectly you plan, changes are going to happen. You might suddenly decide you want different light fixtures, or your contractor could open a wall and find some unexpected structural issues. The way you handle these curveballs can make or break your budget and timeline.
The golden rule is simple: get every change order in writing. A casual "hey, go ahead and add those extra outlets" won't cut it. A formal change order is a document that needs to clearly spell out:
- The specific change to the original plan.
- The exact cost of the change, including both materials and labor.
- The impact on the project schedule and any new delays.
Don't let any new work start until both you and your contractor have signed off on it. This simple process eliminates any "he said, she said" arguments later and keeps you in complete control of the budget. It forces everyone to pause and fully grasp the financial and time implications of a decision.
Managing Payments and Milestones
Your payment schedule, which should be clearly laid out in your contract, is your best tool for ensuring you get quality work. Never, ever pay for the entire project upfront. Payments should be tied to the successful completion of specific, tangible milestones.
For example, a payment might be due after the foundation is poured, another when framing is complete, and another after the drywall is up and finished. This structure gives your contractor a clear incentive to complete each phase to your satisfaction. Before you cut a check, walk through the site and personally confirm the work meets the standards you agreed upon.
This milestone-based approach protects your investment and ensures you only pay for work that's been done right.
The Final Stretch and Post-Renovation Care
As the project winds down and the dust settles, it’s time to shift your focus to the small details. This is where you create a "punch list." A punch list is simply a detailed list of all the minor fixes and finishing touches that need to be wrapped up before you make that final payment.
Grab a roll of blue painter's tape and a notepad, and walk through every inch of the new space. Look for anything and everything—paint drips, a cabinet door that doesn’t hang quite right, a scratch on the floor, a faulty light switch. Your contractor will use this list to make sure every last detail is perfect. Our whole-house remodel checklist is a great resource to help you build a thorough punch list during this final inspection.
Finally, gather up all the warranty information for new appliances, materials, and any workmanship guarantees. Don't forget that a smart renovation can also be a savvy financial move. The U.S. Department of Energy notes that upgrades like new insulation and windows can slash energy costs by up to 20%, delivering real savings over the long haul. You can learn more about how remodeling trends reflect these long-term value considerations on gminsights.com.
Create a simple maintenance schedule to keep your beautiful new space in top shape. Knowing when to reseal the countertops or get the new HVAC unit serviced will protect your investment for years to come.
Got Questions About Renovation Planning? We've Got Answers.
Even the most carefully crafted plan can leave you with questions. It’s completely normal. As you dive into the nitty-gritty of planning your home renovation, a few common uncertainties tend to pop up. Let's tackle them head-on with some straightforward, practical advice from the field.
How Long Does It Really Take to Plan a Renovation?
This is the classic "how long is a piece of string?" question, but I can give you some solid goalposts. The planning phase can be surprisingly long, stretching anywhere from a few weeks to several months, and it all boils down to the complexity of your project.
For something simple, like sprucing up a powder room, you might only need 3-4 weeks to get your ducks in a row. But if you’re planning a full kitchen gut job or a home addition? You should realistically block out 3-6 months for planning alone. That time is spent nailing down the scope, finalizing the budget, vetting professionals, choosing every single material, and getting permits approved.
If there's one piece of advice I can give you, it's this: don't rush the planning. Every single hour you invest upfront is an insurance policy against chaos later. A solid plan is what saves you from those soul-crushing delays and budget-busting surprises down the road.
What's the Absolute First Step?
Before you even think about paint colors or pin a single image on Pinterest, you need to get crystal clear on your "why." The very first thing to do when planning a renovation is to ask yourself one foundational question: Why am I doing this?
Seriously, everything else hinges on your answer. Are you renovating to:
- Create more usable space for your growing family?
- Finally ditch that 80s decor for a style you actually love?
- Boost your home's market value before putting it on the market?
- Tackle critical repairs or improve your home's efficiency?
Your "why" dictates your budget, your priorities, and the entire scope of the project. Once you know your core motivation, the next immediate task is making two lists: "must-haves" and "nice-to-haves." This simple exercise forces you to define what truly matters and creates a roadmap for making tough calls when you have to.
Do I Need an Architect, a Designer, or a Contractor?
The pros you bring on board will depend entirely on what you're trying to accomplish. It’s not always a one-size-fits-all answer.
- Architect: If your project involves changing the structure of your home, you need an architect. Period. Think moving load-bearing walls, popping up a second story, or altering the roofline. They’re the ones who ensure the design is structurally sound, safe, and up to code.
- Interior Designer: A designer is your expert for everything related to aesthetics, layout, and finishes. For a kitchen or bathroom remodel that isn't moving major walls, a great designer can transform the space's look and feel, making it both beautiful and highly functional.
- General Contractor: The GC is the on-the-ground manager of the entire construction process. They’re responsible for hiring and coordinating subcontractors (plumbers, electricians, etc.), keeping the project on schedule, and making sure the final product matches the plans. For a major renovation, you'll likely need all three.
How Much Should I Actually Set Aside for a Contingency Fund?
Let me be blunt: a contingency fund is not optional. It’s the single most important line item in your budget. This is the money earmarked for the inevitable "uh-oh" moments—like finding termite damage inside a wall or discovering your electrical panel is dangerously outdated.
The industry rule of thumb is to set aside an extra 15-20% of your total estimated project cost. If you live in an older home, I strongly suggest you aim for that 20% mark, because the odds of uncovering a few skeletons in the walls are just that much higher. This fund is your financial safety net; it's what keeps a single surprise from completely derailing your project.
Navigating the complexities of a home renovation requires a team you can trust. If you're in the Utah County area and want to turn your vision into a beautifully executed reality, contact Northpoint Construction to discuss your project. Visit us at https://buildnp.com to get started.