
How to Remodel a Small Kitchen on a Budget
Remodeling a small kitchen is a game of inches, where smart planning makes all the difference. It’s a process that starts not with a sledgehammer, but with a pen and paper. First, you have to pinpoint what drives you crazy about your current kitchen. From there, you can design a layout that squeezes every bit of utility out of the space, and finally, choose the right materials, appliances, and a contractor you can trust.
Taking the time to plan up front is the single best way to keep your budget in check and ensure you end up with a kitchen that’s as functional as it is beautiful.
Your Smart Start to a Small Kitchen Remodel
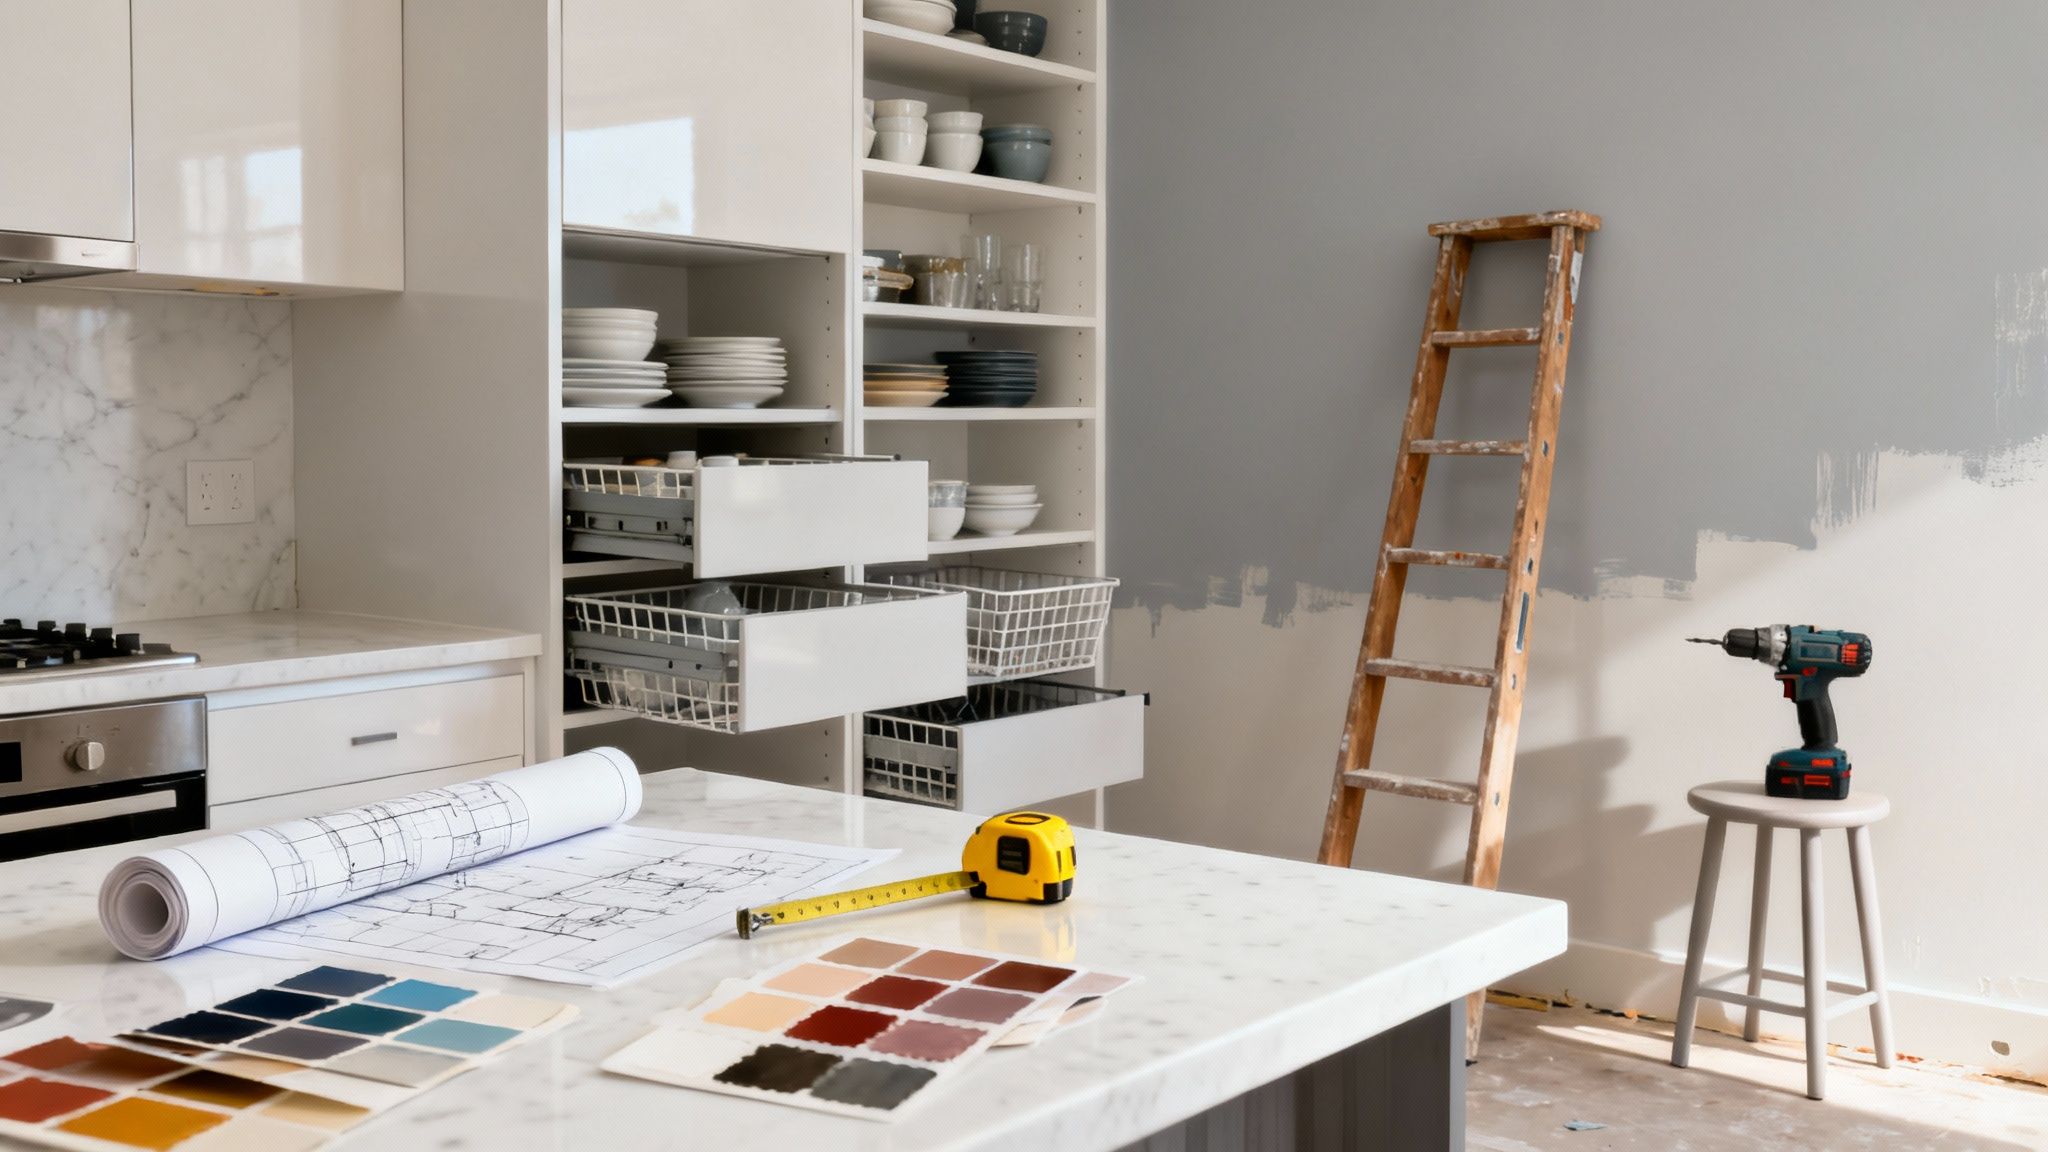
Kicking off a small kitchen remodel is exciting, but the project’s success is really decided before any real work begins. It all starts with having a crystal-clear vision. This goes way beyond just picking out a new backsplash; it's about getting honest about how you actually live in your kitchen and what your biggest frustrations are.

The very first step—the assessment—is the most important one. Before you even think about countertop samples, grab a notebook. Spend a few days just paying attention to how you move and work in the kitchen. This little self-audit is surprisingly effective at uncovering the real problems your remodel needs to fix.
- What are the pain points? Are you constantly shuffling things around just to get a little bit of prep space? Do you practically have to crawl into a dark corner cabinet to find that one pan you need? Is the lighting so dim it makes chopping vegetables feel like a risky operation?
- What are your functional goals? Your goals should be direct answers to those pain points. For instance, a goal isn't just "more storage," it's "create a dedicated, easy-to-reach spot for the mixer and blender." Or maybe, "increase usable counter space by at least 25%."
- What's your vision? Sure, scroll through Pinterest and Houzz, but look deeper than just the pretty pictures. Ask yourself why you're drawn to a certain kitchen. Is it how bright and airy it feels? The clever pull-out pantry? The seamless flow?
Must-Haves vs. Nice-to-Haves
Once you have your list of frustrations and goals, it's time to get real about what you can't live without. This is where you draw a line in the sand between your absolute "must-haves" and your "nice-to-haves."
A must-have might be getting a real, functional dishwasher in a kitchen that never had one. A nice-to-have could be that fancy commercial-grade faucet you saw online. This simple act of prioritizing is the bedrock of a realistic budget and a core principle we cover in our guide on how to plan a home renovation.
To make this step a bit easier, I've put together a quick checklist to guide your initial thoughts.
Initial Small Kitchen Remodel Planning Checklist
This table breaks down the essential first steps to take before you talk to a single contractor.
| Observe Daily Use | How do you actually use the space for a week? Note every frustration. | This reveals the true functional problems, not just aesthetic ones. |
| List Pain Points | Be specific. "Not enough counter space" vs. "No landing space next to the fridge." | Specificity leads to targeted, effective design solutions. |
| Define Clear Goals | Create measurable goals. "Add pantry storage" vs. "Incorporate a 24-inch pull-out pantry." | Concrete goals prevent scope creep and keep the project focused. |
| Separate Wants & Needs | Make two columns: "Must-Haves" and "Nice-to-Haves." | This is the foundation of your budget and helps you make smart compromises later. |
| Gather Inspiration | Collect images, but analyze why you like them (lighting, layout, storage). | It helps you communicate a clear vision to your designer or contractor. |
Going through these actions sets a solid foundation, ensuring your remodel is designed around your real-life needs.
This initial planning isn't just about making things look good; it's a strategic investment. A thoughtfully planned small kitchen remodel can seriously boost your home's value, turning daily headaches into long-term equity.
Believe it or not, this careful groundwork pays off financially, too. The return on investment for small kitchen remodels has proven to be incredibly strong. According to recent data, a minor remodel costing around $26,790 can add an estimated $22,963 to your home's value. That's an impressive 85.7% ROI. This initial planning phase ensures every dollar you spend is working hard to solve a problem and improve your home.
Maximizing Space with Smart Layouts and Storage
In a small kitchen, every single inch is prime real estate. The layout isn't just a design choice; it's the very foundation of your kitchen's flow and function. I've seen homeowners with stunning finishes get frustrated because an inefficient layout made their kitchen feel cramped and chaotic. A smart plan, on the other hand, can make even the tiniest kitchen feel surprisingly open and effortless to use.
The trick is to think less about just fitting appliances and more about how you'll actually move between them. This is where we take classic design principles and give them a modern, small-space spin.
Rethinking the Kitchen Work Triangle
You've probably heard of the "kitchen work triangle." It’s a time-tested concept connecting the three main work areas: the sink, the refrigerator, and the stove. The idea is to create a clear, easy path between these points to make everything from meal prep to cleanup a breeze. In a small kitchen, this triangle isn't just important—it's everything, but it often needs a little creative interpretation.
- Galley Layout: This is your best friend in a narrow room. A galley puts everything along two parallel walls, creating an incredibly efficient corridor. Just be sure you have at least 48 inches between the counters so it doesn't feel like a tight squeeze.
- L-Shaped Layout: Using two adjacent walls is perfect for opening up a corner. It naturally lends itself to a more social kitchen, connecting it to a dining or living area. This layout keeps traffic out of your main work zone, which is a huge plus.
- One-Wall Layout: Common in studios or compact homes around Orem, this layout lines up everything on a single wall. It linearizes the work triangle, but it's the ultimate space-saver. The key is to place the sink between the fridge and stove to create logical prep zones on either side.
A great rule of thumb from my experience: keep the total distance between the three points of the work triangle under 26 feet. Any more and you're doing laps around your kitchen. Any less, and things start to feel uncomfortably tight.
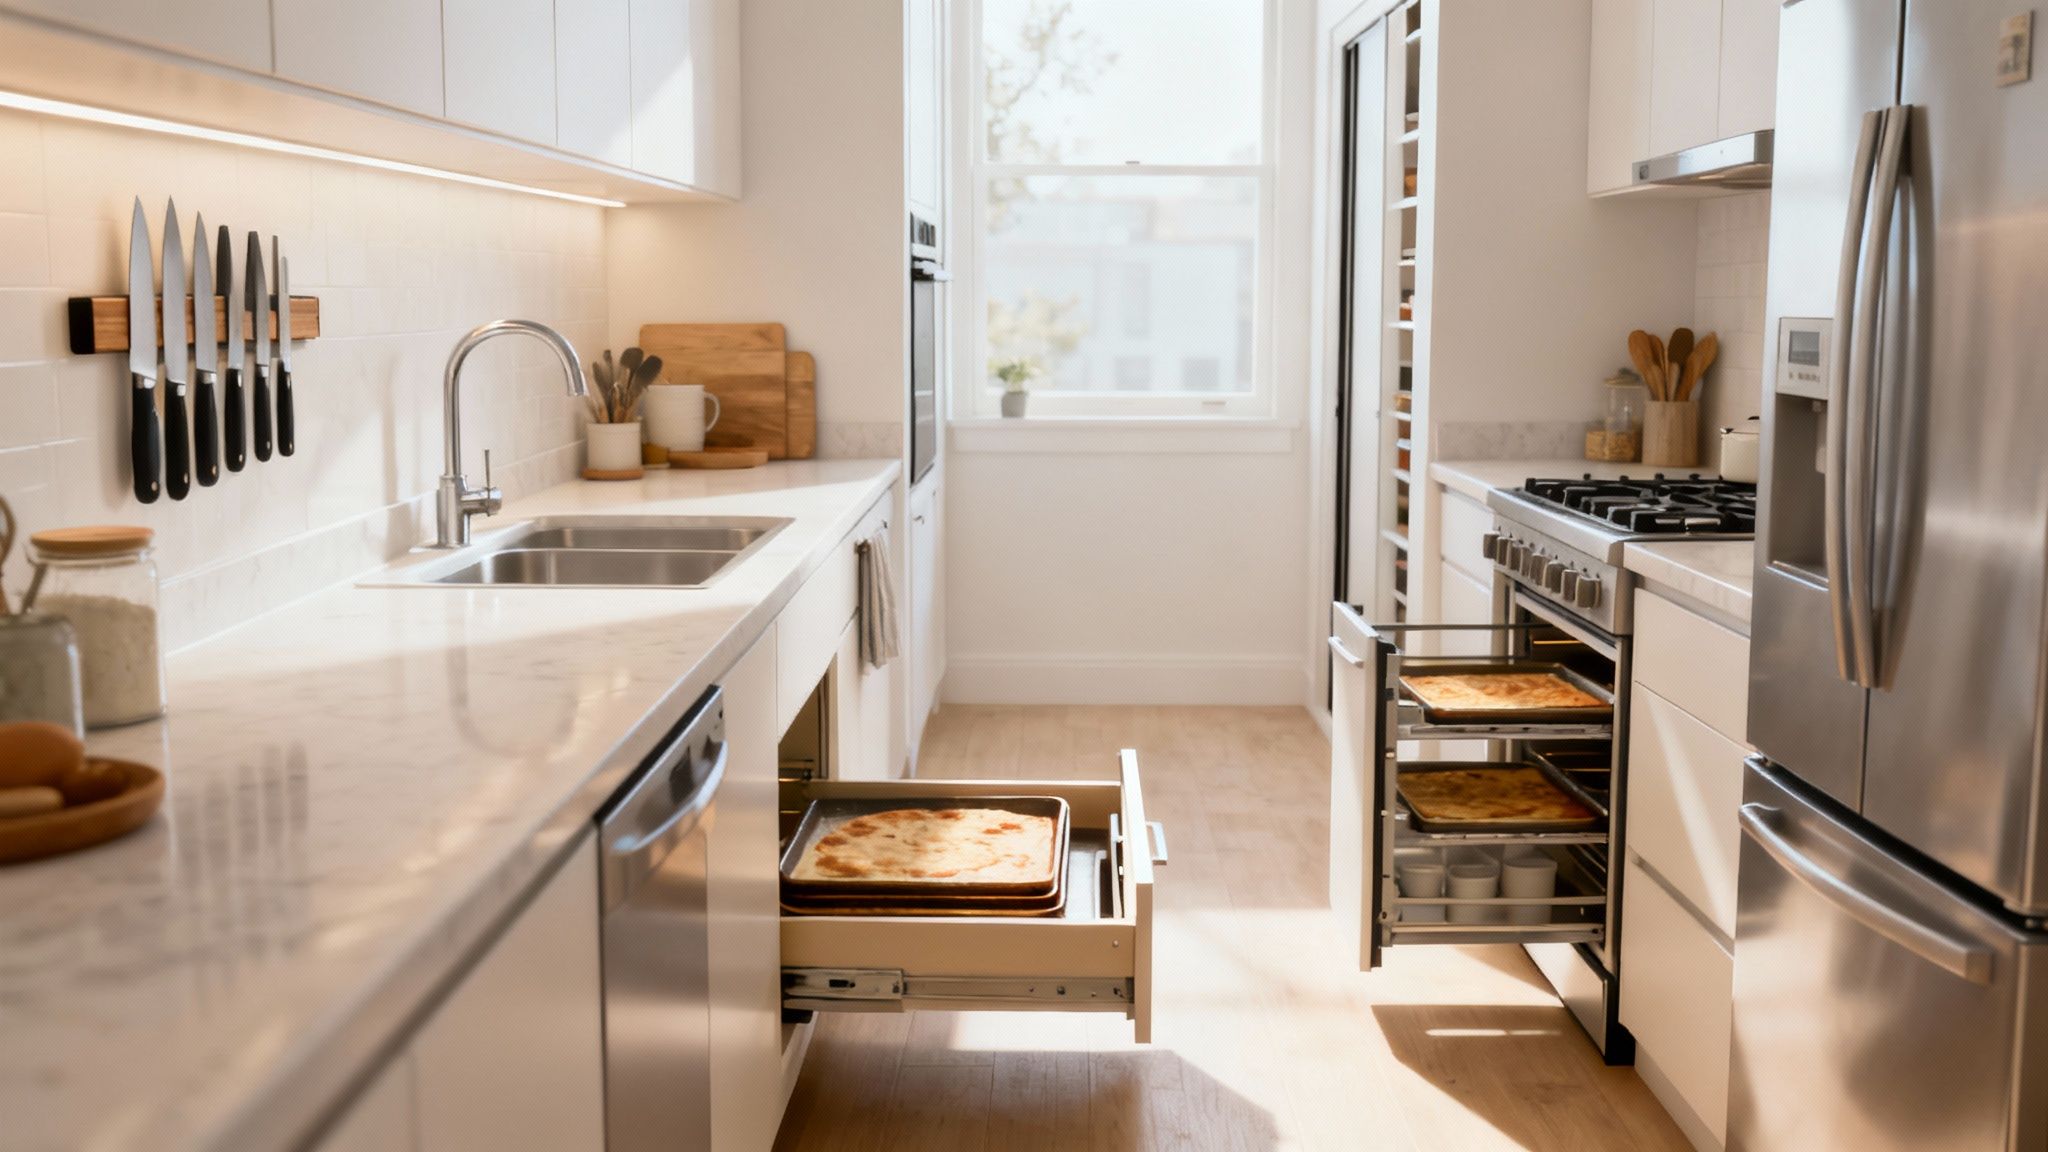
Unlocking Hidden Storage Opportunities
Once you’ve nailed the layout, the next battle is against clutter. This is where clever storage solutions become your secret weapon, turning dead space into something genuinely useful. Forget those deep, dark corner cabinets where your favorite pot goes to die.
Think vertically. Think unconventionally. Modern kitchen design has come up with some incredible solutions that go way beyond basic shelves. For more great examples, check out these small kitchen ideas to maximize space and style.
Creative Storage Solutions for Small Kitchens
It’s time to get creative and claim every last nook and cranny. Here are a few of my favorite storage strategies that make a massive difference in a small kitchen.
- Toe-Kick Drawers: That often-ignored space under your base cabinets? It's perfect for shallow drawers. I love using these for baking sheets, serving platters, or even pet food bowls to get them off the floor.
- Pull-Out Pantry Units: A tall, narrow cabinet can become a storage beast with a pull-out pantry. These systems slide all the way out, so you can see and reach everything inside without digging. Even a skinny 12-inch unit can hold a shocking amount of groceries.
- Magnetic Wall Strips: Get your knives and utensils off the counter and out of the drawers. Magnetic strips mounted on the wall keep your most-used tools right at your fingertips while you're cooking.
- Over-the-Sink Accessories: A custom-fit cutting board or a colander that rests securely over your sink can instantly add a few extra feet of prep space exactly where you need it. This is a game-changer in kitchens with very little counter real estate.
By combining an efficient layout with smart storage, you create a small kitchen that feels organized, spacious, and is truly a pleasure to cook in. Many of these same principles can be applied in other areas of the home, too, like in these creative basement kitchen and bar ideas: https://buildnp.com/blogs/basement-kitchen-and-bar-ideas/. Ultimately, the goal is to make every single part of your kitchen work harder for you.
Choosing Materials That Create a Big Impact
When you're working with a small kitchen, your choice of materials isn't just about aesthetics—it's a strategic move. The right surfaces can do some heavy lifting, making the entire room feel brighter, more open, and significantly larger than its actual footprint. This is where you can really play with light and texture to your advantage.
Think of your countertops, backsplash, and even your floors as surfaces that can either absorb light or bounce it around the room. Dark, matte finishes tend to swallow light, making a space feel cramped. On the other hand, light-colored and reflective materials act like mirrors, amplifying any available light and creating an instant sense of spaciousness.
Light-Reflecting Countertops
As one of the largest visual planes in your kitchen, the countertop is a powerhouse for creating an illusion of space. A light color is a great start, but the finish you choose is just as critical.
A glossy or honed finish will grab both natural and artificial light and scatter it, brightening up every corner. Materials like quartz are perfect for this. They're incredibly durable and come in a huge spectrum of light tones, from brilliant whites to soft creams with subtle veining. You get the look of natural stone without the busy patterns that can make a small space feel cluttered.
If you're watching the budget, don't overlook modern high-pressure laminates. They've come a long, long way and now offer incredibly realistic stone and solid-color looks with finishes that reflect a surprising amount of light.
My personal pro-tip for countertops in a small kitchen is to choose a material with minimal, delicate patterning. Busy, high-contrast veining can make a surface feel crowded and visually shrink your prep space. A simple, uniform color creates a cleaner, more expansive look.
The Power of a Reflective Backsplash
The backsplash is your secret weapon. It’s a vertical surface sitting right at eye level, which makes it prime real estate for making a statement and manipulating light. A reflective backsplash can literally double the impact of your under-cabinet lighting.
Here are a few options I’ve seen work wonders:
- Glossy Ceramic or Porcelain Tile: It’s a classic for a reason. Simple subway tiles with a high-gloss finish are timeless, affordable, and fantastic at bouncing light.
- Glass Tile: There’s a depth and luminosity to glass tile that other materials just can't replicate. They catch the light beautifully and add a touch of modern elegance.
- Mirrored or Polished Metal Finishes: For a truly bold look, a mirrored or antiqued-mirror backsplash can visually double the size of your kitchen. If that feels like too much, polished stainless steel tiles offer a similar, more subdued effect.
Of course, great materials need great lighting to really shine. For a deep dive into fixtures that work best in compact spaces, check out this ultimate guide to choosing the perfect kitchen lighting.
Smart Flooring Strategies
Your flooring can either chop a space into pieces or unify it. In a small kitchen, unification is always the goal. You want to erase any visual stops and starts to trick the eye into seeing one large, seamless area.
One of the most effective tricks in the book is to run the same flooring from an adjacent room—like your living or dining area—straight into the kitchen. That continuity makes both spaces feel more connected and expansive.
If you are putting in new flooring, think big. Large-format tiles, like 12x24 or even 24x24 inches, mean fewer grout lines. Those lines create a grid effect that can visually shrink a floor. By using bigger tiles and matching the grout color as closely as possible, you create a more solid, unbroken surface. It's a simple change that delivers a huge visual payoff.
Smart Budgeting and Finding a Reliable Contractor
Let's talk about the two pillars that will make or break your small kitchen remodel: a realistic budget and a trustworthy contractor. Honestly, getting these right is just as critical as picking out the perfect countertops or layout. This is the behind-the-scenes work that keeps your project from spiraling into a mess of surprise costs and delays.
So, how do you manage the money and find the right pro for the job? Let's get into it.
Creating a Realistic Small Kitchen Budget
Before you start dreaming about splurges, you need a firm grasp on what a project like this actually costs. I’ve seen too many homeowners get hit with sticker shock because they didn't have a solid baseline. Understanding the financial landscape from the start is the best way to build a budget you can stick to.
For a small kitchen—we're talking under 150 square feet—you can generally expect the remodel to land somewhere between $10,000 and $25,000. On a per-square-foot basis, that’s about $75 to $250, a range that really depends on the materials you choose and your local labor costs.
If you’re planning a more cosmetic refresh, like painting cabinets and swapping out old appliances, you might be looking at a friendlier $10,000 to $20,000. For a closer look at what Orem and Provo homeowners are paying right now, you can review the latest kitchen remodel cost estimates.
To make this more tangible, here's a rough idea of where every dollar goes.
Cost Breakdown for a Typical Small Kitchen Remodel
Most people are surprised to see that labor and cabinets eat up half the budget. This table gives you a clear, estimated breakdown so you can allocate your funds wisely.
| Cabinetry & Hardware | 30% |
| Labor & Installation | 20% |
| Appliances & Ventilation | 15% |
| Countertops | 10% |
| Flooring | 7% |
| Lighting & Electrical | 5% |
| Plumbing & Fixtures | 5% |
| Backsplash | 3% |
| Contingency Fund | 5-10% |
Notice that last line item? It’s arguably the most important part of your budget.
Always, always set aside a contingency fund. I can't stress this enough. Aim for at least 10% of your total budget. Unexpected issues—like discovering old plumbing that needs replacing or deciding you just have to upgrade a fixture—are practically guaranteed. This fund turns a potential crisis into a simple decision.
Finding and Vetting the Right Contractor
Think of your contractor as your project partner. The right one will guide you, manage all the moving parts, and deliver quality work. The wrong one? They can turn your remodel into a nightmare. In a busy area like Orem and Provo, doing your homework is essential.
I always tell people to start by asking for referrals from friends, family, or even the staff at local building supply stores. Once you have a shortlist of three to five names, it's time to start interviewing. This isn't just about getting a price—it's your chance to feel out their expertise, communication style, and professionalism. You're looking for someone you can actually collaborate with.
For a much deeper dive, our guide on how to choose a general contractor is an excellent resource that walks you through the entire process.
Critical Questions to Ask Potential Contractors
Don’t be shy when you meet with them. A true professional will welcome your questions and give you straight answers. Here are the absolute must-asks before you even think about signing a contract:
- Are you licensed and insured in Utah? This is non-negotiable. Ask to see physical proof of their general liability insurance and workers' compensation. This protects you from any liability if someone gets hurt on your property.
- Can you provide a list of recent, local references? A contractor who is proud of their work will be happy to share contacts. Actually call them! Ask about their experience, how communication went, and if the project stayed on schedule and on budget.
- Will you provide a detailed, itemized bid? A vague, one-page quote is a major red flag. You want a bid that breaks down the costs for materials, labor, permits, and everything else. This detailed document is what becomes your contract.
- What is your communication process? How often will they update you? Will you have a single point of contact? Nailing this down upfront saves a ton of frustration later.
- How do you handle changes or unexpected problems? Ask them to walk you through their process for change orders. Any change should be documented in writing, with the cost agreed upon before any new work starts.
By taking the time to budget smartly and vet your contractor thoroughly, you’re setting the stage for a smooth remodel that will transform your kitchen without breaking the bank.
Navigating the Remodel from Demolition to Done
So, you've finalized the plans and hired your contractor. Now the real action begins. Knowing what to expect during the construction phase can make the whole process feel much less chaotic. Think of it as a roadmap; when you understand the sequence of events, you can better anticipate the disruption and see the light at the end of the tunnel—even when your home is covered in a fine layer of dust.
This process flow gives you a bird's-eye view of getting your project off the ground, from locking in your budget to hiring the right team to bring your vision to life.
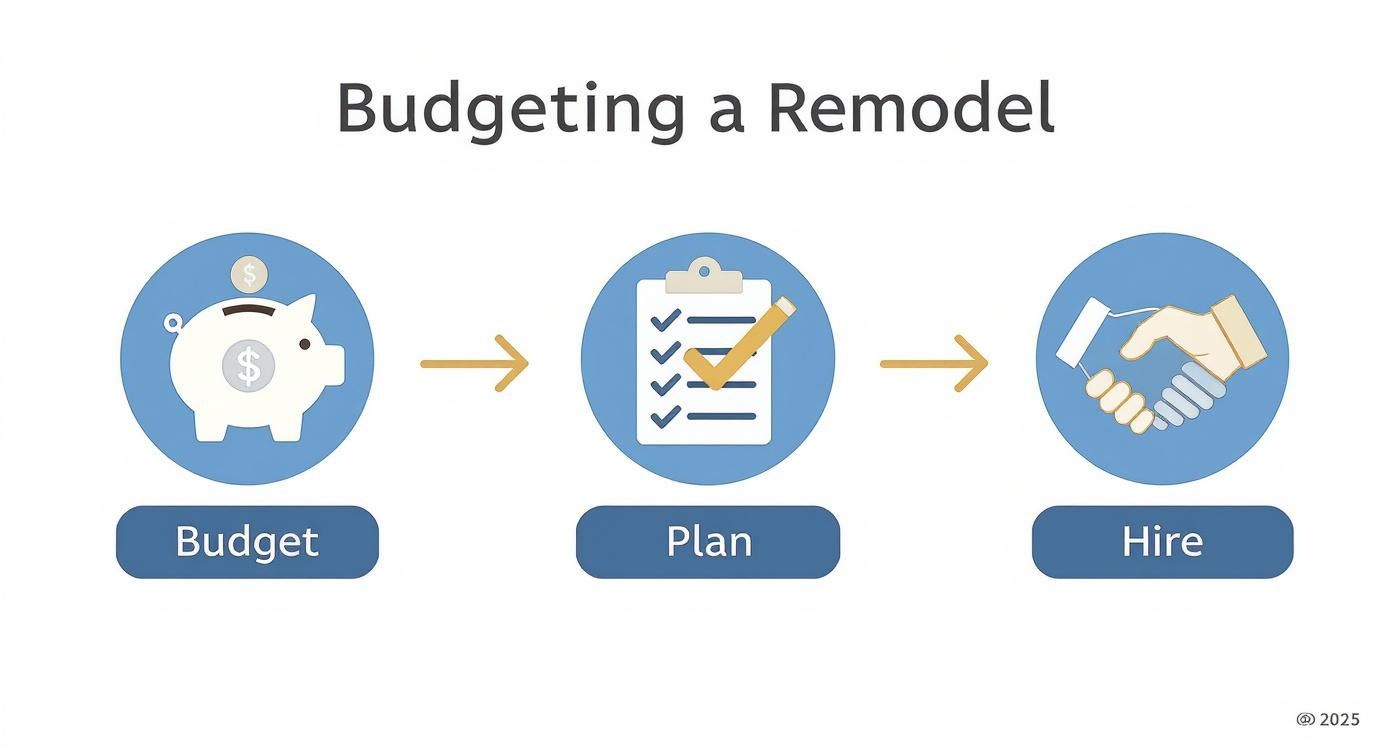
As you can see, a successful remodel isn't about luck. It's built on a solid foundation of smart budgeting, meticulous planning, and professional execution.
The Demolition and Rough-In Phase
The first stage is often the most jarring, but thankfully, it's also one of the quickest. Demolition is exactly what it sounds like: your old kitchen gets systematically torn out. Cabinets come down, old appliances are hauled away, flooring is pulled up, and sometimes, a non-load-bearing wall is removed to open up the space. It’s loud, messy, and for a moment, you might feel like you've made a terrible mistake. Trust the process.
Right after demo comes the "rough-in" stage. This is when licensed plumbers and electricians get into the open walls to run new pipes, drains, and wiring for your new layout. It’s called a rough-in because they’re just positioning everything; the final fixtures aren't connected yet. This is where they might move the sink plumbing to your new island or add dedicated wiring for that induction cooktop you've been dreaming of.
From Drywall to Finishes
Once the rough-ins pass inspection, your kitchen starts to take shape again. New drywall is hung, taped, and mudded to create smooth walls. This is a multi-day process that requires drying time between coats, followed by a whole lot of sanding. Fair warning: the dust gets everywhere.
After the walls are primed and painted, things start moving fast. You can generally expect this sequence of events:
- Flooring: The new floor often goes in first, creating a clean, level surface for everything else.
- Cabinets: Next, your new cabinets are carefully hung and secured. This is a precision job that sets the stage for the rest of the installation.
- Countertop Templating: With the base cabinets in place, the countertop fabricator will visit to create an exact template. This is what ensures that perfect, seamless fit.
- Countertop Installation: A week or two later, your new countertops arrive. The moment they go in, your kitchen suddenly starts to feel real.
A crucial tip from the trenches: Make sure your contractor protects your brand-new surfaces. Your new floors and countertops should be covered with protective materials as painters, tile setters, and other trades come in to finish their work.
Surviving the Remodel Disruption
Let's be honest: living without a kitchen is a challenge. A little preparation goes a long way in making it manageable. The goal is to minimize the daily inconvenience so you can stay focused on the exciting progress.
One of the best moves you can make is to set up a temporary kitchen in another room—the dining room, garage, or basement works well. A microwave, coffee maker, an electric skillet, and your old fridge can create a surprisingly functional hub for simple meals. Stock up on paper plates and disposable cutlery to avoid the grim task of washing dishes in the bathroom sink.
Final Installations and the Punch List
With the big pieces in place, the finish line is in sight. The final steps are all about installing the functional and decorative elements that complete the look and feel of your new kitchen.
The backsplash is typically installed right after the countertops. Then, the plumber and electrician return for their "finish" work. This includes:
- Installing the sink, faucet, and garbage disposal
- Hooking up the dishwasher
- Installing all the light fixtures, switches, and outlets
- Connecting the new appliances
Finally, the cabinet hardware goes on, and any last-minute paint touch-ups are completed. At this point, you and your contractor will do a final walk-through to create a "punch list"—a short list of any minor items that need a final tweak or correction. Once those items are checked off, your new small kitchen is officially done. Time to enjoy it
Answering Your Top Small Kitchen Remodel Questions
Even the most buttoned-up remodel plan comes with questions. It's just part of the process. Getting straight answers before the dust starts flying can save you a world of headaches and keep you from second-guessing every decision. Let’s walk through a few of the most common questions I hear from homeowners, so you can head into your project with confidence.
Probably the biggest question on everyone's mind is how long it's all going to take. While no two projects are identical, a typical small kitchen remodel usually wraps up in about 4 to 8 weeks. That’s from the first swing of the sledgehammer to the final sign-off. Of course, this can shift depending on how much you're changing, your contractor's schedule, and the surprises that old houses sometimes hide, but it’s a realistic window to work with.
How Much Should I Set Aside for Cabinets?
This is a big one, because cabinets are almost always the single biggest line item in a kitchen budget. Get this right, and everything else tends to fall into place.
For a small kitchen remodel with a total budget between $10,000 and $25,000, you can expect cabinetry to eat up anywhere from $2,500 to $8,750 of that. Good-quality stock cabinets might run you about $5,000, but if you're looking at semi-custom or fully custom work, that number can easily climb to $10,000–$25,000 or more. As you can see, this one choice has a massive ripple effect on your entire financial plan. You can dig deeper into the typical kitchen remodel cost to see detailed breakdowns and get a feel for where the money goes.
Can I Keep My Old Appliances?
You bet. In fact, it’s one of the smartest ways to keep your budget in check. If your current appliances are working well, look good, and you like them, there’s no rule that says they have to go. But, you need to be strategic about it.
- Measure, then measure again: Your contractor needs the exact dimensions of every appliance you’re keeping. New cabinets and counters are built to fit them like a glove, and an eighth of an inch can make all the difference.
- Think about the finish: Will that stainless steel fridge still look right next to your new warm-toned cabinets and brass hardware? Make sure the old fits with the new.
- Plan for the future: If you think you might replace that dishwasher in a couple of years, have your contractor build the opening to a standard modern size. It'll make your life so much easier later.
A bit of hard-won advice: Lock in your appliance decisions before the cabinet order is placed. I've seen homeowners change their mind on a fridge model after the cabinets are built, and it’s a costly, frustrating fix that can compromise the whole layout.
Do I Need a Permit for This?
I get this question all the time from homeowners here in Utah County. The short answer is, it really depends on what you're doing.
For simple cosmetic upgrades in Orem and Provo, you’re usually in the clear. Things like this generally don't require a permit:
- Painting walls or refinishing cabinets
- Putting in a new countertop (as long as the sink isn't moving)
- Swapping out a light fixture or a faucet
- Laying down new flooring
Where you'll absolutely need a permit is when you start changing the bones of the room. Think moving walls, re-routing plumbing lines, or adding new electrical circuits. Your contractor should handle the entire permitting process from start to finish—if they suggest skipping it for work that clearly needs one, that’s a major red flag.
Tackling these big questions head-on clears the fog and lets you move forward with a solid game plan. This kind of preparation is what separates a stressful remodel from one that’s not just beautiful, but executed brilliantly.
Ready to turn your small kitchen into a space that truly works for you? The team at Northpoint Construction has the local expertise to guide you through every step, ensuring your remodel is a success. Visit us online to schedule your consultation today!