
Installing a Bathroom in a Basement: A Utah Homeowners Guide
Thinking about adding a bathroom to your basement? It's one of the smartest upgrades you can make, especially here in the Orem and Provo area. This guide is your practical roadmap, designed to walk you through the whole process—from the first sketch to the final polish. We’re going to break it all down into manageable steps.
Your Blueprint for Adding a Basement Bathroom in Utah
Let's cut through the jargon. This is all about clear, actionable advice that works for homes right here in Utah Valley, keeping our local building codes and market in mind. A basement bathroom is a different beast than an upstairs remodel. You've got unique challenges with plumbing, moisture, and lighting to deal with. But get it right, and the payoff is huge, not just in home value but in making your basement a truly livable space.
Consider this your master plan. We’ll cover the critical decisions you’ll need to make, from picking the right kind of pump to navigating the permit process in Utah County, so you can move forward with confidence.
Why a Basement Bathroom Is a Smart Move
Finishing a basement is a go-to project for many Provo-area homeowners, but adding a bathroom is what really takes it to the next level. It transforms a simple bonus room into a complete living suite, perfect for guests, an older kid's retreat, or just making that family rec room more convenient.
And the benefits go way beyond convenience. A properly installed basement bathroom can provide a fantastic return on your investment. It makes your home stand out in a competitive market and adds serious appeal for future buyers.
Here’s what you gain:
- Increased Functionality: Your basement becomes a self-sufficient living area. Think guest suites, a space for relatives, or even a rental unit (where local zoning allows).
- Enhanced Property Value: This is a high-impact upgrade. Even a simple half-bath can significantly boost your home’s resale value, often letting you recoup a large chunk of the cost.
- Improved Convenience: No more trekking upstairs from the home gym or home theater. It just makes the space that much more practical for your family to use every day.
I've seen it happen too many times: a homeowner gets excited and starts demolition without a solid plan. Rushing in without figuring out the plumbing, electrical, and layout first almost always leads to expensive rework and frustrating delays.
What This Guide Covers
I’ve structured this guide to walk you through every critical phase of your project. We’ll go from dreaming up the perfect layout to adding the final touches. The goal is to give you the knowledge you need to either tackle parts of the project yourself or to hire and manage contractors with confidence. You’ll get a clear picture of the entire process, empowering you to make smart decisions from start to finish.
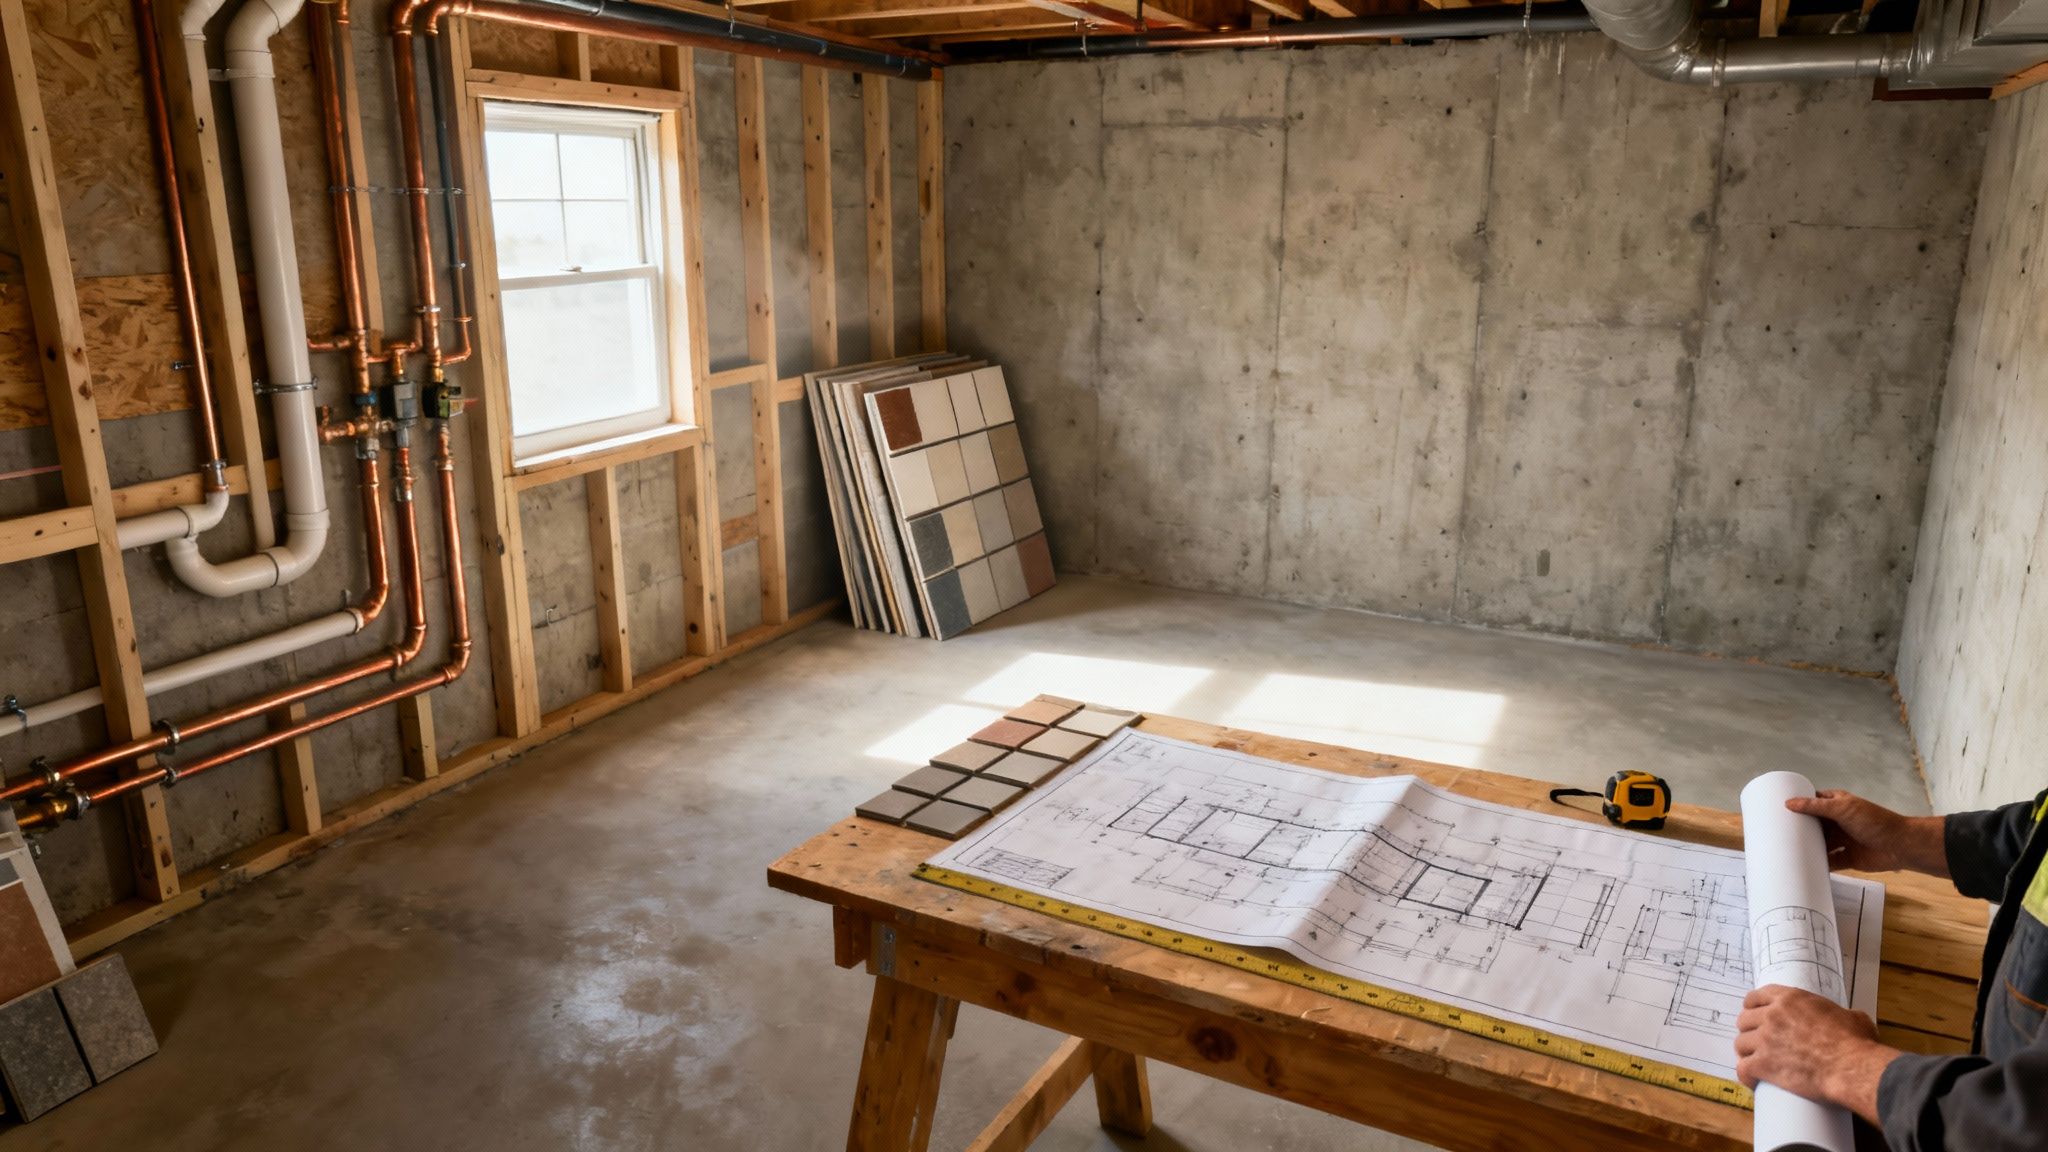
Laying the Groundwork: Smart Planning and Design
A great basement bathroom doesn't feel like an afterthought; it feels like it was always part of the home's original design. This initial planning stage is where that magic happens. It's about more than just picking out tile—it's about creating a blueprint that maximizes your space, sidesteps future problems, and ultimately saves you a lot of money and frustration.
The very first, and most important, decision is where to put it. This single choice has a massive impact on your budget and how complex the plumbing will be. The smartest move? Find a spot directly below an existing bathroom or kitchen. Tucking it in there lets you tap into the water lines already running through the joists and drastically shortens the run to your main sewer line. It’s the difference between a straightforward job and a major plumbing headache.
What Kind of Bathroom Do You Need?
Before you even think about framing, you have to decide what this bathroom is for. Is it just a convenient powder room for the kids’ play area? Or is it a full-blown bathroom to support a new guest suite? Your answer dictates the layout, the cost, and the fixtures you'll need.
- Half-Bath (Powder Room): Just a toilet and a sink. This is your go-to if you're tight on space or just need a simple, convenient option for a basement family room or home gym. The small footprint keeps material costs and plumbing work to a minimum.
- Three-Quarter Bath: This is the workhorse of basement bathrooms, with a toilet, sink, and a shower. It gives you all the function you need for overnight guests without hogging the space a full bathtub demands.
- Full Bathroom: The whole package—toilet, sink, and a tub/shower combo (or even separate units). It's definitely the most involved and expensive route, but it adds the most value and turns your basement into a truly independent living space.
I’ve seen it time and again: homeowners try to cram a full tub into a space that’s really only suited for a three-quarter bath. A cramped, awkward layout is far less luxurious than a spacious, well-designed shower. It's better to prioritize comfortable flow over ticking every single box.
Choosing Materials That Can Handle a Basement
Let's be honest, basements can be damp. They just have higher humidity levels than the rest of the house, which means your material choices are absolutely critical for heading off mold and mildew before they start. When you're installing a bathroom in a basement, durability is the name of the game.
For the walls and ceiling, don't even consider standard drywall. You need moisture-resistant drywall, often called "green board" or the superior "purple board." It’s built to stop mold from taking hold. Inside the shower or around the tub, you'll need a cement board backer like DensShield to create a truly waterproof surface for your tile.
Smart Choices for Flooring and Fixtures
When it comes to flooring, your number one priority is finding something that is 100% waterproof. This isn't the place to cut corners.
Basement Bathroom Flooring Options
| Luxury Vinyl Plank (LVP) | Totally waterproof, tough as nails, comfortable underfoot, and easy to DIY. | The pattern can look repetitive if you don't plan the layout well. |
| Ceramic or Porcelain Tile | Incredibly durable, endless style options, gives a classic, solid feel. | It's cold on bare feet and grout lines need regular sealing. |
| Stained Concrete | Super durable, offers a clean modern look, and is a breeze to clean. | It’s a very hard surface and requires a good sealer to look its best. |
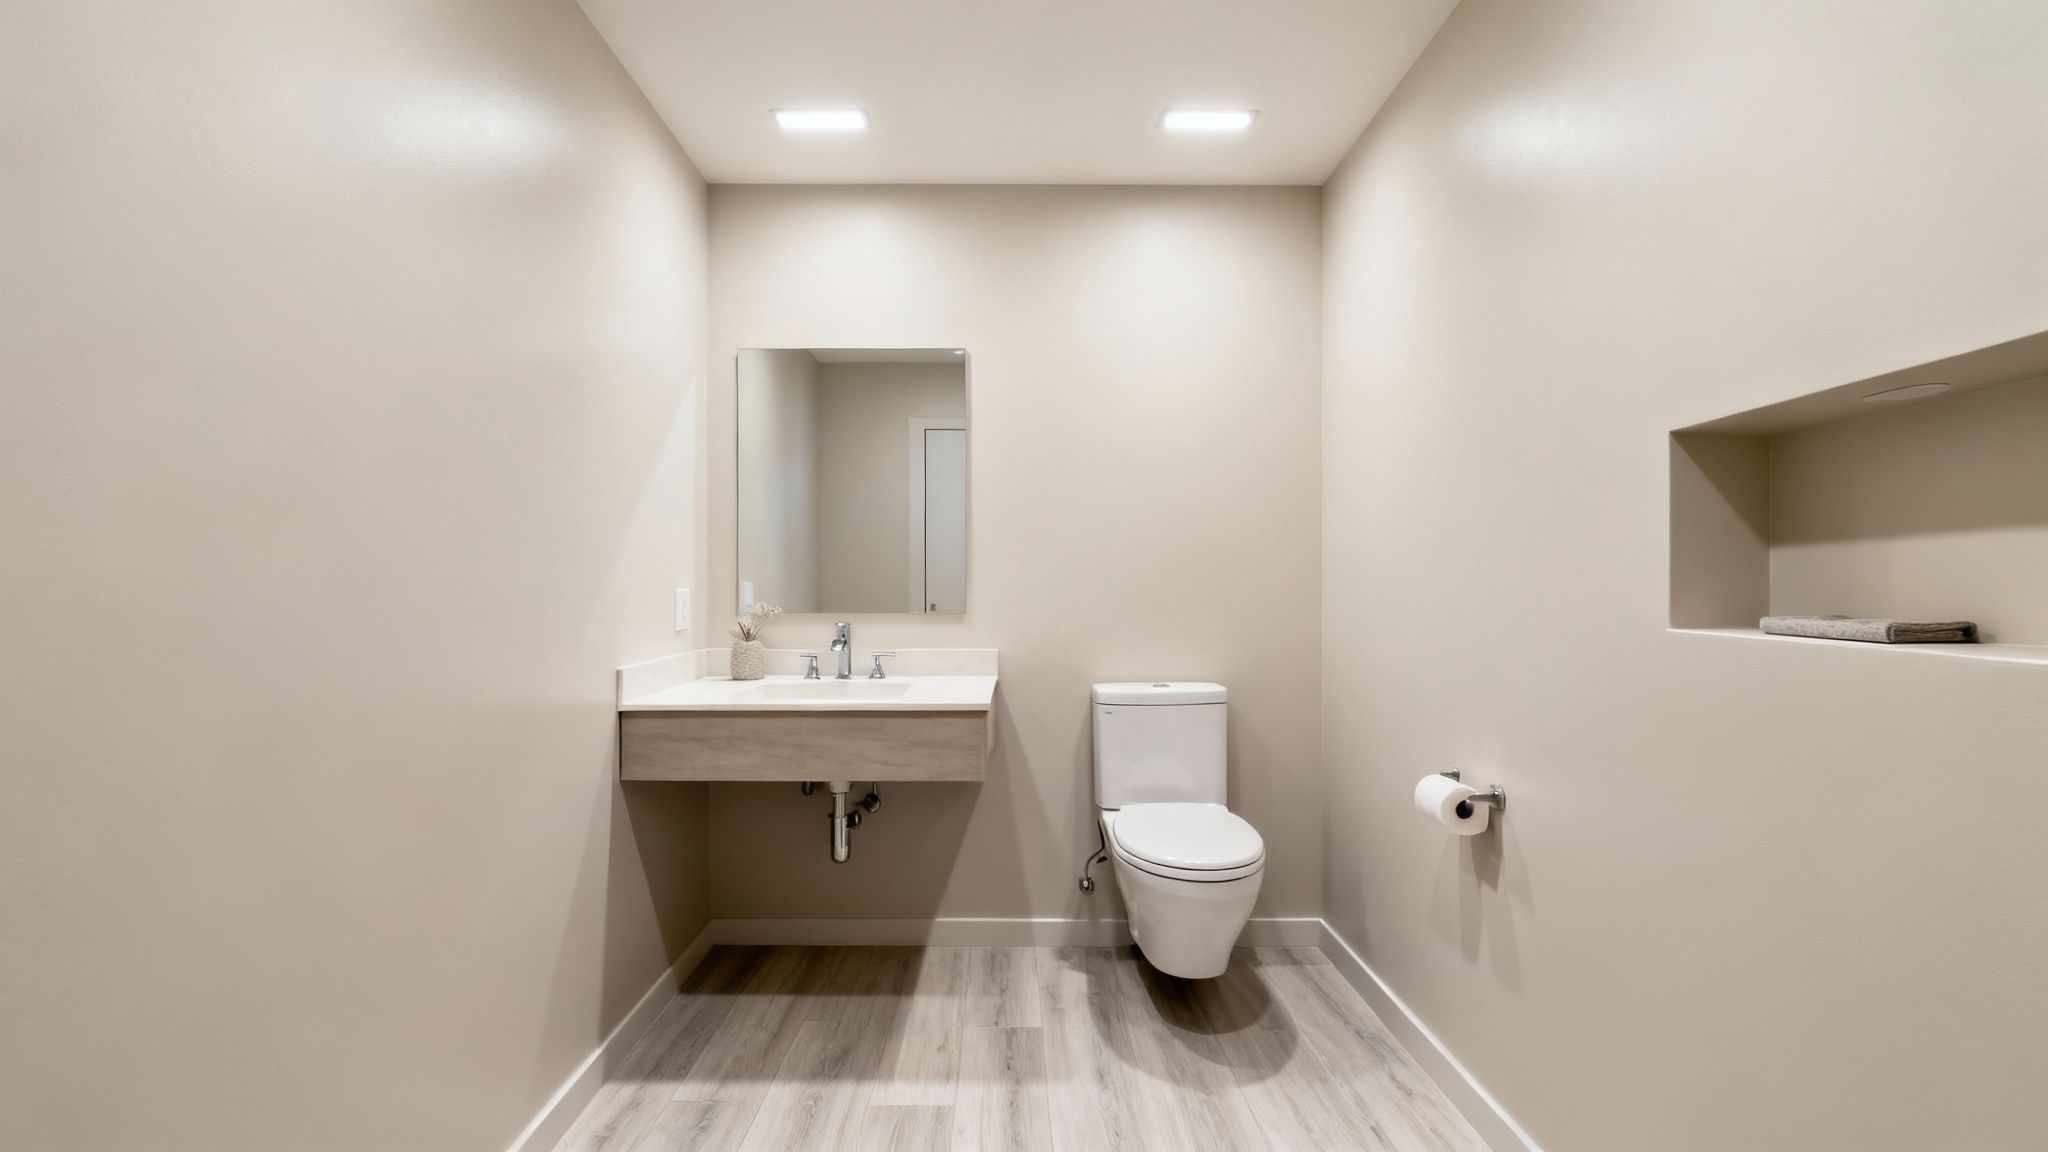
For fixtures, think about creating an illusion of space. A floating vanity or a sleek pedestal sink can make a small bathroom feel much bigger. And because most basements lack windows, good lighting is non-negotiable. I recommend layering your lights: use recessed cans for general brightness, sconces on either side of the vanity mirror, and a dedicated waterproof light in the shower. It creates a warm, welcoming vibe instead of a sterile, underground feel.
If you're feeling handy and want a truly custom fit, building your own bathroom vanity is a great project that lets you design a piece that perfectly matches your unique space and style.
Navigating Utah Building Permits and Local Codes
Let's talk about the part of the project everyone loves to hate: paperwork. I get it, dealing with building permits feels like a drag when you’re excited to start swinging a hammer. But trust me on this, getting a permit for your basement bathroom in Utah County isn’t just about checking a box for the city. It’s your single best guarantee that the job is done safely and will actually add value to your home.
Think of it this way: a permit ensures a qualified inspector signs off on the three most critical parts of the job—plumbing, electrical, and framing. They'll confirm your drains won't back up, your outlets won't pose a shock risk, and your new walls are solid. Skipping this can turn into a nightmare down the road, from having to rip out brand-new drywall to hitting major snags when you try to sell your house.
Understanding Key Code Requirements
Building codes can feel a little cryptic at first, but they’re really just a set of rules to make sure your new bathroom is safe and functional. For those of us in Orem and Provo, the codes for basement projects focus heavily on making the space truly livable.
Here are a few of the big ones you'll definitely run into:
- Ceiling Height: In most Utah cities, you need a finished ceiling height of at least 7 feet. There’s usually a bit of wiggle room for things like ducts or support beams, which can often hang as low as 6 feet 4 inches.
- Ventilation: An exhaust fan isn't optional; it's a must. The standard requirement is a fan that can move a minimum of 50 cubic feet per minute (CFM). And it absolutely has to vent outside—not into an attic space or ceiling joist bay.
- Electrical Safety: This one is non-negotiable for safety. Every outlet in the bathroom must have Ground Fault Circuit Interrupter (GFCI) protection. Code requires this for any outlet within 6 feet of a water source like a sink or shower to prevent electrical shock.
A quick pro tip: these codes are just the baseline. A good contractor will often suggest going a step further, maybe with a more powerful fan for better moisture control or extra lighting to make the space feel less like a basement.
The Permitting Process in Utah County
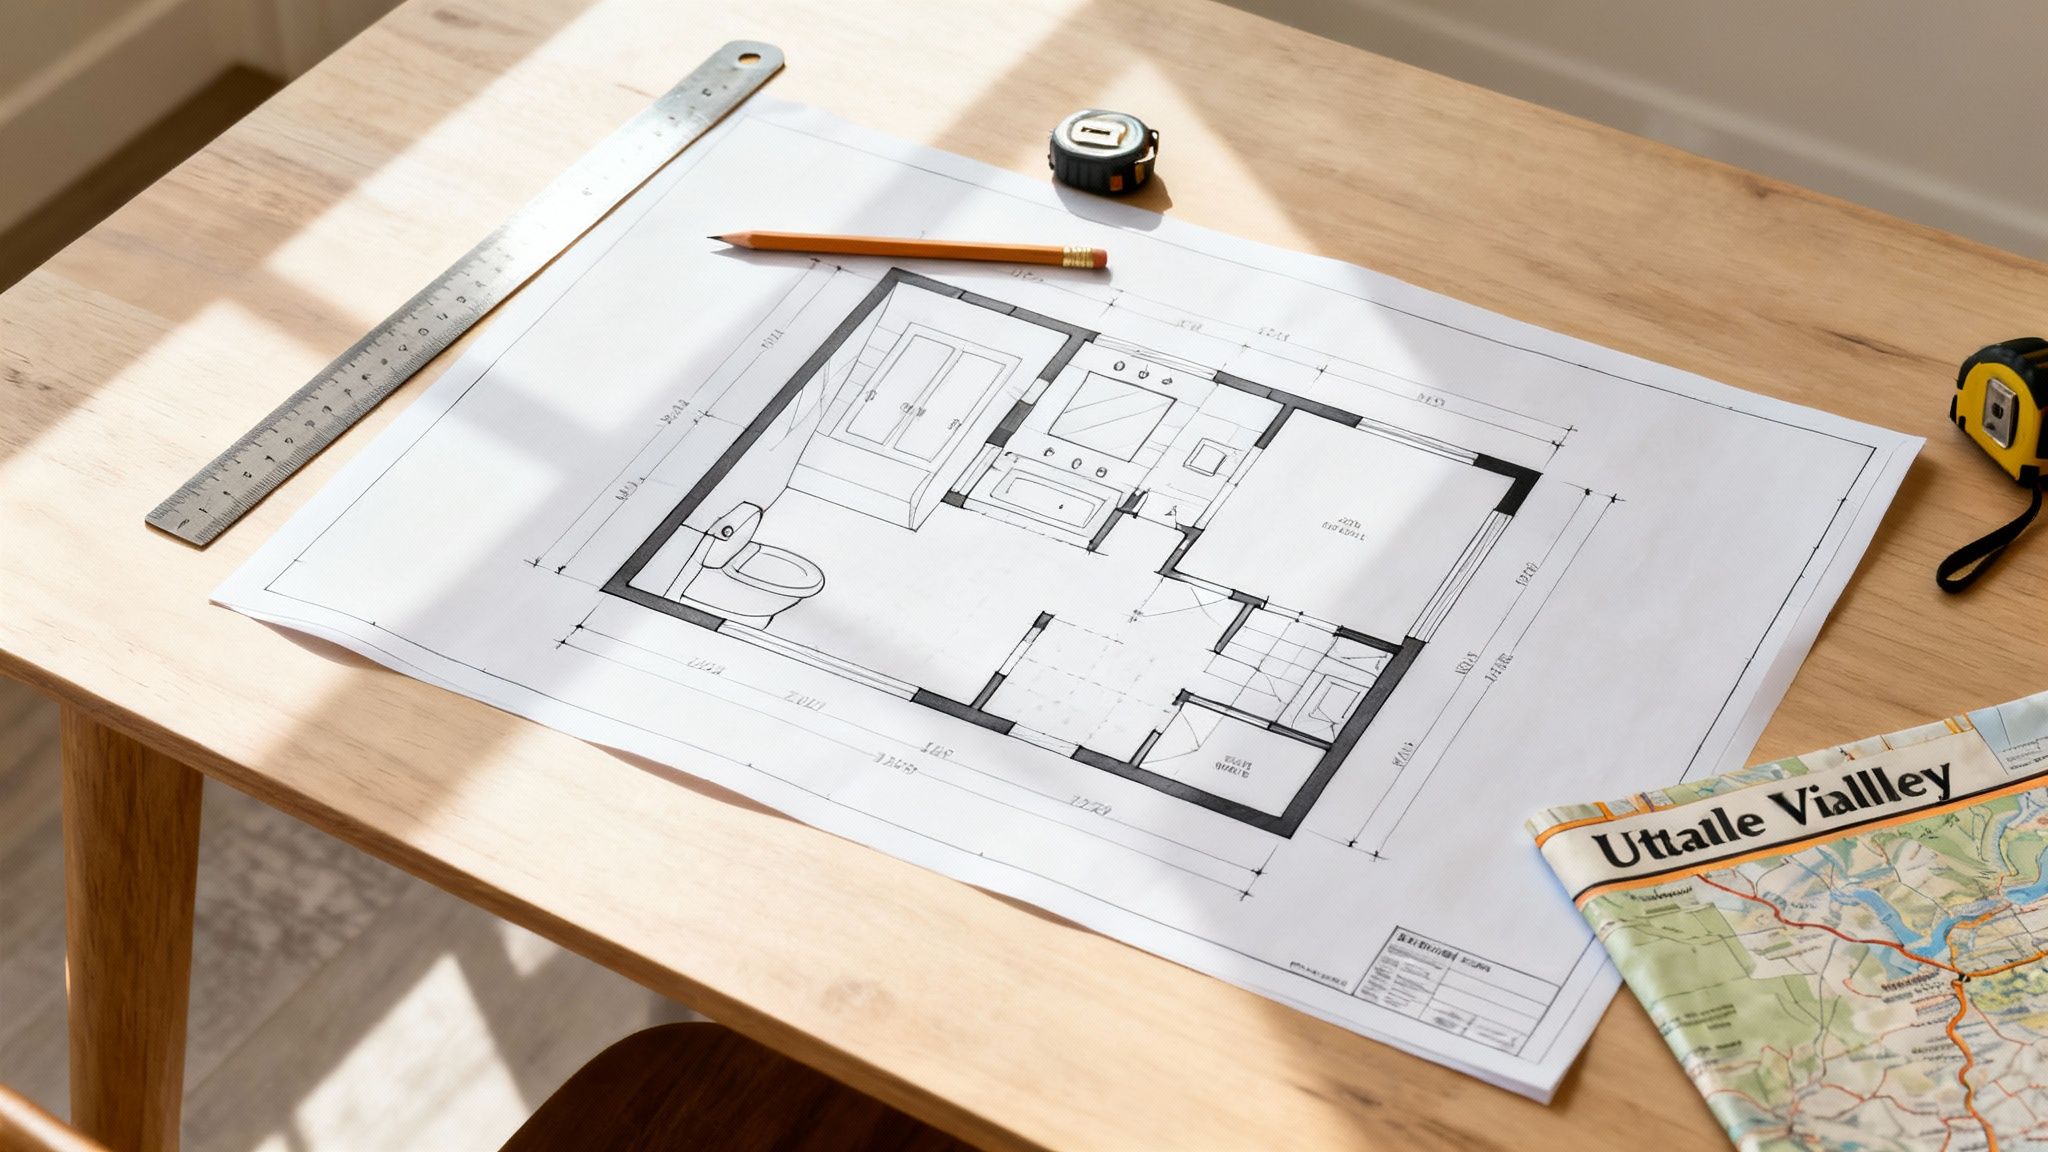
The actual process of getting a permit is pretty similar whether you're in Orem, American Fork, or Saratoga Springs. It all starts with submitting a plan to your city’s building department for them to review.
The good news is you probably don't need a full-blown architectural blueprint. For a project like this, a clear, detailed drawing usually does the trick. If you're curious about what local building departments expect for bigger jobs, our guide on building a home in Utah County has some great background info.
Your plan submission should clearly show:
- Floor Plan: A basic layout with the bathroom’s dimensions and where you’re putting the toilet, sink, and shower.
- Plumbing Diagram: A simple sketch showing how the new drains and vents will tie into your home’s existing plumbing stack.
- Electrical Plan: This map shows where the lights, switches, outlets, and the all-important exhaust fan will go.
Once your permit is issued, the city will need to conduct a few on-site inspections. The "rough-in" inspection happens after the framing, plumbing, and electrical are installed but before you hang any drywall. After that, there's a final inspection once the paint is dry and the fixtures are in. Passing these inspections is how you know the work is solid and officially up to code.
Solving the Basement Plumbing Puzzle
Let's be honest: plumbing is the part of a basement bathroom project that gives most homeowners nightmares. Why? Because you're working against gravity. Everything from upstairs flows down to the sewer line, but in the basement, you have to get wastewater up and out. It's a logistical puzzle, and solving it correctly is critical.
This is also where a huge chunk of your budget will go. For a simple half-bath, you could be looking at $2,000 to $5,000 just for the plumbing in 2025. If you're planning a full bathroom with a shower and tub, that number can easily jump to $5,000 to $15,000. Factoring in the specialized pumps needed for a basement can add another $3,000 to $8,000 on top of that.
How to Get Wastewater Uphill: Your Two Main Options
To defy gravity, you’ll need a pump. There are two go-to systems for this, and the best choice for your Orem home really depends on your budget, your existing concrete slab, and how you plan to use the bathroom.
The first, and what I’d call the traditional workhorse, is a sewage ejector pump. This is a heavy-duty solution. We have to cut into your concrete floor to install a sealed basin, called a sump pit. The toilet, sink, and shower all drain into this pit. Once the wastewater hits a certain level, a float triggers a grinder pump that powerfully shoots everything up into the main sewer line.
Your other option is an up-flushing toilet, sometimes called a macerating toilet. This is a much less invasive approach. The grinder and pump are built into a unit that sits on the floor right behind the toilet. When you flush, it grinds waste into a fine slurry and pumps it out through a small pipe that connects to your sewer line. No concrete breaking required.
I’ve seen a lot of people go for an up-flushing system to save money upfront. While that's tempting, for a full bathroom that's going to get daily use from kids or guests, a properly installed sewage ejector pump is almost always the more robust, reliable choice for the long haul.
Basement Drainage System Comparison
Seeing the two systems side-by-side really helps clarify which one fits your project. Here’s a quick breakdown of how they stack up against each other.
| Installation | Invasive. Requires breaking concrete to install a sump pit. | Less invasive. Sits on top of the existing floor. |
| Best For | Full bathrooms with a shower, tub, and sink. High-traffic use. | Half-baths or situations where breaking concrete is not possible. |
| Durability | Extremely reliable and long-lasting when professionally installed. | Good reliability, but pump components may wear out sooner. |
| Maintenance | Minimal. The sealed pit contains odors and requires infrequent checks. | Requires occasional cleaning of the macerator blades. |
| Noise Level | Quieter, as the pump operates inside an insulated pit below the floor. | The macerating pump is audible when it runs after each flush. |
Ultimately, the ejector pump is built for heavy lifting, while the up-flushing toilet is a clever solution for lighter-duty or tricky installations.
Don't Forget to Vent—It's Non-Negotiable
No matter which pump system you install, you absolutely cannot skip the vent pipe. This isn't just a suggestion; it's a code requirement for a very good reason. A proper vent runs from your new plumbing up through the house and out the roof.
Why is it so crucial?
- It stops sewer gas. Vents safely channel foul—and potentially dangerous—sewer gases out of your home. Without them, your basement will stink.
- It helps drains drain. A vent pipe allows air to enter the system, preventing a vacuum from forming. Without that airflow, your drains will gurgle, glug, and drain painfully slow, if at all.
You might hear about an "air admittance valve" (AAV) as an easier alternative. Be careful here. While they have their uses, they are often not a legal substitute for a proper vent stack for a full bathroom in Utah County. Always, always check with the Orem or Provo building department before assuming an AAV is okay.
This chart gives you a quick visual on some of the key Utah building codes you’ll need to keep in mind for your project.
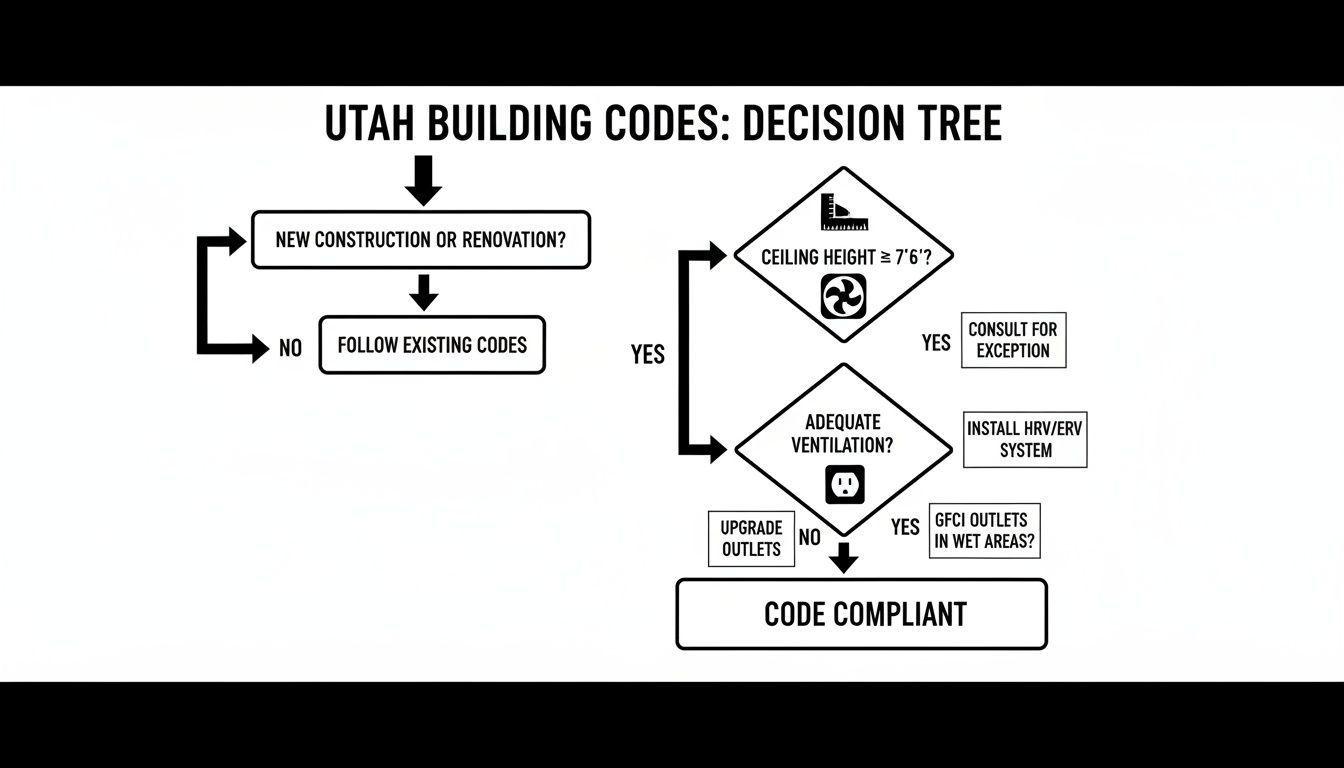
As you can see, things like ceiling height and GFCI outlets are just as important as the plumbing itself. And if your home is on a septic tank instead of the city sewer, you're playing by a different set of rules. For those projects, it’s worth reading up on solving septic installation issues to understand the unique challenges involved.
Framing, Wiring, and Ventilating Your New Bathroom
With the heavy lifting of plumbing behind you, it's time to bring the space to life. This is where your basement bathroom starts to take shape, moving from a concrete shell to a defined room. We’re talking about framing the walls, running the electrical wiring, and setting up proper ventilation. These are the bones of the project, and getting them right is absolutely critical before you even think about hanging drywall.
First up, framing. When you're building the walls, the single most important piece of wood is the one you'll never see again: the bottom plate. This is the lumber that sits directly on the concrete floor. You must use pressure-treated lumber for this piece. Why? Because concrete is porous and can wick moisture up into the wood, leading to rot down the road. It’s a simple, non-negotiable step that protects the entire structure. For the rest of the studs and plates, standard kiln-dried lumber is perfectly fine.
Powering Your Space Safely
Wiring a bathroom is a different beast than wiring a bedroom, all because of water. Safety is paramount, and the building codes here in Utah County are strict for a good reason.
The biggest player in bathroom electrical safety is the Ground Fault Circuit Interrupter, or GFCI. Code dictates that every single outlet in a bathroom needs to have GFCI protection. These outlets are lifesavers—literally. They constantly monitor the flow of electricity and will instantly cut the power if they sense a fault, like if a hairdryer takes a dive into a full sink.
A common shortcut I see is people installing one GFCI outlet at the beginning of the circuit and then wiring standard outlets "downstream" from it. While this can work, my advice is to just install a GFCI at every outlet location. It removes any doubt and ensures every plug is protected, period.
Beyond safety, your electrical plan sets the entire mood. Don't just stick a single fixture in the middle of the ceiling; that’s how you get a gloomy, cave-like bathroom. The trick is to layer your lighting.
I always recommend a three-pronged approach for a bright, welcoming space:
- Ambient Light: This is your overall illumination. Recessed "can" lights are the gold standard here, giving you great light coverage without dropping down into your headspace.
- Task Light: You need focused light where you'll be getting ready. The best setup is a pair of sconces on either side of the vanity mirror. This gives you even, shadow-free light on your face.
- Accent Light: Adding a waterproof, shower-rated recessed light right above your tub or shower stall is a game-changer. It makes the space feel bigger and a whole lot more luxurious.
If you're planning on tackling the recessed lights yourself, our guide on how to install recessed lighting in a ceiling is a great resource with detailed steps.
The Critical Role of Good Ventilation
Finally, let's talk about the unsung hero of any bathroom: the exhaust fan. In a basement with no windows, a quality fan isn't a luxury—it's your first line of defense against mold and moisture damage.
Think about all the steam from a hot shower. Without a fan, that moisture has nowhere to go. It’ll settle on your walls and ceiling, creating the perfect breeding ground for mildew. Local Orem and Provo codes require a fan that can move at least 50 cubic feet per minute (CFM), and for good reason.
But the fan's power rating is only half the story. Where you vent it is just as crucial. The exhaust duct has to be run all the way to the exterior of your home. I can't stress this enough: never terminate the vent in the space between your ceiling joists or in a crawlspace. All you're doing is moving your moisture problem to a different, hidden part of the house. A dedicated, insulated duct line running straight outside is the only way to do it right and keep your new bathroom healthy for the long haul.
Creating a Dry and Comfortable Space to Last
With the rough-in complete, we can shift focus to what makes a basement bathroom livable and long-lasting: moisture control. This is where a basement project can either succeed spectacularly or fail miserably. A basement's biggest enemy is humidity, and getting these next steps right is what separates a professional job from a future mold problem.
The first line of defense is proper insulation. When you're dealing with below-grade concrete walls, forget the pink fiberglass batts. You need rigid foam board insulation. It does double duty, acting as both a thermal barrier and a vapor barrier, which is critical for stopping dampness from the concrete from ever getting into your walls.
Building Walls That Repel Water
After the insulation is in place, it’s time for drywall, but don't just grab the standard stuff. Regular paper-faced drywall is a magnet for moisture in a basement. You absolutely must use moisture-resistant drywall—you'll see it called green board or, for even better performance, purple board. It’s specifically made to resist mold, making it non-negotiable when installing a bathroom in a basement.
The walls inside the shower itself need an even higher level of protection. Here, you'll want a cement backer board, like DensShield. This stuff gives you a rock-solid, waterproof base for your tile, so you never have to worry about water getting behind it and into the wall studs. For a deeper dive into protecting the entire space, check out our guide on how to waterproof basement walls from the inside.
The Final Seal: Waterproofing Your Shower
Before you even think about setting a single tile, the entire shower area has to be thoroughly waterproofed. The best way I’ve found to do this is with a liquid-applied waterproofing membrane. You literally roll or paint it on over the cement board, creating a seamless, rubber-like barrier that covers every surface, including niches and the shower pan.
Think of a liquid membrane as a custom-fit raincoat for your shower. It seals every seam, corner, and screw hole, leaving absolutely no path for water to find its way into your framing. Skipping this step is one of the most common and costly mistakes in a bathroom renovation.
This layer is what truly makes your shower bulletproof. It ensures your beautiful tile work stays purely decorative, protecting the structure behind it.
Putting in the effort here also pays off financially. A mid-range bathroom addition can recover around 54% of its cost when you sell your home. Since basement projects often start in the $8,000 to $15,000 range for a half-bath, it’s a smart upgrade. You can find more details on basement bathroom costs and ROI on marksbuilding.com. These finishing touches protect your structure and your wallet.
Your Top Basement Bathroom Questions, Answered
Even after mapping out the basics, you’re bound to have some questions about what it really takes to add a bathroom below ground. We get these all the time from homeowners around Orem and Provo, so let's clear up the common points of confusion.
How Much Will a Basement Bathroom Actually Cost?
This is always the first question, and for good reason. The honest answer? It varies wildly.
If you’re planning a simple half-bath and can use an up-flushing toilet system to avoid breaking concrete, you might land in the $8,000 to $15,000 range. But for a full bathroom that needs a sewage ejector pump buried in the slab, costs usually start closer to $20,000 and can easily hit $50,000 or more once you factor in high-end tile, fixtures, and finishes.
The biggest factor driving your budget will always be the plumbing. Jackhammering your foundation to install an ejector pump is a major undertaking that significantly increases labor costs compared to a less invasive macerating toilet.
How Long Does This Whole Process Take?
From the first swing of a hammer to the final city inspection, a professionally managed project typically wraps up in four to eight weeks. Keep in mind, this can stretch a bit. Delays in getting permits approved by your local Utah County city or waiting on a busy plumber's or electrician's schedule can add time.
Can I Do Some of the Work Myself?
You definitely can, but it’s crucial to be smart about what you take on. Many homeowners feel comfortable handling things like:
- Painting the walls and trim
- Installing the vanity and mirror
- Laying down LVP flooring
- Setting the toilet and other fixtures
However, we always tell clients to leave the core systems to the pros. Electrical, plumbing, and especially any concrete work are best left to licensed contractors. A mistake with wiring isn't just expensive to fix—it's a serious safety risk.
Is It a Good Return on Investment?
Financially, adding a bathroom is a solid bet. National averages show you can expect to recoup about 54% of what you spend when you sell your home. But the real value isn't just in the numbers. A basement bathroom makes the space infinitely more usable and appealing, which is a huge win for your family's day-to-day life and for attracting future buyers.
Ready to turn that underused basement space into a beautiful and functional part of your home? At Northpoint Construction, we’ve spent years guiding Orem and Provo homeowners through basement finishing and home remodeling projects. We manage all the complex details so you can simply enjoy the finished product. Contact us today for a consultation and let's start building your vision.